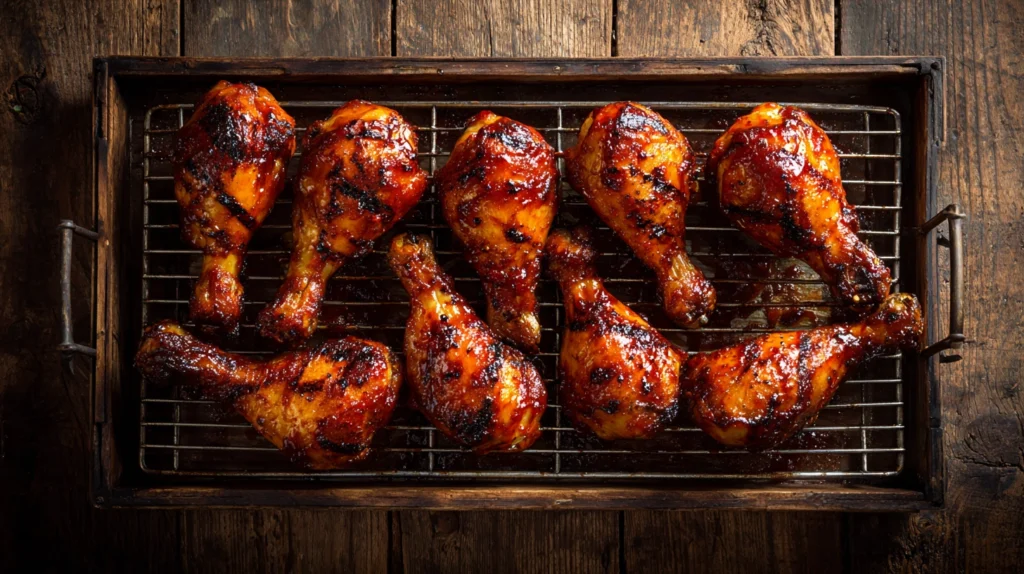
How to BBQ a Whole Chicken – Step-by-Step Grilling Guide
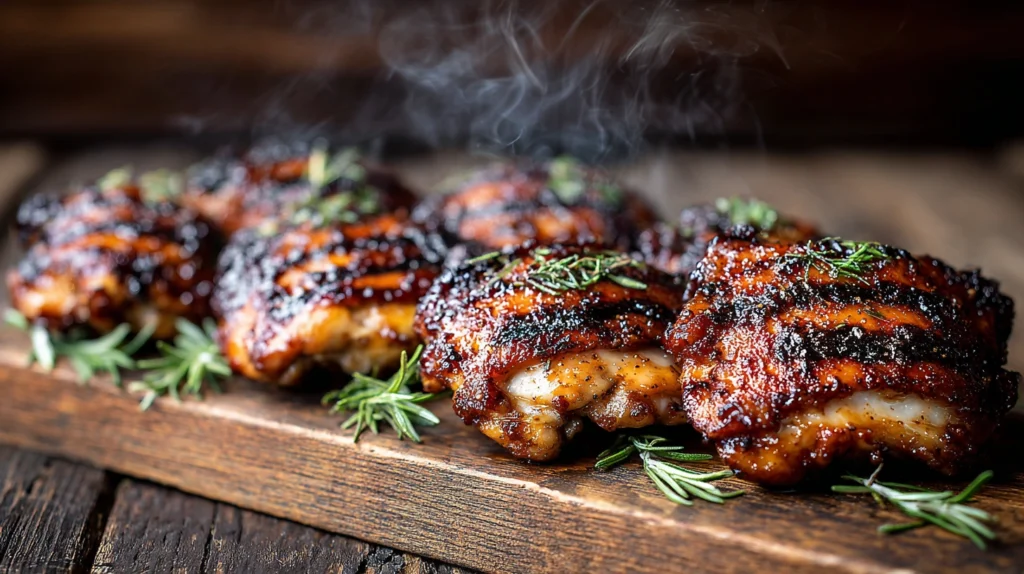
Look, I’m just gonna say it — if you’ve never thrown a whole chicken on the grill, you’re missing out on one of the most rewarding things you can do with a bag of charcoal and a Sunday afternoon. I’ve been doing this for over twenty years, first as a backyard amateur who burned more birds than I care to admit, and now as a pit master at my own place here in Kansas City. And I still get a little thrill every time I pull a perfectly bronzed, smoke-kissed chicken off the grate.
So how do you BBQ a whole chicken? That’s what we’re gonna cover today — from shopping cart to cutting board. I’m going to walk you through everything I’ve learned, all the mistakes I’ve already made for you, and the little tricks that’ll have your neighbors peeking over the fence asking, “What are you cooking over there?”
Let’s get into it.
Why BBQ a Whole Chicken in the First Place?
Before we get our hands dirty, let me tell you why I think whole chicken is the unsung hero of the grill.
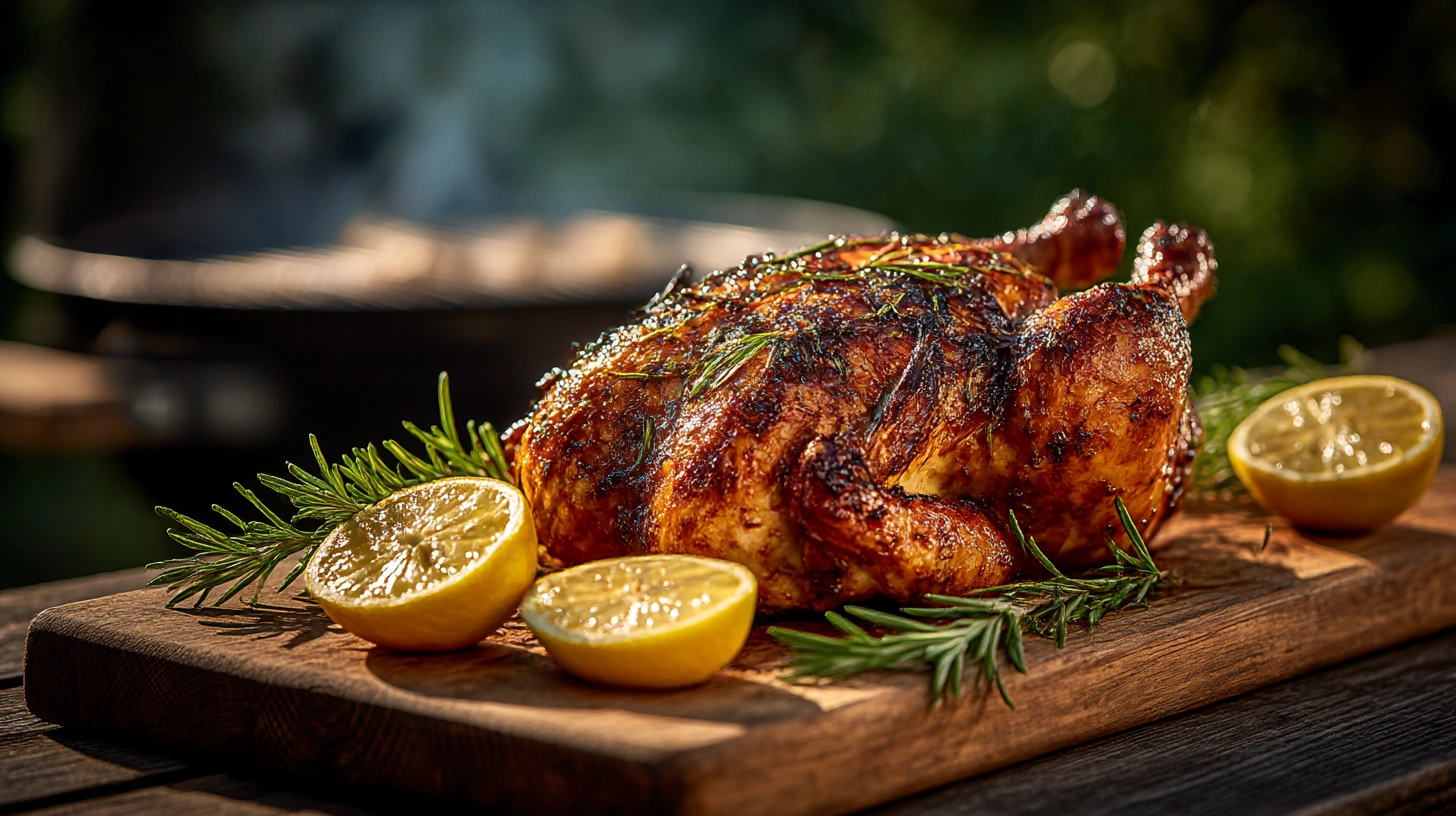
First off, it’s incredibly affordable. You can grab a quality whole bird for a fraction of the price of buying it broken down into parts. Second, when you cook a chicken whole, the bones and skin work together to keep the meat juicy and flavorful in a way that boneless, skinless breasts just can’t compete with. And third — and this is the one that gets me — there’s something deeply satisfying about presenting a whole, beautifully grilled chicken to your family. It feels primal. It feels real.
Here’s the thing… I used to be intimidated by it too. My first attempt back in ’03, I cranked the heat way too high, the skin charred black, and the inside was still pink. My wife was very diplomatic about it. She said, “Maybe we should order pizza.” That stung. But it also lit a fire under me (pun fully intended) to figure this thing out.
And figure it out I did.
What You’ll Need
Equipment
You don’t need a $2,000 smoker to make a killer whole chicken. Here’s what I recommend:
- A charcoal or gas grill — Either works, but I personally love the flavor charcoal gives. A kettle grill like a Weber is perfect for this.
- A meat thermometer — This is non-negotiable. Seriously. If you don’t own a good instant-read thermometer, stop reading this article and go buy one. It’s the single most important tool in your grilling arsenal.
- A drip pan — An aluminum disposable pan works great.
- Tongs and heat-resistant gloves — You’ll be handling a hot, slippery bird.
- Butcher’s twine — For trussing (optional, but I recommend it).
- Wood chips or chunks — Apple, cherry, or hickory are my favorites for chicken.
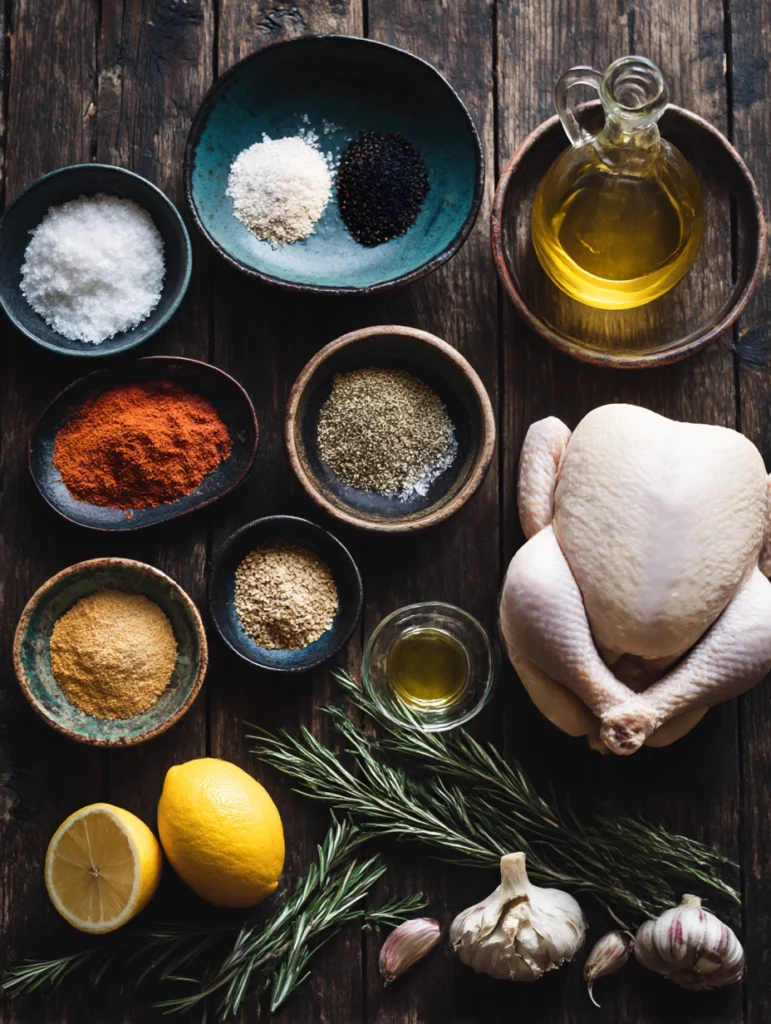
Ingredients
Here’s what you’ll need for a bird that serves about 4-6 people:
| Ingredient | Amount | Notes |
|---|---|---|
| Whole chicken | 4–5 lbs | Removed from fridge 30-45 min before cooking |
| Olive oil or melted butter | 2–3 tablespoons | Butter gives a richer flavor |
| Kosher salt | 1½ tablespoons | Don’t use table salt — the grain size matters |
| Black pepper, freshly ground | 1 tablespoon | Pre-ground works, but fresh is better |
| Garlic powder | 1 teaspoon | |
| Onion powder | 1 teaspoon | |
| Smoked paprika | 1 teaspoon | This is my secret weapon for color and flavor |
| Dried thyme | ½ teaspoon | |
| Cayenne pepper | ¼ teaspoon | Optional, but I always add it |
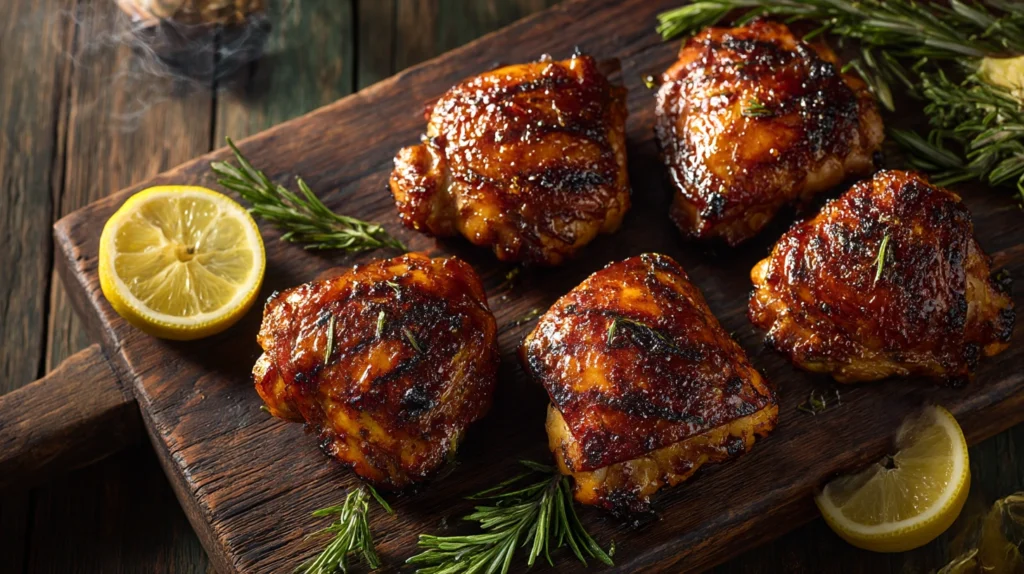
| Lemon | 1, halved | Goes inside the cavity |
| Fresh rosemary or thyme sprigs | 3–4 sprigs | Also goes inside the cavity |
| Whole garlic cloves | 4–5 cloves | Smashed, tucked inside the cavity |
Anyway, that’s the shopping list. Nothing fancy, nothing exotic. Just honest, good ingredients.
Step 1: Prep Your Chicken
Brining (Optional, But Highly Recommended)
Okay, so this step is technically optional, but if you skip it, you’re leaving flavor and juiciness on the table. I’m a firm believer in a simple brine.
Quick Brine Recipe
- ¼ cup kosher salt
- ¼ cup brown sugar
- 4 cups cold water
- A few peppercorns and a bay leaf if you’re feeling fancy
Dissolve the salt and sugar in 2 cups of warm water, then add 2 cups of cold water (or ice) to bring the temp down. Submerge your chicken in the brine, cover, and refrigerate for 4–8 hours. Don’t go longer than 12, or the texture starts getting weird — kind of ham-like and rubbery. I learned that one the hard way during a competition back in 2015. Trust me on this.
After brining, rinse the bird, pat it very dry with paper towels. And I mean dry. Wet skin does not crisp. It steams. And steamed chicken skin is nobody’s friend.
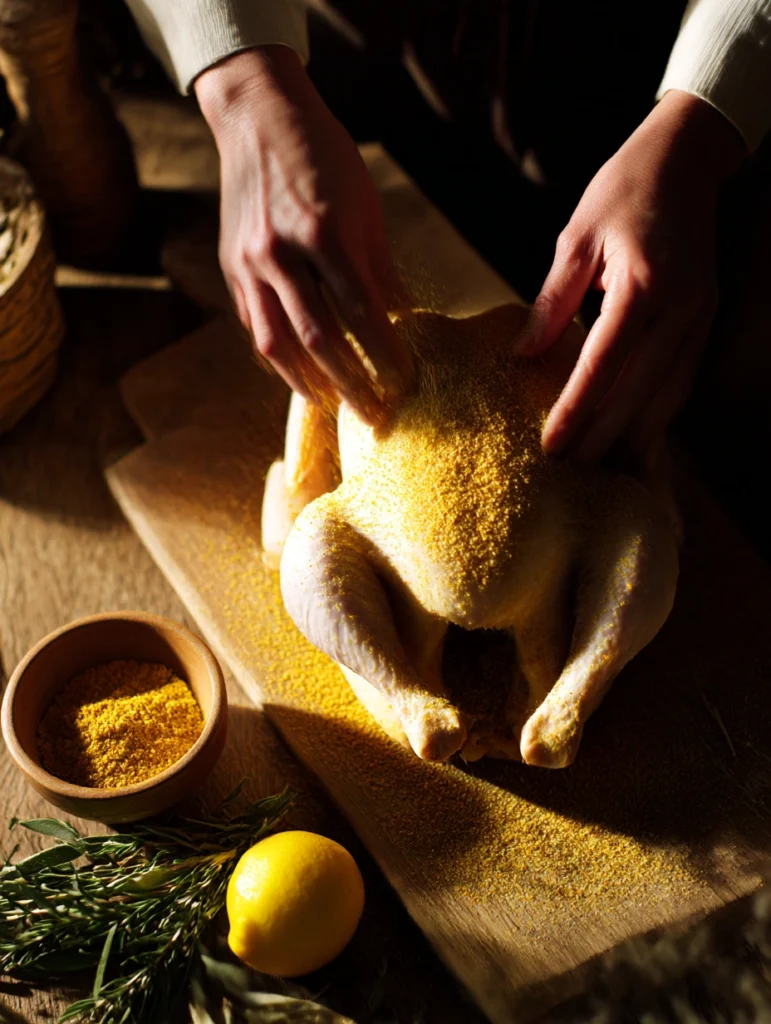
Seasoning
Mix all your dry spices together in a small bowl. Rub the chicken all over with olive oil or melted butter — get under the skin on the breast if you can (just gently slide your fingers underneath, the membrane separates pretty easily). Then coat generously with your spice rub, making sure to season inside the cavity too.
Stuff the cavity with your halved lemon, smashed garlic cloves, and herb sprigs. These aren’t really going to “flavor” the meat in a dramatic way, but they create aromatic steam inside the bird that adds a subtle depth. Plus it smells absolutely incredible.
To Truss or Not to Truss?
I truss. Not everyone does, and I get that. But here’s my reasoning — trussing (tying the legs together with butcher’s twine and tucking the wings underneath) creates a more compact shape. That means more even cooking. The breast doesn’t dry out before the thighs are done. It takes about 30 seconds once you know what you’re doing.
If you don’t want to truss, at least tuck the wing tips underneath the bird so they don’t burn to little chicken-wing charcoal sticks.
Step 2: Set Up Your Grill for Indirect Heat
This is the most important thing I can teach you in this entire article, so pay attention.
Do NOT grill a whole chicken over direct heat.
I cannot stress this enough. Direct heat will give you a charred exterior and a raw interior. Every. Single. Time. It’s the number one mistake I see people make, and it’s the reason so many folks think grilling a whole chicken is hard.
For Charcoal Grills
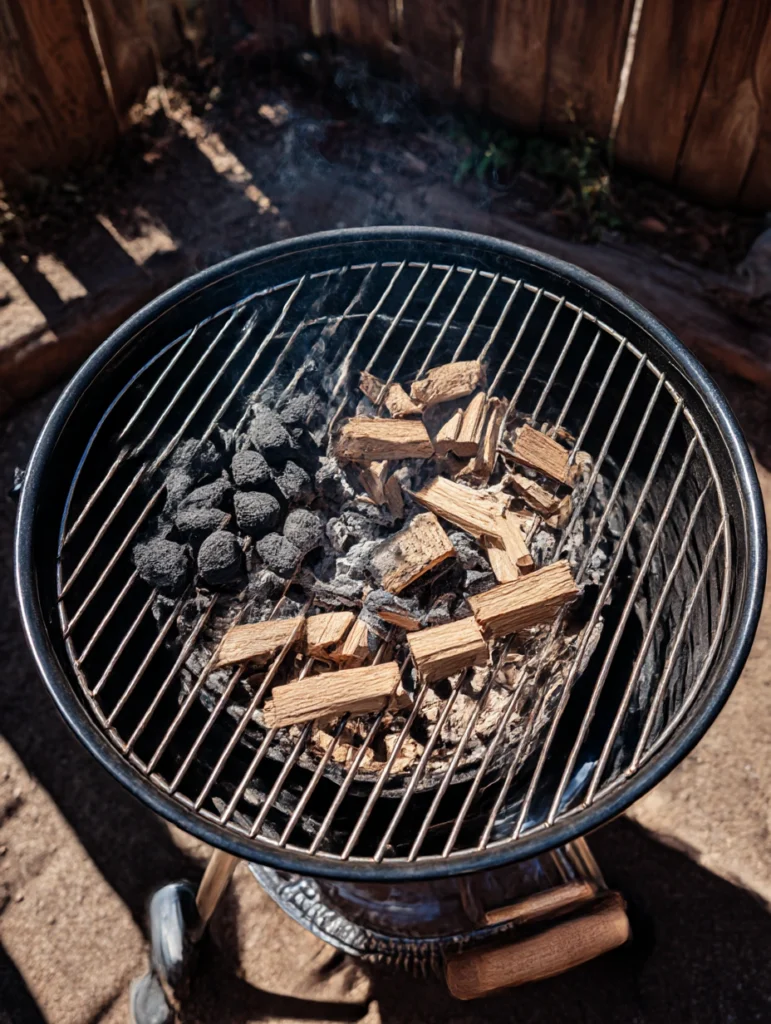
Bank all your coals on one side of the grill. Place your drip pan on the other side, directly on the charcoal grate. The chicken goes on the cooking grate above the drip pan — the side with NO coals underneath. You’re essentially turning your grill into an oven.
If you’re using wood chips (and you should), soak them in water for about 30 minutes, then scatter a handful directly on the hot coals. For chunks, no need to soak — just place 2–3 chunks near the coals.
For Gas Grills
Light one burner on medium-high and leave the others off. Place the chicken on the unlit side. If you have three burners, light the two outside ones and put the bird in the middle. Place a foil pouch of wood chips (poke a few holes in the top) over the lit burner for smoke.
Target Temperature
You want your grill running at 325°F to 375°F (163°C–190°C). This is the sweet spot. Too low and you’ll be waiting forever with rubbery skin. Too hot and you’ll scorch the outside before the inside is done.
| Grill Temperature | Result |
|---|---|
| Below 300°F | Rubbery skin, very long cook time |
| 325°F – 375°F | The sweet spot — crispy skin, juicy meat |
| Above 400°F | Risk of burning exterior, uneven cooking |
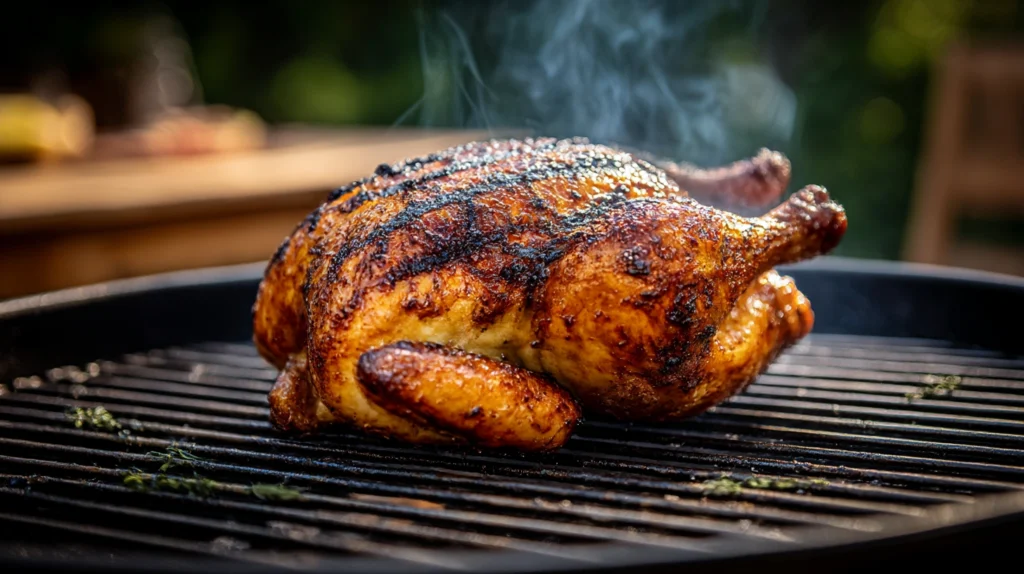
Step 3: Grill That Bird
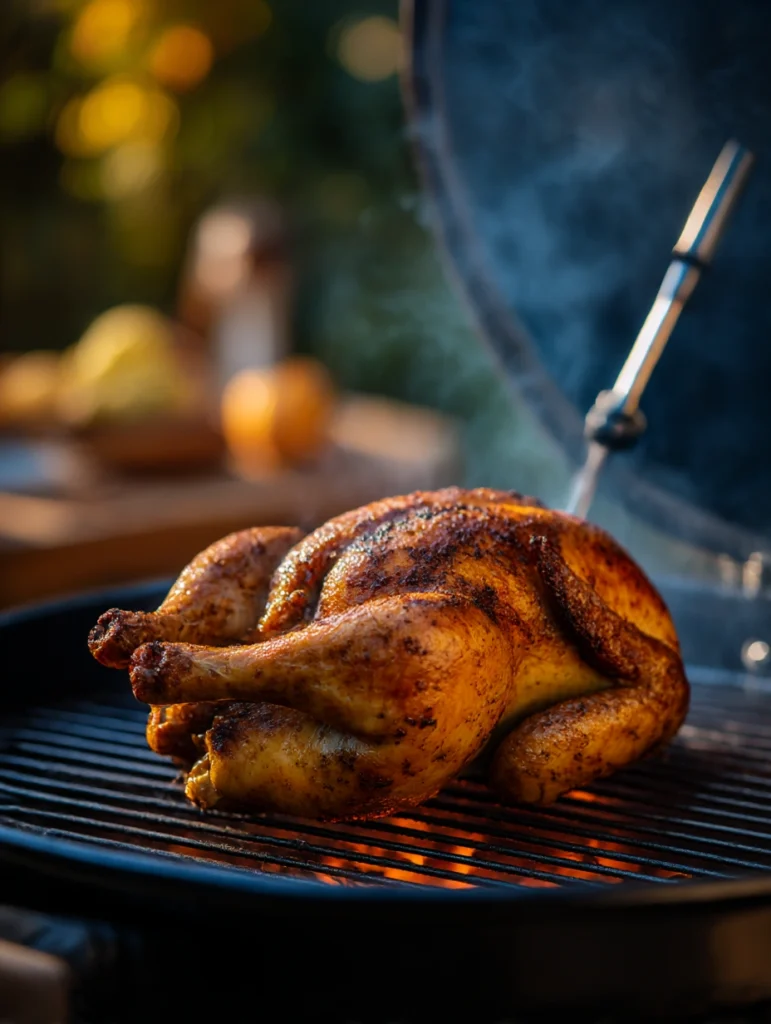
Place your chicken breast-side up on the grate over the drip pan. Close the lid. And here comes the hardest part of this whole process:
Walk away.
Seriously. Stop lifting the lid. Every time you open that grill, you’re losing heat and adding cooking time. I tell people, “If you’re lookin’, you ain’t cookin’.” It’s an old saying for a reason.
Cooking Time Guidelines
A 4–5 lb chicken at 350°F will take approximately 1 hour to 1 hour 30 minutes. But please — PLEASE — don’t rely on time alone. Use your thermometer.
| Chicken Weight | Estimated Cook Time (at 350°F) | Internal Temp Target |
|---|---|---|
| 3–3.5 lbs | 50–70 minutes | 165°F (74°C) in the thigh |
| 4–4.5 lbs | 70–85 minutes | 165°F (74°C) in the thigh |
| 5–5.5 lbs | 85–100 minutes | 165°F (74°C) in the thigh |
Insert your thermometer into the thickest part of the thigh, making sure you’re not touching bone. You’re looking for 165°F (74°C). Some pitmasters (myself included) actually pull at 160°F and let carryover cooking bring it up during the rest period. But if you’re just starting out, 165°F is your safe number. Don’t guess. Don’t poke it and say “yeah, that looks done.” Use the thermometer.
Basting (My Approach)
About 45 minutes in, I’ll open the lid quickly and baste the chicken with melted butter mixed with a little of the spice rub. This isn’t strictly necessary, but it adds another layer of flavor and helps the skin get that gorgeous mahogany color.
Some folks use a mop sauce or apple cider vinegar spray. All good options. Just don’t baste with anything too sugary early on, or it’ll burn. If you’re using a BBQ sauce glaze, wait until the last 10–15 minutes.
Step 4: The Rest — Don’t Skip This
When your chicken hits temp, pull it off the grill and place it on a cutting board. Tent it loosely with aluminum foil.
Now wait 10–15 minutes.
I know it’s hard. The smell is absolutely maddening at this point. But resting lets the juices redistribute throughout the meat. If you cut into it right away, all those beautiful juices are going to run out onto the cutting board instead of staying in the meat where they belong.
So in my experience, those 10–15 minutes are the difference between “pretty good chicken” and “oh my God, what did you do to this chicken, it’s incredible.”
Go grab a cold drink. You’ve earned it.
Step 5: Carve and Serve
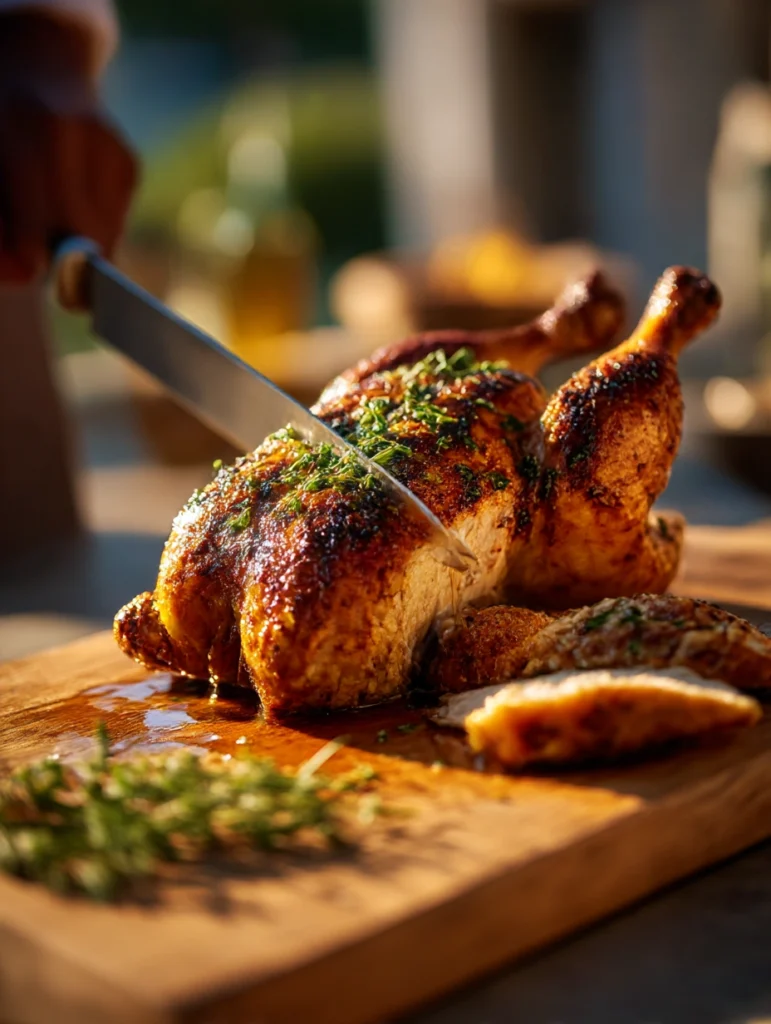
How to Carve a Whole Chicken
Carving isn’t complicated, but there’s a logical order:
- Remove the legs and thighs — Pull the leg away from the body and cut through the joint where it connects. You’ll feel the joint give way easily. Separate the drumstick from the thigh at the joint if you like.
- Remove the wings — Same idea, cut through the joint.
- Carve the breast — Cut along one side of the breastbone, following the rib cage down. Slice the breast meat against the grain.
- Don’t forget the oysters — These are two small, incredibly tender pieces of dark meat on the back of the chicken, right where the thigh meets the spine. They’re the chef’s snack. If you’ve never had them, you’re in for a treat.
Pro Tips From 20+ Years at the Grill
Alright, here are some of the little things I’ve picked up over the years that really make a difference:
Spatchcocking — The Shortcut That Doesn’t Sacrifice Flavor
If you’re short on time, consider spatchcocking (also called butterflying) your chicken. You remove the backbone with kitchen shears, then press the bird flat. This reduces cooking time to about 45–55 minutes and gives you incredibly even cooking with extra-crispy skin. I do this probably 60% of the time at home honestly. It’s not cheating — it’s just smart.
The Beer Can Myth
I know, I know — beer can chicken is iconic. And look, I’m not going to tell you not to do it if you enjoy it. But here’s the truth: the beer doesn’t really “steam” into the meat the way people think. The can actually blocks heat from reaching the inside of the cavity, which can lead to uneven cooking. Plus, the ink on the can at those temperatures is… let’s just say it’s not something I want near my food. If you love the vertical position, invest in a proper ceramic chicken roaster. Same effect, much better results.
Managing Flare-Ups
If you get a flare-up (and with chicken skin dripping fat, you might), don’t panic. Move the bird to the cool side of the grill and close the lid. The reduced oxygen will calm things down. Never spray water on a flare-up over charcoal — you’ll scatter ash all over your food.
Adding Smoke Flavor
For the best smoke flavor, add your wood during the first 30–45 minutes of cooking. After that, the meat has formed a “bark” and won’t absorb much more smoke. My favorite wood for chicken is apple — it’s mild and sweet and complements poultry beautifully. Cherry gives a slightly sharper, fruitier flavor. Hickory works but can be overpowering on chicken if you use too much. I’d avoid mesquite entirely for poultry.
| Wood Type | Flavor Profile | Best For |
|---|---|---|
| Apple | Mild, sweet, slightly fruity | Chicken, turkey, pork |
| Cherry | Medium, sweet with a tart edge | Chicken, pork ribs |
| Hickory | Strong, smoky, bacon-like | Use sparingly on chicken |
| Pecan | Medium, nutty, slightly sweet | All poultry |
| Mesquite | Very strong, earthy | Not recommended for chicken |
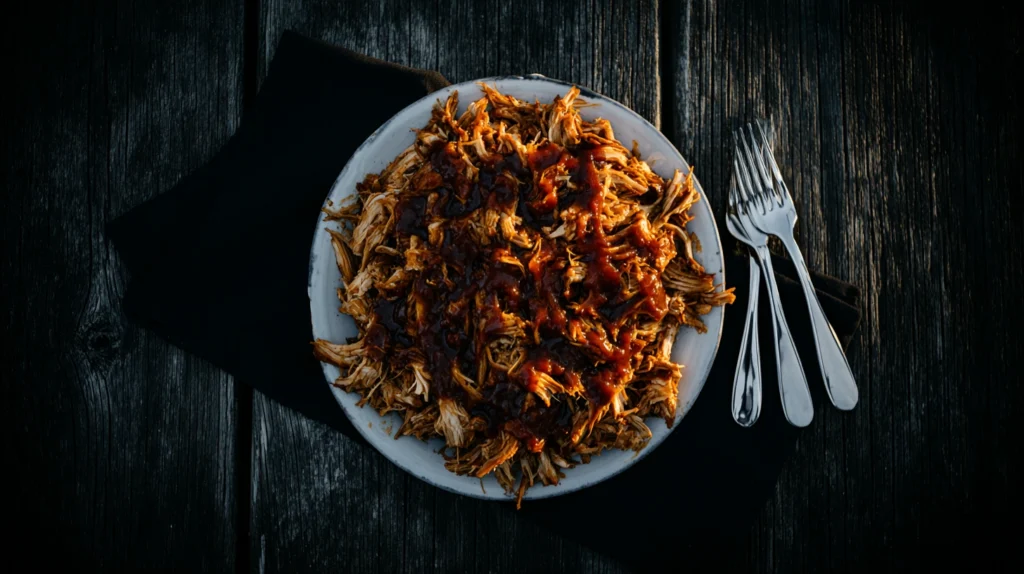
My Go-To BBQ Sauce Glaze (If You Want It)
Some purists will say a well-seasoned chicken doesn’t need sauce. And they’re right. But sometimes you want that sticky, sweet, tangy glaze — and there’s nothing wrong with that.
Ingredients
| Ingredient | Amount |
|---|---|
| Ketchup | ½ cup |
| Apple cider vinegar | 2 tablespoons |
| Brown sugar | 2 tablespoons |
| Worcestershire sauce | 1 tablespoon |
| Yellow mustard | 1 teaspoon |
| Garlic powder | ½ teaspoon |
| Smoked paprika | ½ teaspoon |
| Hot sauce | A few dashes (to taste) |
| Salt and pepper | To taste |
Instructions
Combine everything in a small saucepan over medium heat. Stir until the sugar dissolves and the sauce begins to simmer. Let it cook for about 5 minutes, stirring occasionally, until it thickens slightly. Brush it onto your chicken during the last 10–15 minutes of cooking, and again right after you pull it off the grill. The residual heat will set the glaze into this beautiful, sticky, caramelized coating.
That sauce, by the way, keeps in the fridge for about two weeks. I always make a double batch.
Troubleshooting Common Problems
Let me save you some grief by addressing the issues I see most often:
“My skin isn’t crispy”
Nine times out of ten, this is a moisture issue. Make sure you’re patting the chicken bone-dry before seasoning. Also, check your grill temp — if you’re cooking below 325°F, the skin won’t render properly. A light coating of oil helps too.
“The breast is dry but the thighs are perfect”
Welcome to the fundamental challenge of cooking a whole chicken. The breast reaches temp faster because it’s leaner. Brining helps enormously here. You can also try starting the chicken breast-side down for the first 20 minutes, then flipping. Or just embrace spatchcocking — it pretty much eliminates this problem.
“It’s taking way longer than expected”
Check your grill temperature. Outdoor conditions — wind, cold weather, altitude — all affect cook time. Make sure your lid vents are properly positioned (bottom vents mostly open for airflow, top vent about three-quarters open). Also, make sure you didn’t overstuff the cavity. And if it’s a really cold or windy day, you might need to add more charcoal mid-cook.
“The smoke flavor is too strong”
Use less wood, and stick to milder varieties like apple or cherry. A little goes a long way with chicken. You want a kiss of smoke, not a punch in the mouth.
The Final Word
So there it is — everything I know about how to BBQ a whole chicken, crammed into one article. I know it seems like a lot when you read through it, but once you’ve done it once or twice, the whole process becomes second nature. Prep takes 15 minutes. Cook time is about an hour and change. And the payoff is a chicken that’s crispy-skinned, smoky, juicy, and miles ahead of anything you’ll find at the grocery store rotisserie counter.
Here’s what I want you to do: this weekend, go grab a whole chicken. Don’t overthink it. Set up your grill, follow these steps, and just let the fire do its thing. You’re going to surprise yourself with how good it turns out.
And when your family or friends take that first bite and their eyes go wide? That’s the moment. That right there is why I’ve spent my whole career standing over hot coals. It never gets old.
Now get out there and grill.