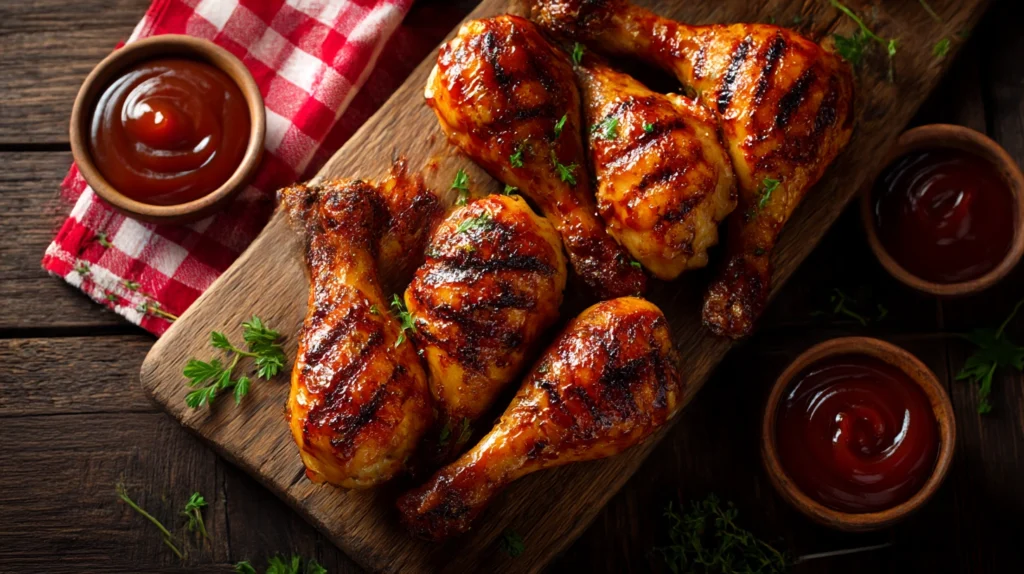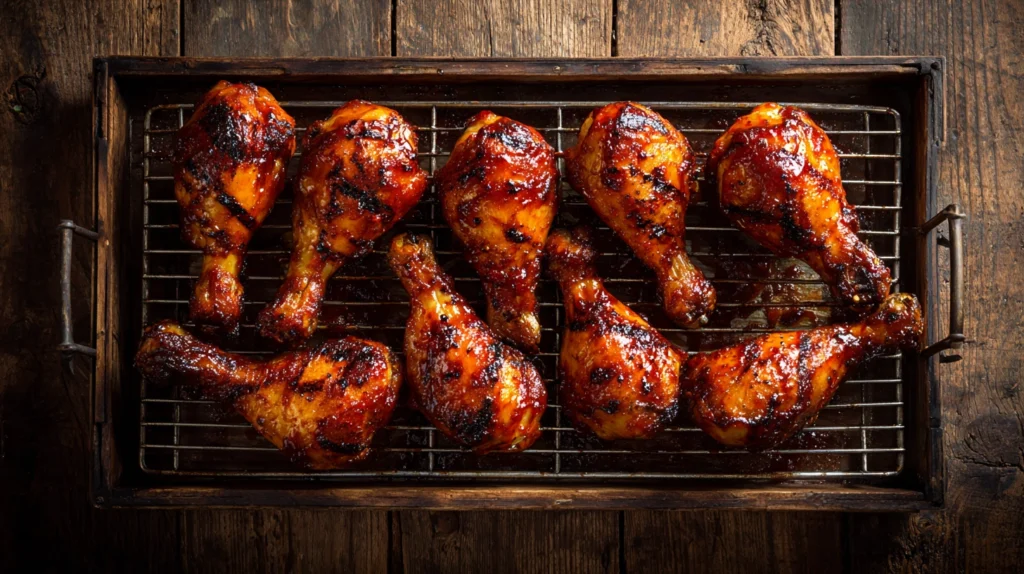
How to Reheat BBQ Chicken So It Stays Juicy (5 Easy Methods That Actually Work)
Let me tell you something. There are few culinary tragedies more heartbreaking than taking a beautiful piece of leftover barbecue chicken — chicken you spent hours babysitting over hickory smoke, chicken with a mahogany bark you’d frame and hang on the wall if you could — and nuking it into a sad, rubbery hockey puck. I’ve seen grown men cry. Okay, maybe just me, that one time in 2009. But still.
Here’s the thing about BBQ chicken: reheating it is honestly half the battle. You can be the world’s greatest pitmaster (and look, I’m not saying that’s me, but my trophy shelf isn’t exactly empty either), and none of it matters if your leftovers come out tasting like the inside of an old baseball glove. So today I’m going to walk you through the five methods I actually use at home, in the restaurant, and out at competitions when I’m trying to keep some test batches warm without murdering them.
Grab a cold one. Let’s get into it.
First, Some Real Talk About Why BBQ Chicken Dries Out
Before we touch a single appliance, you need to understand the enemy. Chicken — especially the breast meat, bless its lean little heart — has very little fat to protect itself when you reheat it. Every second past about 165°F internal, you’re squeezing moisture out of those muscle fibers like a sponge in a fist. Add a sugary BBQ sauce on top (which loves to scorch), and you’ve got a recipe for sadness.
The trick to all five of these methods boils down to three principles I drill into every line cook who walks into my kitchen:
Low and slow on the reheat. Add moisture back in. And for the love of all things holy, don’t overshoot the temperature. You’re aiming for somewhere around 140–150°F internal when you pull it. Carryover heat will do the rest. Trust me on this one.
Oh, and one more thing before we dive in — let your chicken sit out on the counter for 15 to 20 minutes before reheating. Cold-from-the-fridge chicken hitting hot heat is how you get that awful gradient where the outside is volcanic and the middle is still arctic. Anyway, moving on.
Method 1: The Oven (My Personal Favorite for Larger Batches)
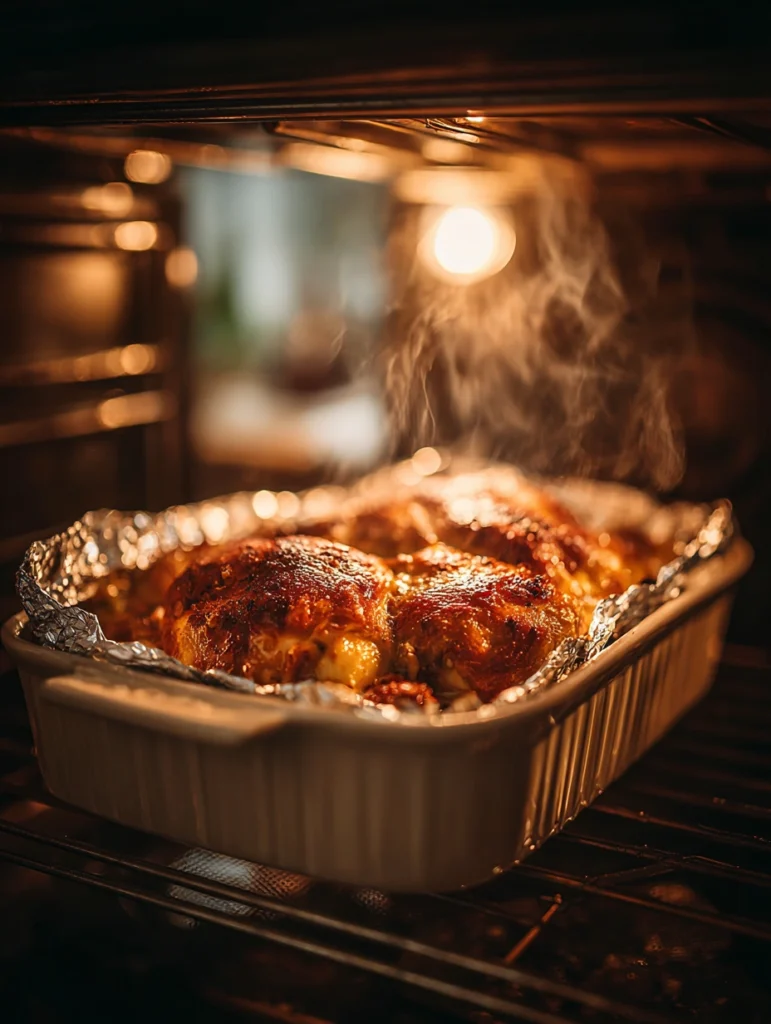
If I had to pick just one method to recommend to a friend, it’d be this one. The oven is forgiving, it heats evenly, and it lets you reheat a whole tray of chicken without standing over it. Perfect for when you’ve got leftovers from yesterday’s cookout and the family’s hungry again.
What You’ll Need
| Item | Amount |
|---|---|
| Leftover BBQ chicken | Whatever you’ve got |
| Chicken broth or water | 2–3 tablespoons |
| Aluminum foil | Enough to tent |
| Extra BBQ sauce (optional) | A few tablespoons |
How To Do It
Preheat your oven to 325°F. Not 400°F. I don’t care what that one blog said. 325°F. Place your chicken in a baking dish, drizzle the broth or water around (not over) the pieces, and tent loosely with foil. The foil traps steam, the steam rehydrates the meat, and the lower temp keeps the sauce from turning into a charcoal briquette.
Bake for about 15 minutes for bone-in pieces, 8–10 for boneless. Pull the foil off in the last 3 minutes if you want to crisp the skin back up, and brush on a little fresh sauce if you’re feeling fancy. Which you should be. Life’s short.
Pro tip from years of doing this: if your chicken is sauced already, the sugars will caramelize fast once that foil comes off. Watch it like a hawk in those last few minutes. I learned this the hard way at my niece’s graduation party. We don’t talk about that day.
Method 2: The Air Fryer (For When You Want That Crispy Skin Back)
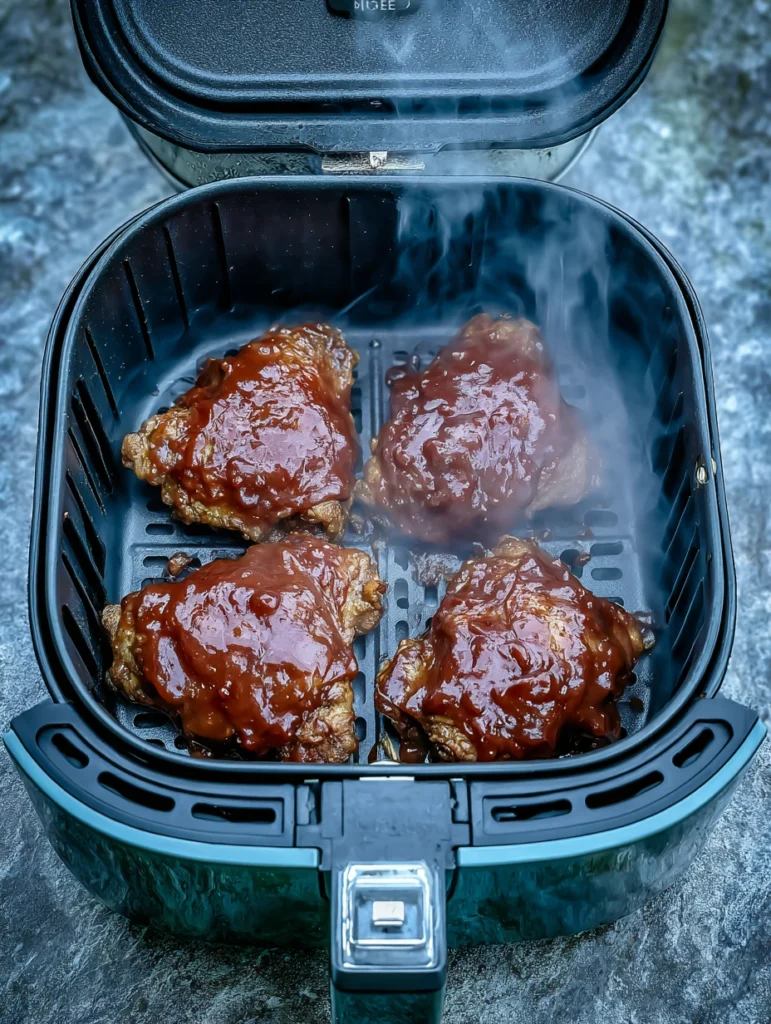
So in my experience, the air fryer is the secret weapon nobody saw coming. Five years ago I would’ve told you they were a fad. Now I’ve got two of them and I use them constantly. For reheating BBQ chicken, especially anything with skin, this thing is magic.
The air fryer’s circulating hot air essentially re-crisps the exterior while warming the interior — kind of like a tiny convection oven that minds its business and gets the job done.
Here’s the move: preheat to 350°F, brush your chicken lightly with a little olive oil or even a quick spritz of water (this is the secret nobody tells you), and lay the pieces in a single layer. Don’t crowd the basket. I know it’s tempting. Resist.
Cook for 4–5 minutes for boneless, 6–8 for bone-in. Flip halfway. That’s it. The skin gets shatteringly crisp again, and the inside stays tender because you’re not in there long enough to do damage. If you’re reheating sauced chicken, knock the temp down to 325°F because — say it with me — sugar burns.
Method 3: The Stovetop (Fast, Forgiving, and Underrated)

The stovetop method is what I reach for when it’s just me at the restaurant after close, and I want a quick bite of yesterday’s chicken without firing up an oven. It takes maybe six minutes start to finish.
Get yourself a skillet — cast iron if you’ve got it, but anything with a lid will work — and put it over medium-low heat. Add a splash of chicken broth, maybe a teaspoon of butter if you want to get decadent, and lay your chicken in skin-side down. Cover with the lid. The lid is doing the heavy lifting here, creating a little steam chamber that keeps the meat moist.
After about 3 minutes, flip the chicken, brush on a little fresh BBQ sauce, cover again, and give it another 2–3 minutes. Done. The bottom of the skin gets a nice little crisp from the direct contact, and the rest stays juicy from the steam. It’s the best of both worlds.
A word of warning though — keep that heat medium-LOW. Cranking it up to medium-high because you’re impatient (we’ve all been there) is how you scorch the sauce and toughen the meat in one fell swoop.
Method 4: The Grill (For the Purists Among Us)
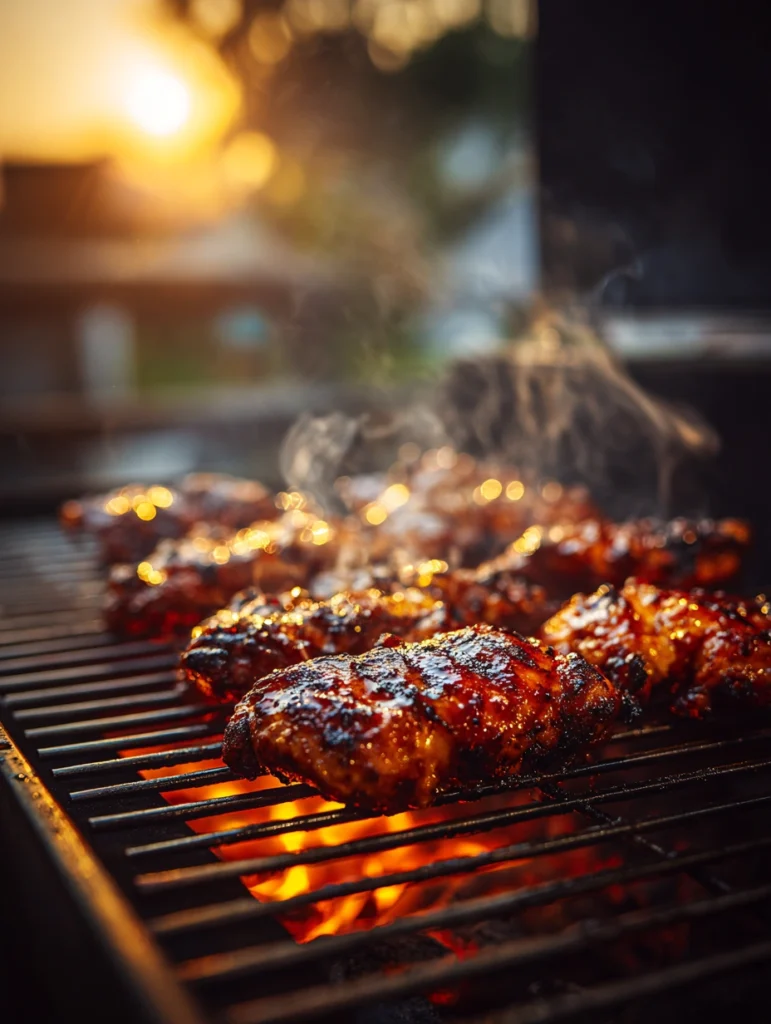
Look, I’ll be honest. Reheating chicken on the grill is a little extra. You’re firing up a whole grill for leftovers? But hear me out — if you’ve already got the grill going for something else, or it’s a beautiful Saturday afternoon and you just want an excuse, this method gives you results that taste like the chicken was just made.
Set up a two-zone fire. If you don’t know what that means, it’s just coals on one side and nothing on the other (or one burner on, others off, for gas). You want indirect heat around 275–300°F.
Place the chicken on the cool side, close the lid, and let it warm up gently for about 8–10 minutes. In the last minute or two, brush on some sauce and slide it briefly over the hot side to get that lacquered, glossy finish. Pull it, let it rest for 2 minutes, and dig in.
This method also gives you a chance to add a little fresh smoke flavor. Toss a small chunk of cherry or apple wood on the coals while it’s reheating and your chicken will taste even better than it did yesterday. I’m not kidding. Some of my best plates of chicken have been “leftovers” treated this way.
Method 5: The Microwave (Yes, Really — But Do It Right)
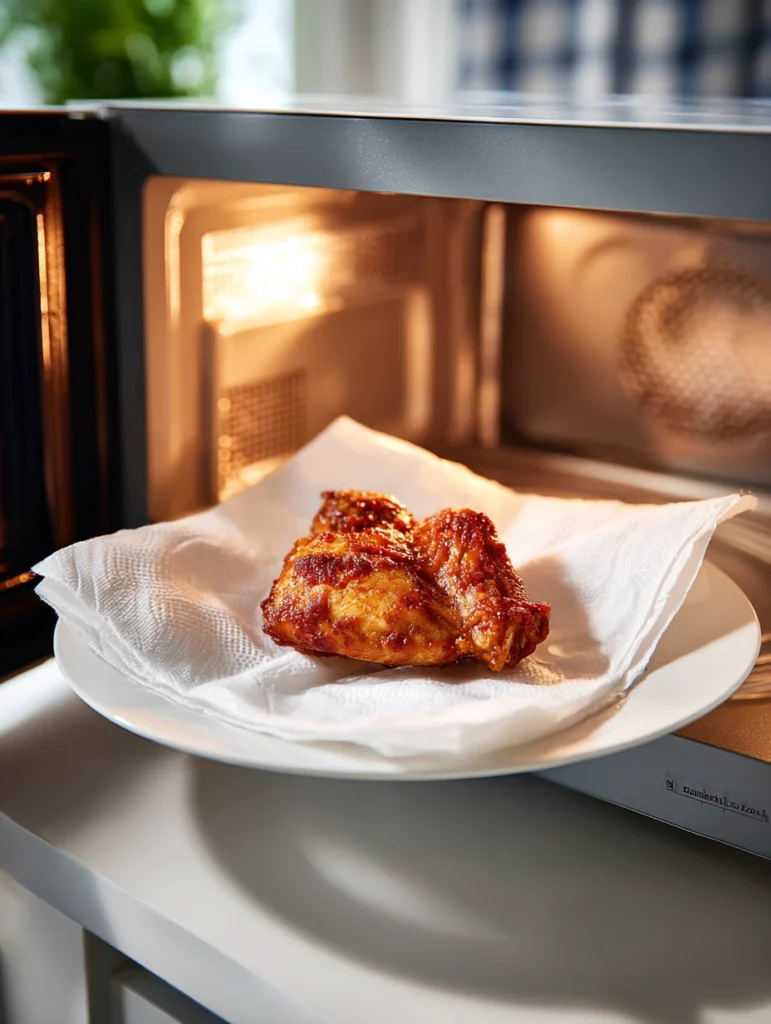
Okay, I can already hear my barbecue buddies hollering at me from across Kansas City. “Gus, the MICROWAVE? On BBQ chicken?!” Listen. I get it. But sometimes you’ve got 90 seconds and a hungry kid and life is what it is. So let me show you how to do it without committing a felony against the chicken.
The microwave’s problem is that it heats unevenly and superheats moisture inside the meat, which is what creates that rubbery texture everyone hates. But you can outsmart it.
Here’s how: place the chicken on a microwave-safe plate. Drape a damp paper towel over the top — this is non-negotiable. The damp towel creates a little micro-steam environment that protects the meat. Then, and this is the key, microwave at 50% power in 30-second bursts, flipping the chicken between each one. For one or two pieces, you’re looking at maybe 90 seconds to 2 minutes total.
Half power. Short bursts. Damp towel. Those are the rules. Follow them and microwaved BBQ chicken can actually be… dare I say it… pretty darn good.
A Quick Cheat Sheet Because I Know You’ll Forget
| Method | Temp | Time | Best For |
|---|---|---|---|
| Oven | 325°F | 10–15 min | Big batches, family meals |
| Air Fryer | 325–350°F | 4–8 min | Crispy skin, single servings |
| Stovetop | Medium-low | 5–6 min | Quick meals, 1–2 pieces |
| Grill | 275–300°F indirect | 8–10 min | Weekend, max flavor |
| Microwave | 50% power | 90 sec–2 min | Emergencies only (no judgment) |
A Few Final Pitmaster Secrets
Before I let you go, a couple of things I wish someone had told me twenty years ago.
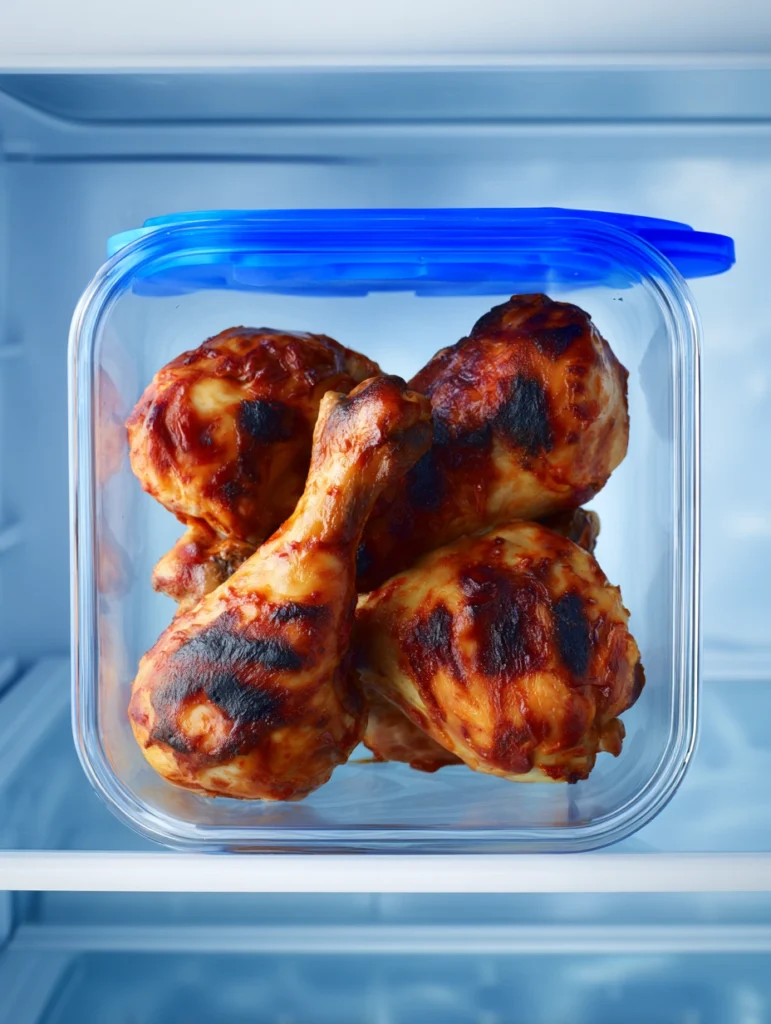
Store your chicken right. This is half the battle won before you even start reheating. Get it into an airtight container within two hours of cooking, and try to keep the sauced and unsauced pieces separate if you can. Sauce on stored chicken can actually make the meat go funky faster.
Always add a little moisture back. Whether it’s broth, water, a pat of butter, or even just a fresh brush of sauce — you’re replacing what time and the fridge took from you. Don’t skip this step.
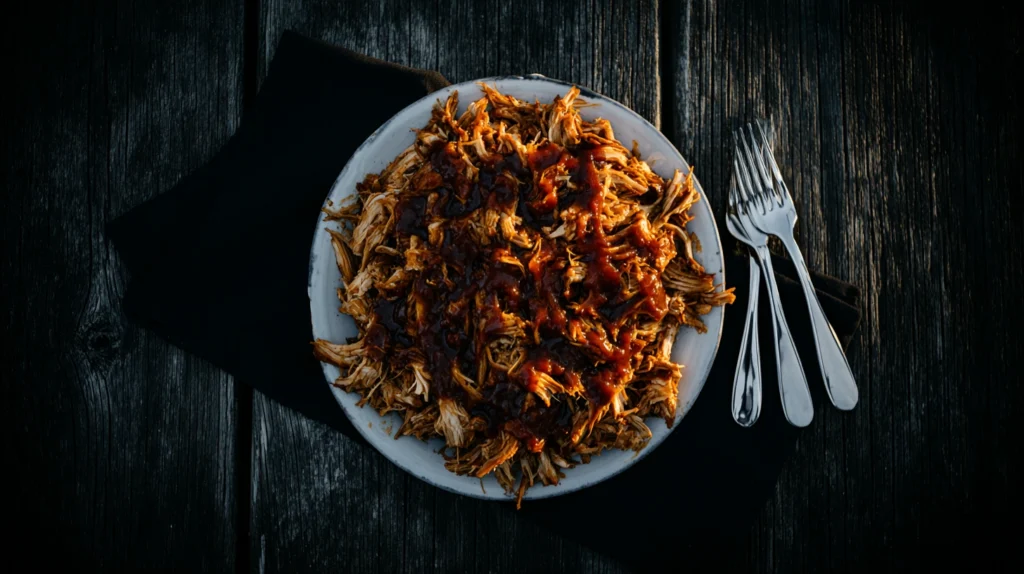
And don’t be afraid to repurpose. If your chicken’s looking a little worse for wear, shred it, toss it with some warm sauce, and pile it on a brioche bun. Boom — pulled chicken sandwich. Nobody will know it was leftovers. This is one of my favorite tricks for the blog because home cooks love a glow-up recipe.
You’ve Got This
So there you have it — five solid methods to bring your BBQ chicken back from the brink. Pick the one that fits your situation, follow the principles (low heat, added moisture, don’t overshoot the temp), and you’ll never throw out leftover chicken again. And honestly? Once you get good at reheating, you might start cooking extra on purpose just so you’ve got some waiting in the fridge for tomorrow. I know I do.
Now get in there and rescue that chicken. Your taste buds — and your grocery budget — will thank you. And hey, if you mess it up the first time, no big deal. Even us so-called grill masters had to burn a few birds before we figured it out. Keep at it. I believe in you.