How to Make BBQ Chicken in the Oven Easy Baked Recipe

Look, I know what you’re thinking. “Gus, you’re a pit master — why on earth are you telling us how to make BBQ chicken in the oven?” And hey, I get it. If you’d told me ten years ago I’d be writing this article, I probably would have laughed you right out of my smoky backyard. But here’s the thing — life doesn’t always hand you perfect grilling weather. Sometimes it’s pouring rain. Sometimes it’s February in Kansas City and the wind chill is making your smoker act like a moody teenager. And sometimes? You just want BBQ chicken without babysitting a grill for hours.
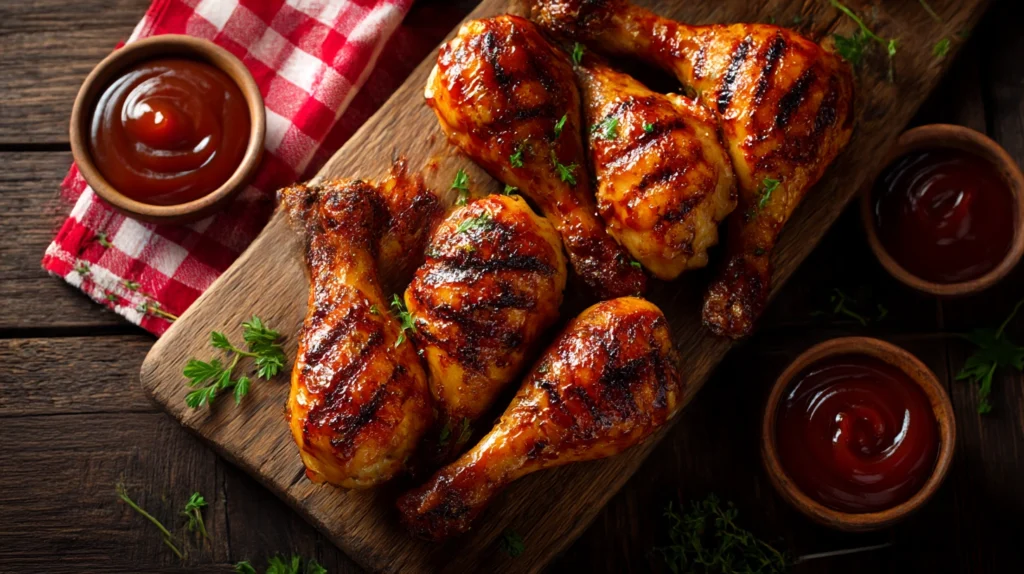
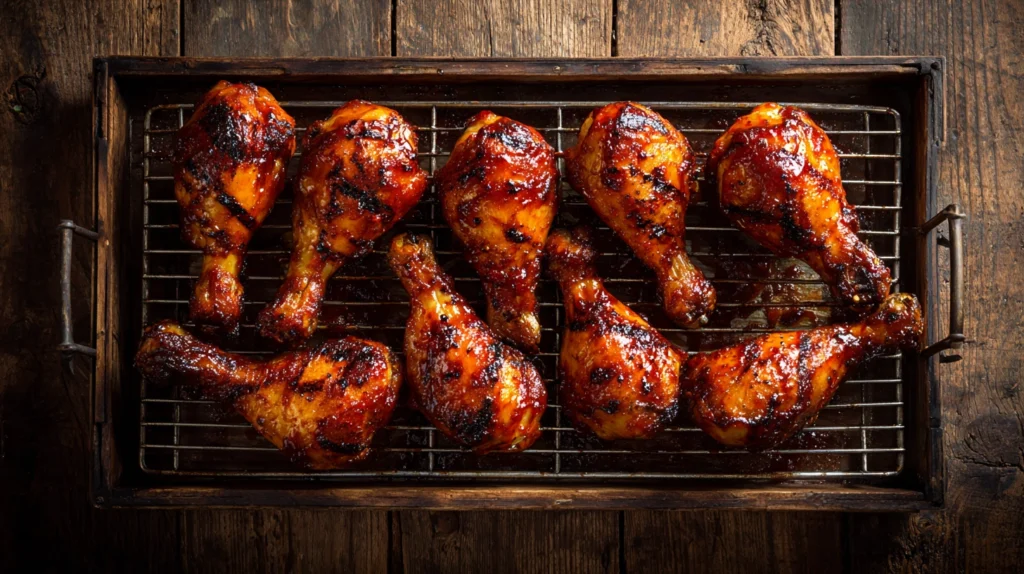
So yeah, I’m going to teach you how to make BBQ chicken in the oven, and I promise you — it’s going to be absolutely delicious. We’re talking juicy, tender, fall-off-the-bone chicken with that sticky, caramelized BBQ glaze that makes you close your eyes and go “mmm” with every single bite. And the best part? You can pull this off in under an hour, even if you’ve never cooked anything more complicated than a grilled cheese.
Let’s get into it.
Why Oven BBQ Chicken Actually Works (A Pit Master’s Confession)
I’ll be honest with you — for years, I was a total snob about this. “Real BBQ comes from smoke and fire,” I’d say, crossing my arms and looking all serious next to my offset smoker. But then my wife asked me to make BBQ chicken on a Tuesday night. In November. When it was sleeting outside.
So I fired up the oven. And you know what? That chicken was phenomenal.
Here’s why it works so well: your oven is basically a giant, super-consistent heat box. It holds temperature like a champ — no hot spots from shifting coals, no temperature drops from opening the lid to peek (we’ve all done it, no judgment). When you combine that consistent heat with a great BBQ sauce and a few tricks I’ve picked up over 20-plus years of cooking, you get chicken that rivals anything coming off a backyard grill.
The Science Behind Oven-Baked BBQ Chicken
I’m not a food scientist, but I’ve read enough and experimented enough to understand what’s happening in there. When you bake chicken at the right temperature — we’re talking 400°F — a few beautiful things happen:
- The skin starts to render its fat and crisp up
- The Maillard reaction kicks in, creating those gorgeous brown flavors on the surface
- The connective tissues in the meat break down slowly, keeping everything moist
- When you layer on BBQ sauce toward the end, the sugars caramelize without burning
It’s chemistry, people. Delicious, finger-licking chemistry.
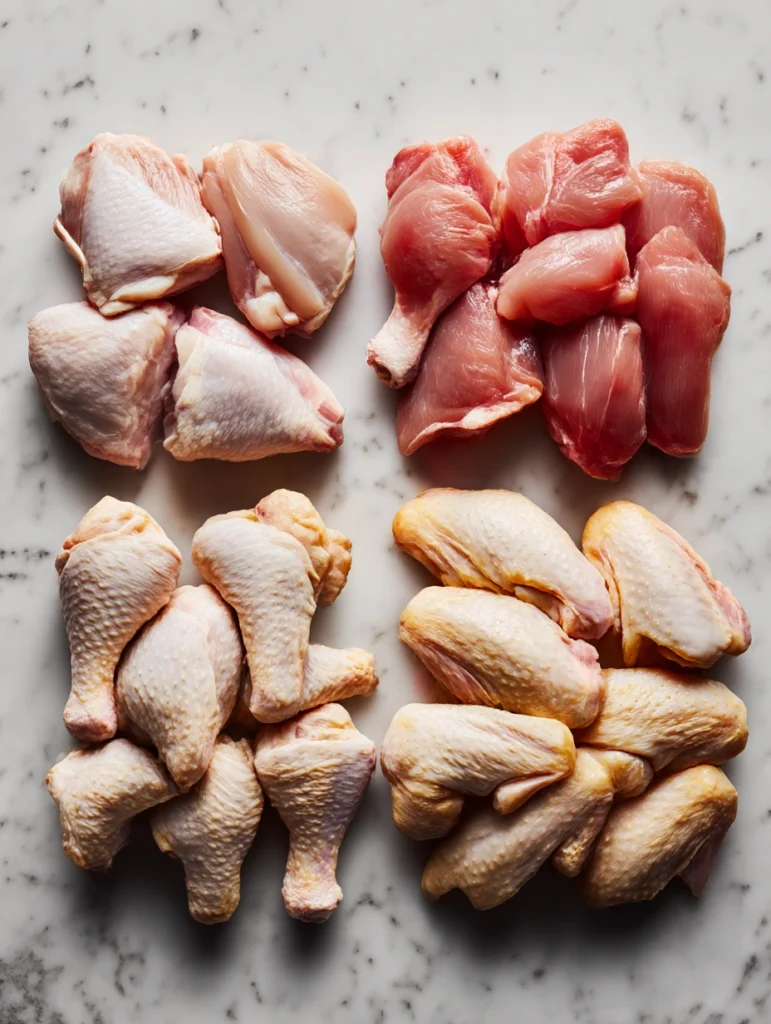
Choosing Your Chicken: The Cut Matters More Than You Think
Before we even talk about seasoning or sauce, let’s talk about the chicken itself. This is where a lot of home cooks go wrong, and I don’t want that to be you.
Best Cuts for Oven BBQ Chicken
| Cut | Cook Time (at 400°F) | Best For | Difficulty |
|---|---|---|---|
| Bone-in, skin-on thighs | 35-45 minutes | Maximum flavor and juiciness | Beginner-friendly |
| Drumsticks | 35-40 minutes | Kids, parties, easy eating | Beginner-friendly |
| Bone-in, skin-on breasts | 35-45 minutes | Leaner option with great flavor | Intermediate |
| Boneless, skinless thighs | 25-30 minutes | Quick weeknight meals | Beginner-friendly |
| Boneless, skinless breasts | 20-25 minutes | Healthy option (but watch the temp!) | Requires attention |
| Whole wings | 30-35 minutes | Appetizers and game day | Beginner-friendly |
My Honest Recommendation
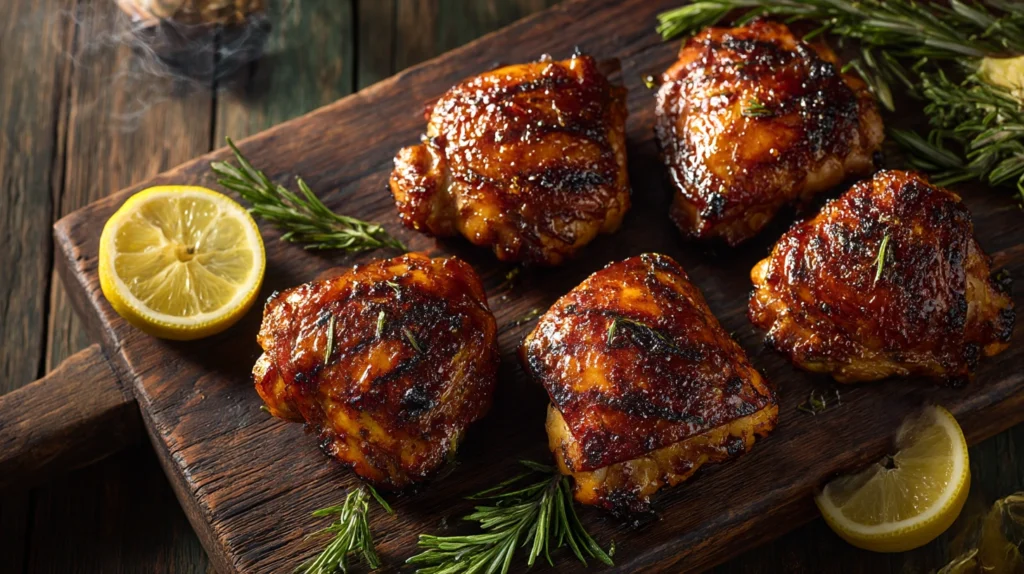
If you’re making oven BBQ chicken for the first time, go with bone-in, skin-on thighs. Every. Single. Time. They’re practically impossible to overcook, they’ve got incredible flavor from the bone and the fat, and they hold up to BBQ sauce like they were born for it. Chicken breasts are great and all, but they dry out faster than a puddle in the Sahara if you’re not careful.
Anyway, that’s just my two cents. I’ve overcooked more chicken breasts than I’d like to admit, even as a so-called professional. Thighs are more forgiving, and when you’re learning how to make BBQ chicken in the oven, forgiveness is a beautiful thing.
The Recipe: Oven-Baked BBQ Chicken
Alright, here’s where the rubber meets the road. This is my go-to recipe — the one I make on weeknights, the one I’ve served to friends who thought they didn’t like oven-cooked BBQ, the one that always gets asked for at potlucks.
Ingredients
| Ingredient | Amount | Notes |
|---|---|---|
| Chicken pieces (bone-in, skin-on thighs or drumsticks) | 3 lbs (about 8 pieces) | Pat dry with paper towels |
| Olive oil | 2 tablespoons | Helps the rub stick and aids browning |
| BBQ sauce (your favorite) | 1½ cups | I use a Kansas City-style sweet and smoky sauce |
| Garlic powder | 1½ teaspoons | — |
| Onion powder | 1 teaspoon | — |
| Smoked paprika | 1½ teaspoons | This is the secret weapon — don’t skip it |
| Brown sugar | 1 tablespoon | Packed |
| Salt | 1 teaspoon | Kosher salt preferred |
| Black pepper | ½ teaspoon | Freshly cracked if you’ve got it |
| Cayenne pepper | ¼ teaspoon | Optional — leave out for kids or the spice-averse |
A Quick Note on BBQ Sauce
You can absolutely use store-bought sauce here — no shame in that game. Sweet Baby Ray’s, Stubbs, KC Masterpiece — they all work great. But if you want to go the extra mile, I’ve included my quick homemade sauce recipe below. The key thing is: use a sauce you actually enjoy eating. This isn’t the time to experiment with that weird mango-habanero-lavender sauce your cousin brought to the cookout. Stick with a classic and let the technique do the heavy lifting.
Equipment You’ll Need
- A large rimmed baking sheet (half-sheet pan is perfect)
- Aluminum foil or parchment paper for easy cleanup
- A wire cooling rack that fits inside your baking sheet (optional but highly recommended)
- A meat thermometer (please, please get one if you don’t have one — they’re like $12 and they’ll change your cooking life)
- A basting brush for the sauce
- Mixing bowl for the dry rub
Step-by-Step Instructions
Step 1: Prep and Season the Chicken
Time: 10 minutes (plus 30 minutes resting if you’ve got time)
- Preheat your oven to 400°F (200°C). Position your rack in the center of the oven. This temperature is the sweet spot — hot enough to get good browning and caramelization, but not so hot that the outside burns before the inside cooks through.
- Pat the chicken dry. This is probably the most important step in this entire recipe, and I cannot stress it enough. Grab some paper towels and really go to town drying off every piece of chicken. Moisture is the enemy of crispy skin. Think of it this way — you can’t sear something that’s wet. If the surface is damp, the oven’s energy goes into evaporating water instead of browning your chicken.
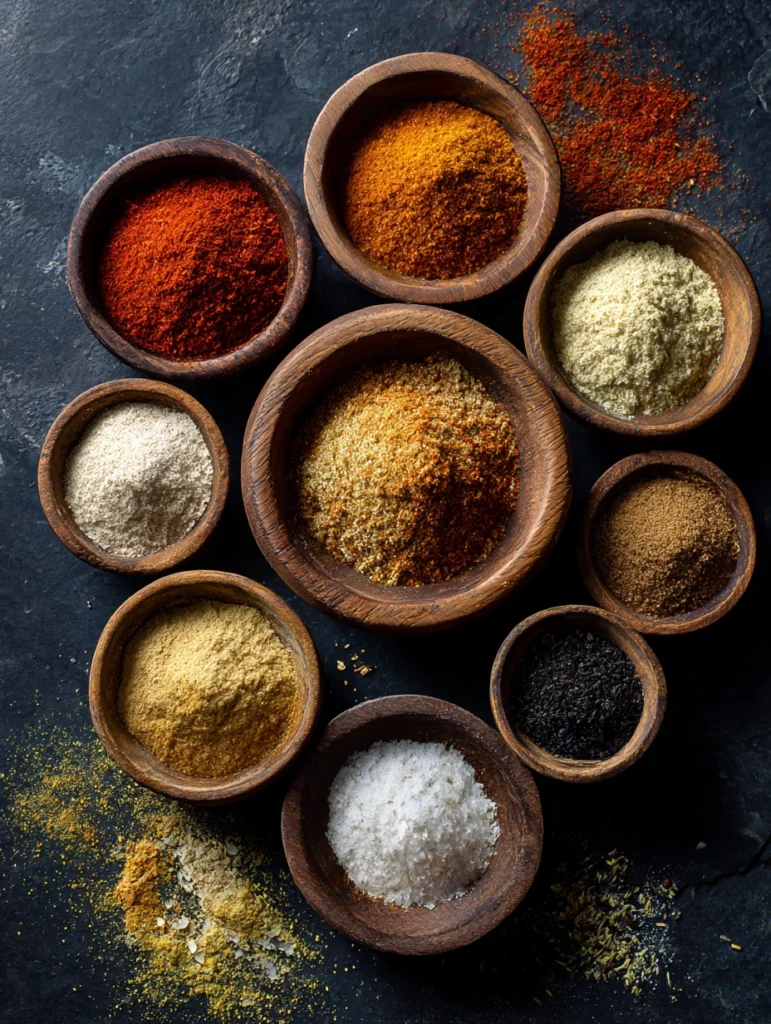
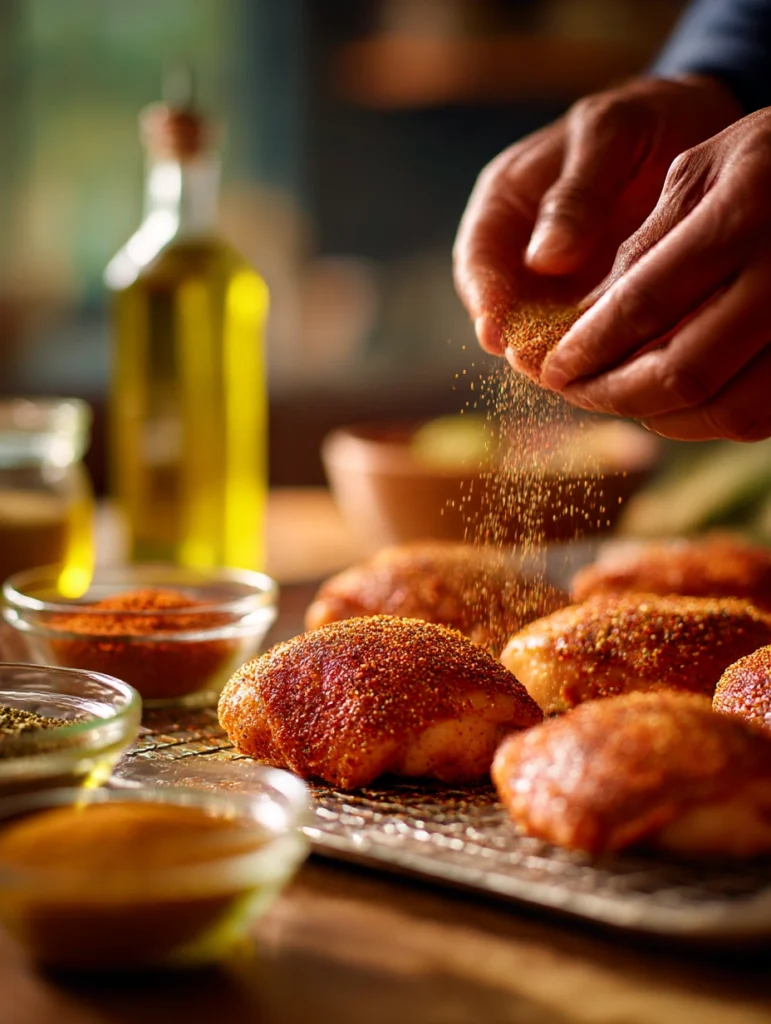
- Mix up the dry rub. In a small bowl, combine the garlic powder, onion powder, smoked paprika, brown sugar, salt, black pepper, and cayenne (if using). Give it a good stir. Take a second to smell it — that right there is the smell of something amazing about to happen.
- Oil and season the chicken. Drizzle the olive oil over the chicken pieces and use your hands to make sure every piece is lightly coated. Then sprinkle the dry rub generously over all sides of the chicken. Don’t be shy. Rub it in with your fingers, getting into all the nooks and crannies. Every surface should be covered.
- Let it rest (if you can). If you’ve got time, let the seasoned chicken sit at room temperature for about 20-30 minutes. This does two things: it takes the chill off so the chicken cooks more evenly, and it gives the salt time to start doing its thing — drawing out a tiny bit of moisture, dissolving, and then getting reabsorbed into the meat. That’s basically a quick dry brine, and it makes a real difference.
Step 2: Set Up Your Baking Sheet
Time: 2 minutes
Line your rimmed baking sheet with aluminum foil. Trust me on this — BBQ sauce is basically edible cement once it bakes onto a pan, and you do not want to scrub that off later.
If you’ve got a wire rack, set it on top of the foil-lined pan. This is a game-changer because it lifts the chicken up off the surface, allowing hot air to circulate underneath. The result? Crispier skin all around and no soggy bottoms. (Great British Bake Off fans, you know what I’m talking about.)
If you don’t have a wire rack, no worries. Just place the chicken directly on the foil, skin side up. It’ll still be delicious — just maybe a little less crispy on the bottom.
Step 3: Bake the Chicken (First Phase — No Sauce Yet!)
Time: 25 minutes
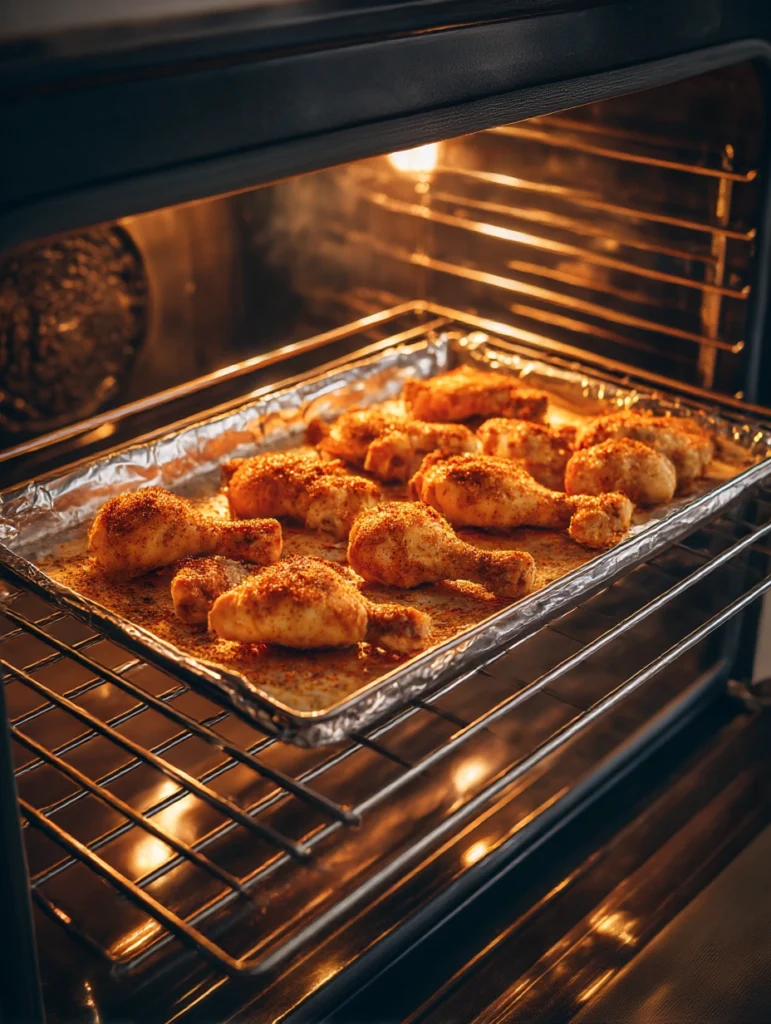
Place the chicken on the wire rack (or directly on the foil), skin side up. Make sure the pieces aren’t touching — give them a little breathing room so the heat can circulate properly.
Slide the baking sheet into the center of the oven and set your timer for 25 minutes.
Here’s a mistake I see people make all the time: they slather on the BBQ sauce before the chicken goes in the oven. Don’t do this. BBQ sauce is full of sugar, and sugar burns. If you put sauce on at the beginning, by the time the chicken is cooked through, your sauce will be a blackened, bitter mess. We’re going to add it later, strategically, in layers. Patience, grasshopper.
During these first 25 minutes, the chicken is doing its thing — the fat is rendering, the skin is starting to crisp, and the dry rub is creating a flavorful base layer that the BBQ sauce will stick to perfectly.
Step 4: Layer on the BBQ Sauce
Time: 20-25 minutes
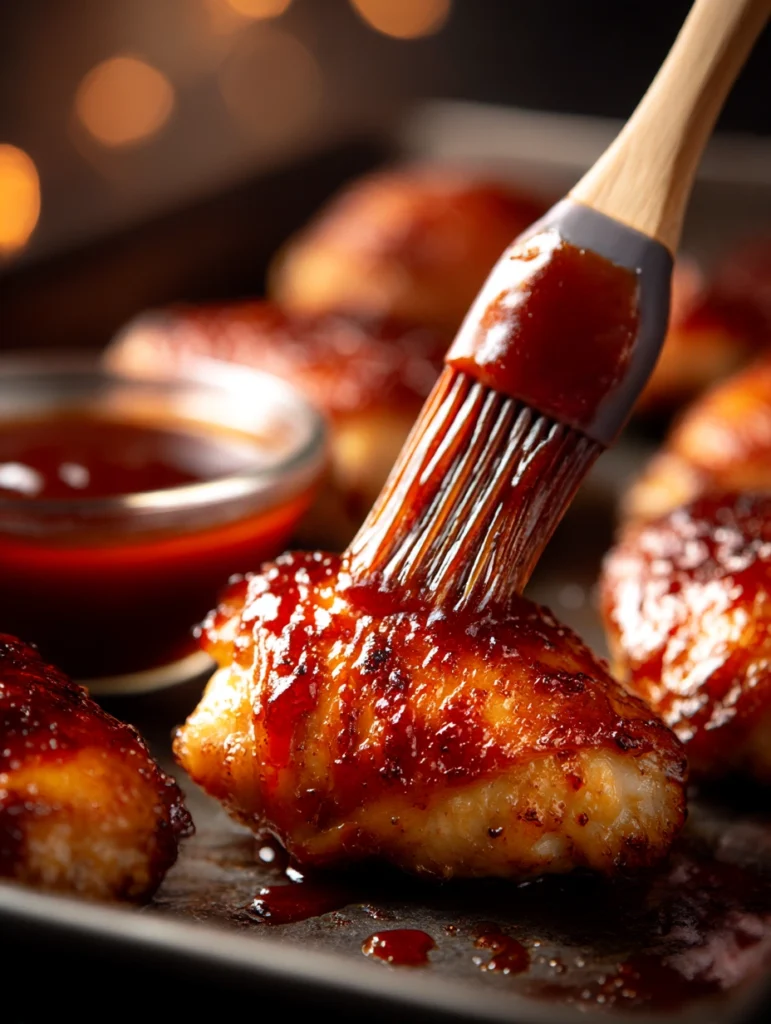
After the first 25 minutes, pull the chicken out of the oven. It should be starting to look golden and beautiful — not cooked through yet, but getting there.
Now comes the fun part.
- First layer of sauce: Using your basting brush, apply a generous coat of BBQ sauce to the top and sides of each piece of chicken. Don’t flip them — skin side stays up.
- Back in the oven for 10 minutes.
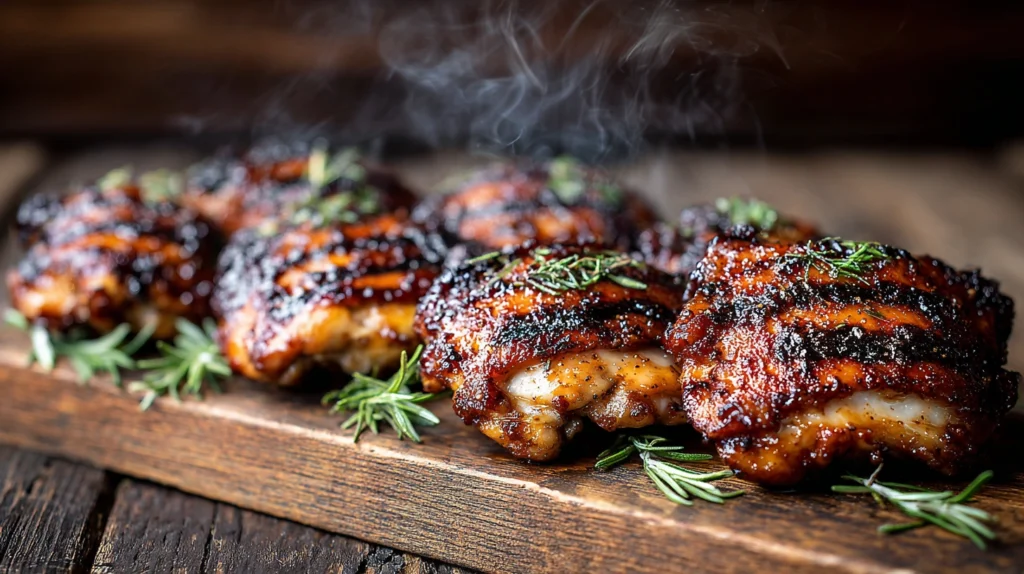
- Second layer of sauce: Pull the chicken out again and add another coat of sauce. This layering technique is what gives you that thick, sticky, caramelized glaze that makes oven BBQ chicken so irresistible. Each layer partially sets before the next one goes on, building up that gorgeous lacquered finish.
- Back in the oven for a final 10-15 minutes, or until the internal temperature reaches 165°F (74°C) for breast pieces or 175-180°F (79-82°C) for thighs and drumsticks.
Internal Temperature Guide
| Cut | Target Internal Temp | What to Look For |
|---|---|---|
| Chicken breast (bone-in) | 165°F (74°C) | Juices run clear, no pink at the bone |
| Chicken thighs | 175-180°F (79°C) | Tender, pulls easily from the bone |
| Drumsticks | 175-180°F (79°C) | Meat retracts from the bone slightly |
So in my experience, thighs and drumsticks actually taste better at 175-180°F than at 165°F. At the higher temp, the collagen and connective tissue have fully broken down, giving you that silky, melt-in-your-mouth texture. Breasts, on the other hand, should come out right at 165°F — any higher and you start heading into dry territory.
Step 5: Rest, Then Devour
Time: 5 minutes
Pull the chicken out and — I know this is hard — let it rest for about 5 minutes. Don’t skip this. When meat cooks, the juices get pushed toward the center. Resting lets those juices redistribute throughout the meat. If you cut into it immediately, all that good stuff runs out onto your cutting board instead of staying where it belongs.
While it rests, you can brush on one more thin layer of fresh sauce if you want that extra-sticky, extra-saucy look. This final layer won’t cook, so it’ll be bright, glossy, and full of fresh BBQ flavor.
Then serve it up and accept the compliments.
Gus’s Quick Homemade BBQ Sauce
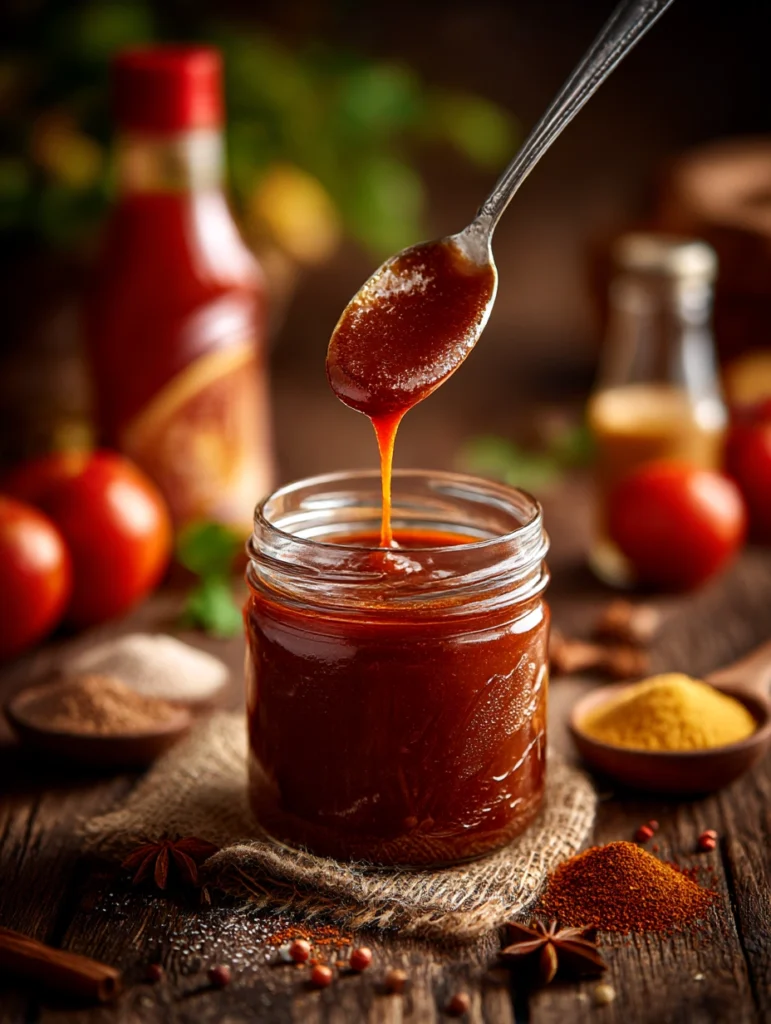
Now, like I said, store-bought sauce works perfectly fine. But if you want to take things up a notch — and it literally takes 10 minutes — here’s my easy stovetop BBQ sauce.
Ingredients
| Ingredient | Amount |
|---|---|
| Ketchup | 1 cup |
| Apple cider vinegar | 2 tablespoons |
| Brown sugar | 3 tablespoons (packed) |
| Worcestershire sauce | 1 tablespoon |
| Yellow mustard | 1 teaspoon |
| Smoked paprika | 1 teaspoon |
| Garlic powder | ½ teaspoon |
| Onion powder | ½ teaspoon |
| Salt | ½ teaspoon |
| Black pepper | ¼ teaspoon |
| Hot sauce | A few dashes (optional) |
Instructions
- Combine everything in a small saucepan over medium heat.
- Stir until smooth and bring to a gentle simmer.
- Reduce heat to low and let it cook for about 8-10 minutes, stirring occasionally, until it thickens slightly.
- Taste and adjust — more sugar if you like it sweeter, more vinegar if you want more tang, more hot sauce if you want some kick.
- Let it cool slightly before using. It’ll thicken a bit more as it cools.
This makes about 1½ cups, which is exactly what you need for this recipe. Any extra keeps in the fridge for about 2 weeks in a sealed jar.
Pro Tips from 20 Years Behind the Grill (and Occasionally the Oven)
Tip 1: Don’t Skip the Smoked Paprika
When you’re learning how to make BBQ chicken in the oven, smoked paprika is your best friend. It adds that subtle smokiness that you’d normally get from a wood-fired grill or smoker. Regular paprika is fine for color, but smoked paprika brings actual flavor. It’s cheap, it’s available at every grocery store, and it’s the single easiest way to make your oven BBQ taste more like the real deal.
Tip 2: Use a Meat Thermometer — Seriously
I can’t tell you how many times I’ve heard “I just cut into it to see if it’s done.” Please don’t do that. Every time you cut into a piece of chicken, you’re letting juices escape. A meat thermometer costs less than a decent lunch, and it takes all the guesswork out of cooking. Stick it into the thickest part of the meat, avoiding the bone, and you’ll know exactly when your chicken is perfectly done.
Tip 3: Broil for the Final 2 Minutes (Optional but Amazing)
Want that charred, slightly caramelized finish that looks like it came off a grill? After your chicken hits the target temperature, switch your oven to broil on high and let it go for just 1-2 minutes. Watch it like a hawk though — the broiler goes from “perfect char” to “house fire” real quick. I’m speaking from experience here. My wife still brings up The Incident of 2019.
Tip 4: Room Temperature Chicken Cooks Better
I mentioned this above, but it’s worth repeating. Pulling chicken straight from the fridge means the outside overcooks while the inside catches up. Even 20 minutes on the counter makes a noticeable difference in how evenly your chicken cooks.
Tip 5: Don’t Overcrowd the Pan
Give your chicken pieces at least an inch of space between them. Overcrowding creates steam, and steam is the mortal enemy of crispy skin. If you’re cooking for a crowd and everything doesn’t fit on one pan with room to breathe, use two pans. Future you will thank present you.
Common Mistakes (And How to Avoid Them)
I’ve made every one of these mistakes at least once, so learn from my failures:
Mistake 1: Saucing Too Early
As I explained above — sugar burns. Wait until the last 20-25 minutes to start your sauce layers. Your patience will be rewarded with a gorgeous glaze instead of a bitter, charred coating.
Mistake 2: Not Patting the Chicken Dry
Wet chicken = steamed chicken = sad chicken. Three seconds with a paper towel changes everything.
Mistake 3: Using Only Boneless, Skinless Breasts
Look, I get it — you’re trying to eat healthy. That’s admirable. But bones add flavor and moisture, and skin adds texture and fat that keeps things juicy. If you’re going boneless and skinless, reduce your cook time significantly and consider brining the chicken in salted water for 30 minutes before cooking.
Mistake 4: Opening the Oven Every 5 Minutes to Check
Every time you open that oven door, you drop the temperature by 25-50°F. The oven then has to work overtime to get back up to temp, which extends your cook time and makes things uneven. Set a timer. Trust the process.
Mistake 5: Forgetting to Rest the Chicken
Five minutes. That’s all I’m asking. Go set the table, pour yourself a drink, do whatever you need to do — just don’t cut into that chicken right away.
What to Serve with Oven BBQ Chicken
No BBQ chicken dinner is complete without some killer sides. Here are my favorites:
Classic Pairings
| Side Dish | Why It Works |
|---|---|
| Creamy coleslaw | The cool, tangy crunch balances the sweet, sticky sauce |
| Cornbread | Soaks up extra sauce like a dream |
| Baked beans | A BBQ classic — sweet, smoky, and hearty |
| Mac and cheese | Because everything goes with mac and cheese |
| Grilled corn on the cob | Sweet, buttery, and smoky — the perfect complement |
| Potato salad | Creamy and comforting — a cookout staple |
Lighter Options
| Side Dish | Why It Works |
|---|---|
| Garden salad with ranch | Fresh and crunchy, cuts through the richness |
| Roasted sweet potatoes | Naturally sweet and earthy — gorgeous with BBQ |
| Steamed green beans with garlic | Simple, healthy, and doesn’t compete with the chicken |
| Cucumber and tomato salad | Light, acidic, refreshing |
Storing and Reheating Leftovers
If you’ve somehow managed to have leftover BBQ chicken (in my house, this is a rare miracle), here’s how to handle it:
Storage
- Refrigerator: Store in an airtight container for up to 3-4 days.
- Freezer: Wrap individual pieces tightly in plastic wrap, then place in a freezer bag. Good for up to 3 months.
Reheating
The key to reheating BBQ chicken without drying it out is low and slow — even in the oven. Preheat to 325°F, place the chicken on a baking sheet, cover loosely with foil, and heat for about 15-20 minutes until warmed through. Adding a small splash of chicken broth or water under the foil creates a little steam that helps keep things moist.
Please, I’m begging you — don’t just nuke it in the microwave on high for 3 minutes. You’ll end up with rubber. If you absolutely must use the microwave, use 50% power, cover the chicken with a damp paper towel, and heat in 30-second intervals. But honestly? The oven method is worth the extra 15 minutes.
Frequently Asked Questions
Can I use frozen chicken?
Technically yes, but I really don’t recommend it. Frozen chicken releases a ton of water as it thaws during cooking, which means soggy skin and uneven cooking. Thaw it fully in the fridge overnight first. If you’re in a rush, use the cold water thawing method — submerge the sealed chicken in cold water, changing the water every 30 minutes. It’ll thaw in about an hour.
Can I make this recipe with chicken wings?
Absolutely! Wings are fantastic with BBQ sauce in the oven. Cook them at 400°F for about 25 minutes before saucing, then add two layers of sauce over the final 10-15 minutes. They might need slightly less time overall since they’re smaller.
What if I don’t have smoked paprika?
Regular paprika works in a pinch, but you’ll lose that smoky flavor. Another option: add a tiny bit (¼ teaspoon) of liquid smoke to your BBQ sauce. It’s concentrated, so a little goes a long way.
Can I use this technique for a whole chicken?
You bet. A whole chicken will need about 60-75 minutes at 400°F for the initial unsauced cook, then start your sauce layers for the final 20-25 minutes. Make sure the thickest part of the thigh hits 175°F.
How do I keep the chicken from sticking to the pan?
That wire rack I mentioned is the best solution. If you don’t have one, a generous layer of foil sprayed with cooking spray works well too.
Final Thoughts: From One Cook to Another
Here’s what I really want you to take away from this: knowing how to make BBQ chicken in the oven doesn’t make you any less of a griller or barbecue lover. It makes you a more versatile cook. And that’s always a good thing.
I’ve spent 20-something years standing over fire and smoke, and I love every minute of it. But some of the best meals I’ve served my family have come straight out of a regular old kitchen oven. No fancy equipment, no special skills — just good chicken, good seasoning, good sauce, and a little patience.
So fire up that oven, grab some chicken thighs, mix up that dry rub, and go make something your family will be talking about all week. You’ve got everything you need to nail this.
And when you do — take a picture, enjoy the moment, and remember: great barbecue isn’t about what you cook it on. It’s about the love you put into it.
Now go cook something amazing. I believe in you.