How to Grill Bone In Chicken Breast: Easy Step-by-Step Guide
Listen, I’ve been standing over hot coals for the better part of three decades now, and if there’s one thing that still gets me genuinely excited on a Saturday afternoon, it’s a properly grilled bone-in chicken breast. I know, I know — sounds boring, right? Everybody and their uncle thinks they can grill chicken. And everybody and their uncle is usually serving up sad, dried-out hockey pucks that taste like the inside of a cardboard box. Sorry, Uncle Dave. Somebody had to say it.
Here’s the thing about bone-in, skin-on chicken breast: it’s the most forgiving, flavorful, juicy cut of poultry you can throw on a grate, and somehow it’s also the one folks mess up the most. Doesn’t make a lick of sense to me. So pull up a chair, grab a cold one, and let me walk you through how I do it down at the pit — and how you can do it in your own backyard without needing a $3,000 offset smoker.
Why Bone-In Beats Boneless Every Single Time
Before we even light a match, let’s talk about why you should be reaching for bone-in chicken breasts in the first place. I had a customer come into the restaurant a few years back — sweet lady, regular — and she asked me why our chicken always tasted “different.” Better. She couldn’t put her finger on it. I told her: “Ma’am, it’s the bone.”
She looked at me like I’d lost my marbles. But it’s true. The bone acts like a little internal heat regulator. It conducts heat slower than meat, which means the area right around the bone stays cooler longer, giving the rest of the breast time to cook gently without overshooting. The skin? That’s your insurance policy. It bastes the meat as the fat renders, locks in moisture, and crisps up into something that should honestly be illegal in several states.
Boneless skinless breasts have their place — meal prep, salads, when your doctor’s giving you the side-eye about your cholesterol — but for grilling? It’s bone-in or bust in my book.
What You’ll Need
Let me lay out the basics. Nothing fancy here. You probably have most of this already.
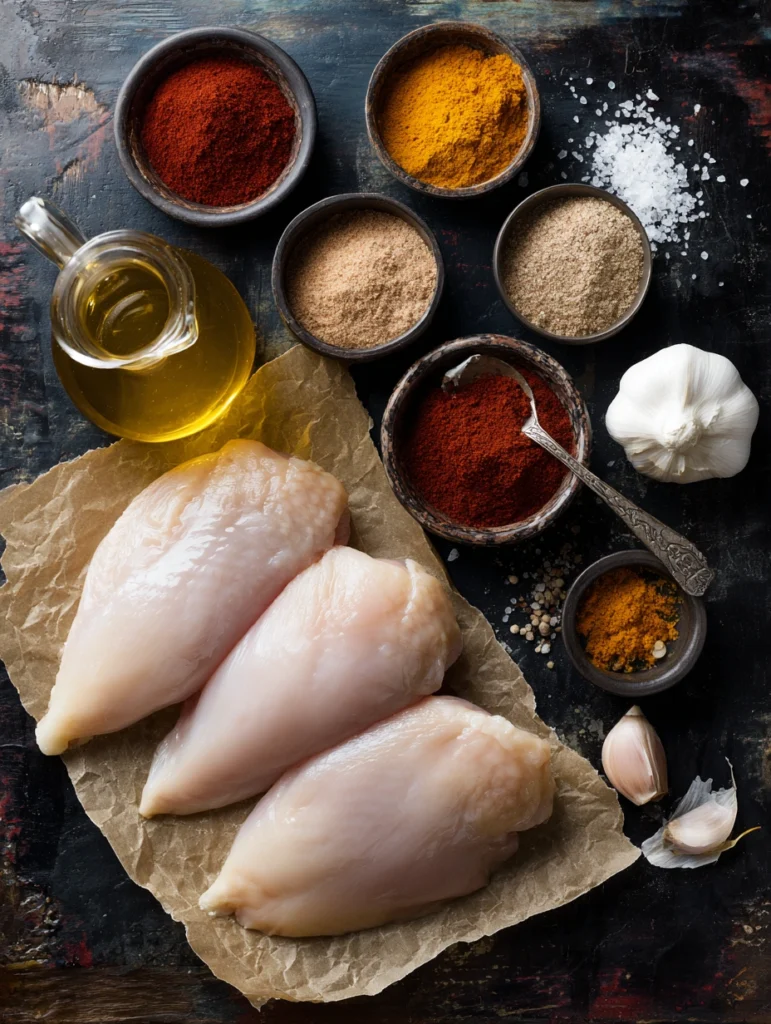
For the chicken:
- 4 bone-in, skin-on chicken breasts (about 10-12 oz each)
- 2 tablespoons olive oil or avocado oil
- Kosher salt (the diamond crystal stuff — don’t @ me, it’s just better)
- Fresh cracked black pepper
- 1 tablespoon smoked paprika
- 2 teaspoons garlic powder
- 2 teaspoons onion powder
- 1 teaspoon brown sugar
- ½ teaspoon cayenne (optional, but recommended if you’ve got any sense of adventure)
Equipment:
- A grill (charcoal or gas, I’m not picky — well, I am, but we’ll get to that)
- An instant-read thermometer (NON-NEGOTIABLE, more on this in a minute)
- Tongs (never a fork, please, I’m begging you)
- A clean platter for the cooked chicken (NOT the same one you used for the raw — food safety 101)
Step 1: Brine It. Yes, Really.
Okay, so here’s where I’m going to lose some of you, and that’s fine. Brining feels like extra work. It IS extra work. But I’m telling you, it’s the difference between “pretty good chicken” and “oh my God, what did you DO to this?” chicken.
Mix up a quick brine: ¼ cup kosher salt and ¼ cup brown sugar dissolved into 4 cups of cold water. Toss in a few smashed garlic cloves and a bay leaf if you’re feeling fancy. Submerge those breasts and let them hang out in the fridge for at least 2 hours. Four is better. Overnight is overkill — you’ll end up with chicken that tastes like the ocean.
I learned this the hard way back in ’08 when I left a batch in brine for like 14 hours before a competition. Turned in chicken that the judges literally puckered at. Bombed that round so hard I almost quit competing. Almost.
If you’re really pressed for time and can’t brine? At least season the chicken and let it sit uncovered in the fridge for an hour. The salt will start working its magic and the skin will dry out a bit, which means crispier skin later. Win-win.
Step 2: Set Up Your Grill for Two-Zone Cooking
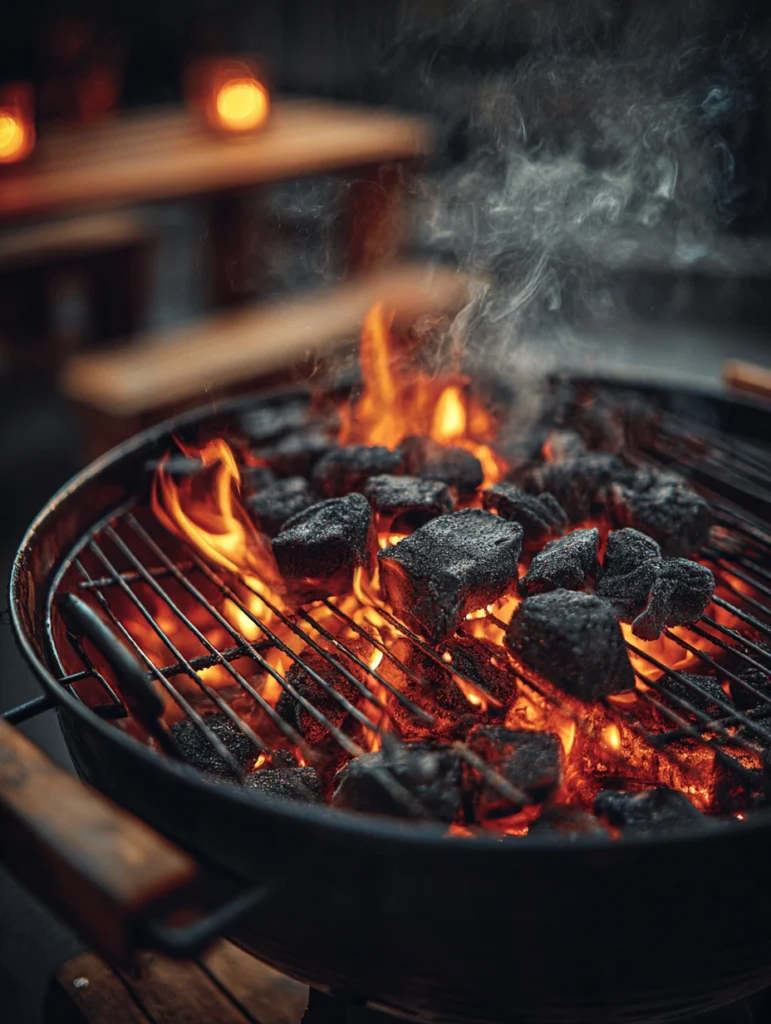
This is the single biggest mistake I see backyard grillers making. They crank everything to high, throw the chicken on, and wonder why the outside looks like a meteorite while the inside is still clucking.
You need TWO ZONES. A hot side and a cool side. On a charcoal grill, that means piling all your coals on one half of the kettle and leaving the other half empty. On a gas grill, fire up one or two burners and leave the others off. Aim for around 375-400°F on the hot side, with the cool side hovering around 275-300°F.
This is the secret. This is the whole game. Bone-in chicken breast needs gentle, indirect heat to cook through without drying out, AND it needs a hit of direct heat at the end to crisp that skin and put some color on it. Two zones gives you both.
Step 3: Season and Place
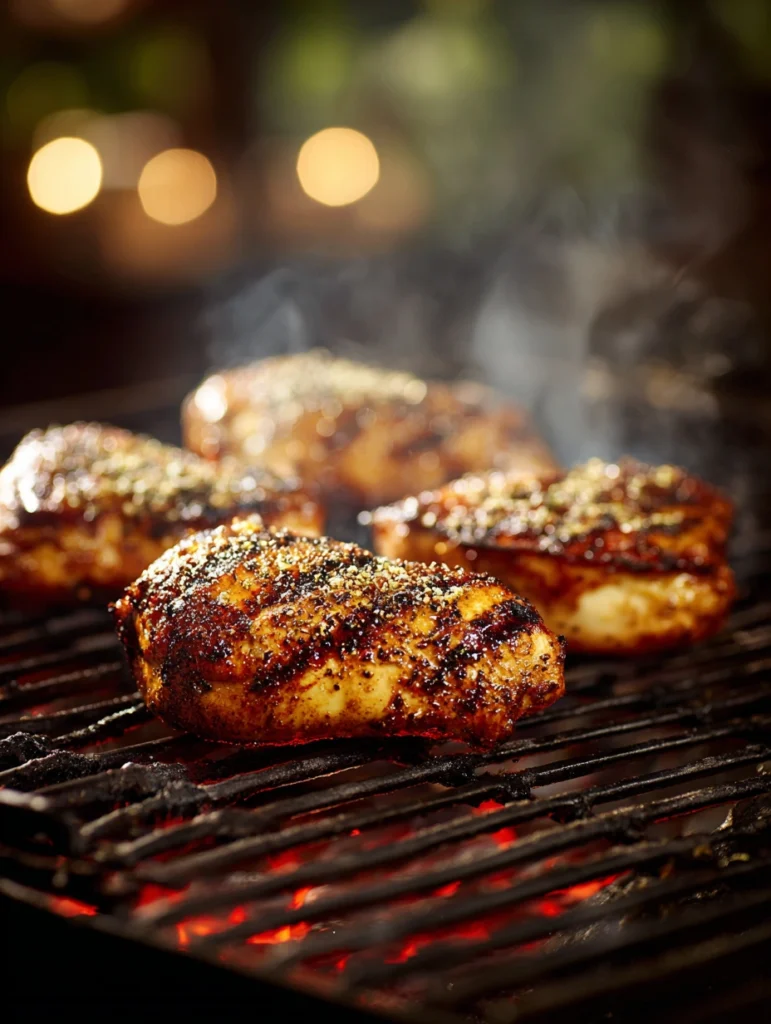
Pull your chicken out of the brine, pat it COMPLETELY dry with paper towels. I cannot stress this enough. Wet skin = rubbery skin. Dry skin = shatter-glass perfection.
Drizzle with the oil and rub it all over, getting under the skin if you can without tearing it. Mix your dry seasonings together in a small bowl and apply liberally. You want a nice even coating on every surface. Don’t be shy — most of it falls off on the grill anyway.
Place the breasts on the COOL side of the grill, skin side up. Close the lid. Walk away. Drink something. Look at the clouds. Resist the urge to lift the lid every two minutes.
Step 4: The Long, Slow Climb
Here’s where patience pays off. You’re going to let those breasts cook indirect for about 25-35 minutes, depending on size. We’re not looking for a hard time here — we’re looking for an internal temperature.
Stick that instant-read thermometer into the thickest part of the breast, NOT touching the bone (the bone reads cooler than the meat and will throw you off). You’re aiming for about 150°F at this stage.
| Internal Temp | What’s Happening |
|---|---|
| 130°F | Getting there, keep going |
| 140°F | Halfway home |
| 150°F | Time to sear |
| 160°F | Pull it off the heat |
| 165°F | Final temp after rest |
A lot of folks pull at 165°F because that’s what the USDA says. But here’s a little secret: carryover cooking is real. The internal temp will keep climbing 5-10 degrees after you pull it. So if you wait until your thermometer says 165, you’re actually eating chicken that’s hit 170-175 by the time it reaches the plate. And THAT’S where dry chicken comes from.
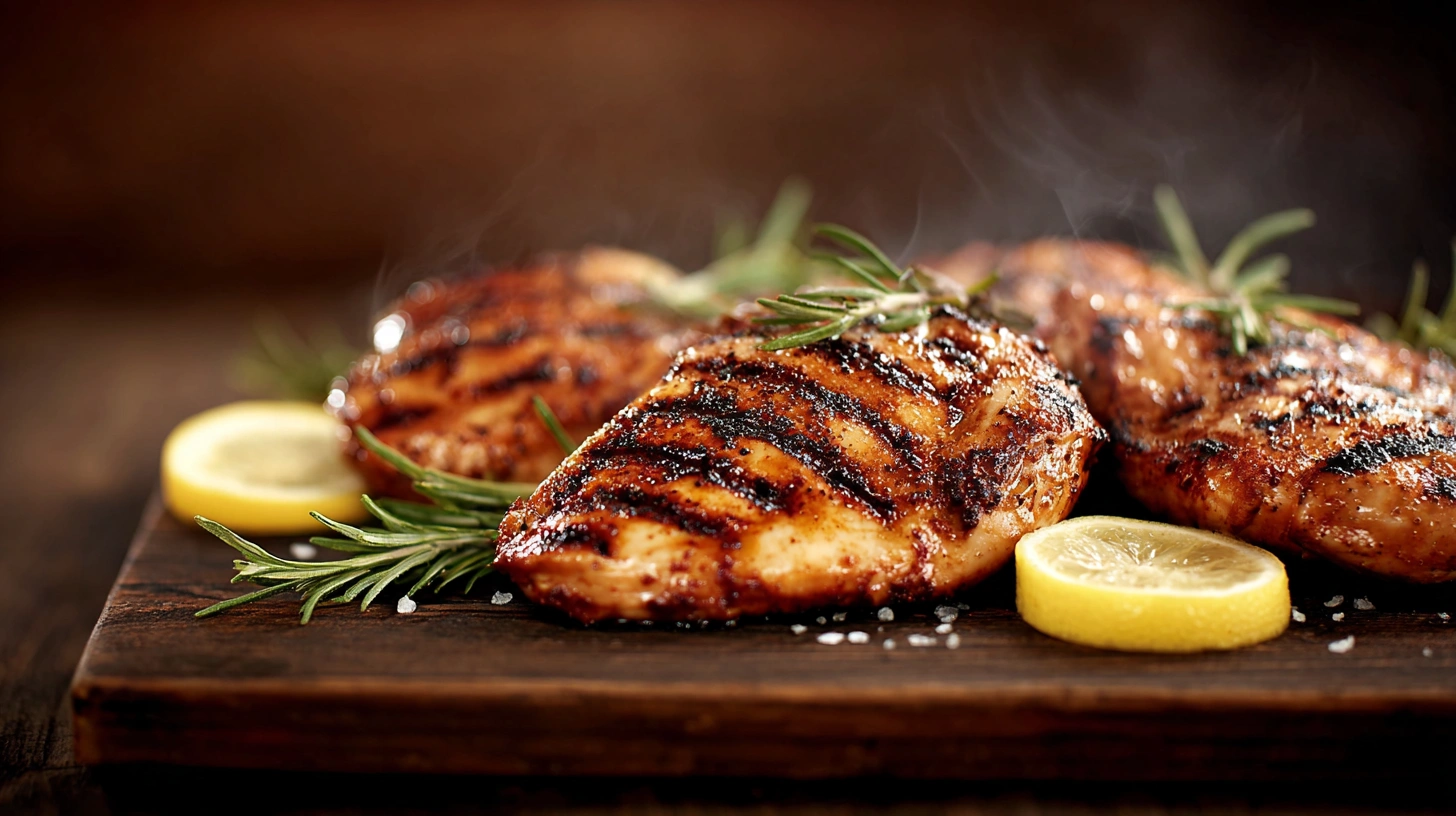
Step 5: The Sear
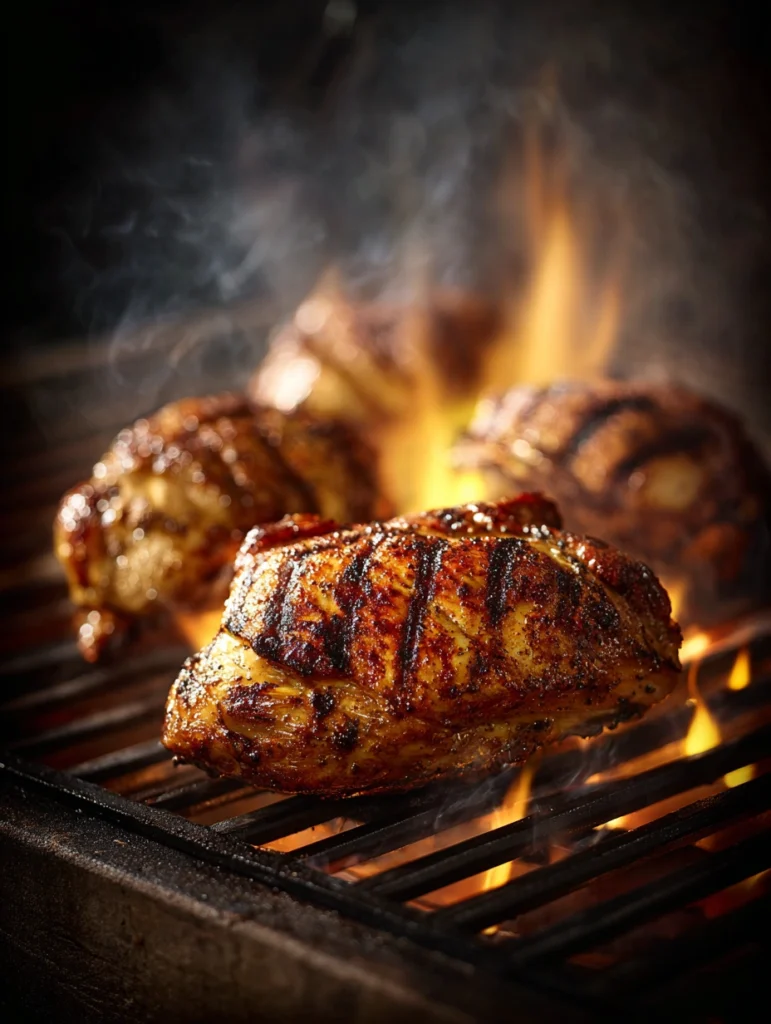
Once you hit that 150°F mark, slide the breasts over to the hot side, skin side DOWN. This is the moment of truth. Watch them like a hawk — we’re talking 2-4 minutes max. You want that skin to go from pale and floppy to deep mahogany and crackling. If you see flames licking up around the edges, that’s the rendered fat catching, and it’s okay in small doses, but if it gets out of hand, slide the chicken back to the cool side until things calm down. A flare-up will turn beautiful skin into bitter charcoal in about 15 seconds.
Flip once, give the bone side another minute or two, and check your temp one more time. When you hit 160°F internal, you’re done. Pull it.
Step 6: REST. Don’t Skip This.
I swear, if I had a dollar for every person who cuts into their chicken the second it comes off the grill, I’d have retired to a cabin in the Ozarks years ago. RESTING IS COOKING.
Let those breasts sit on a platter, loosely tented with foil, for a solid 8-10 minutes. The juices that have all run to the center of the meat during cooking need time to redistribute back through the muscle fibers. Cut into it too early and all that beautiful liquid gold ends up on your cutting board instead of in your mouth. Tragedy. Avoidable tragedy.
A Few Things I’ve Learned the Hard Way
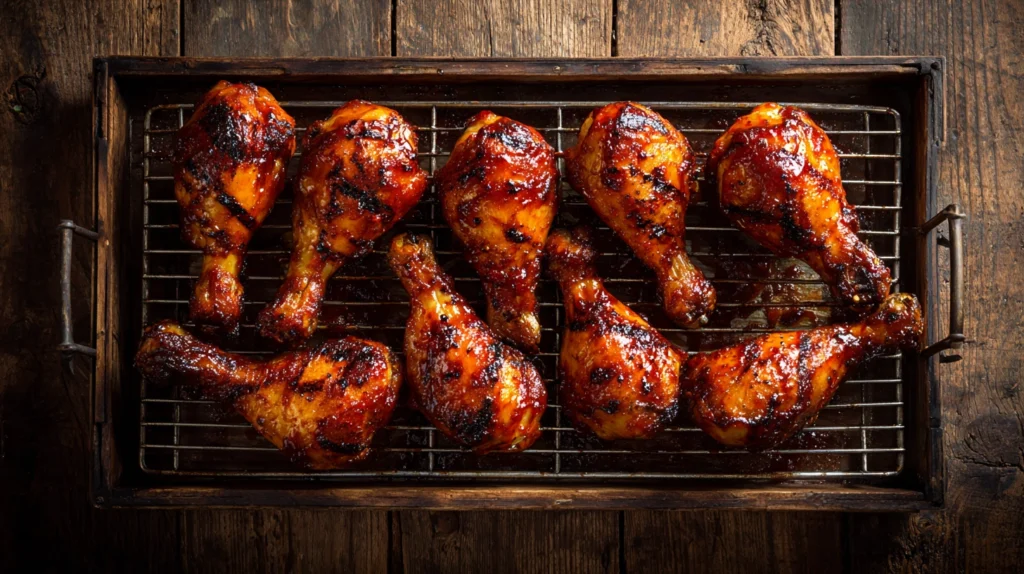
Don’t sauce too early. If you’re using a sugar-based BBQ sauce, only brush it on during the last 5 minutes of cooking. Sugar burns fast and turns black and acrid before you can blink. Trust me, my eyebrows have stories.
Buy a thermometer. I don’t care if it’s a $15 Thermopop or a $100 Thermapen. JUST GET ONE. Eyeballing chicken doneness is like trying to land a plane with your eyes closed. Sure, it might work out. Probably won’t.
Bigger isn’t better. Those gigantic chicken breasts you see at Costco that look like they came off a velociraptor? Pass. They cook unevenly and the texture gets weird. Look for breasts in the 10-12 oz range. Your guests will thank you.
Charcoal vs gas? Look, I’ll always have a soft spot for charcoal — that smoke flavor is undeniable. But a well-handled gas grill with a smoke tube can get you 90% of the way there with half the hassle. Use what you’ve got. The best grill is the one you actually use.
Wrapping It Up
Here’s what I want you to take away from all this: grilling great bone-in chicken breast isn’t about secret rubs or magic equipment or some mystical technique passed down through generations of pit masters. It’s about understanding your heat, respecting the cook, trusting your thermometer, and having the patience to let the process do its work.
Anyway, the first time you nail this — and you WILL nail it, probably sooner than you think — you’re going to bite into that crispy, smoky, juicy bird and wonder why you ever bothered with boneless. You’ll text your friends. You’ll start planning the next cookout. You’ll look at that grill in your backyard like it’s a long-lost best friend.
That’s the magic of barbecue, friends. It brings people together, it slows life down, and it rewards you for caring. So go fire up that grill this weekend. Invite the neighbors. Crack open something cold. And cook some chicken that’ll make Uncle Dave finally admit he’s been doing it wrong all these years.
You’ve got this. I believe in you. Now get out there and make me proud.