How to Cook BBQ Chicken Drumsticks in the Oven
Look, I know what you’re thinking. “Gus, you’re a pit master. Why on earth are you telling me how to cook BBQ chicken drumsticks in the oven?” And honestly? That’s a fair question. I’ve spent the better part of twenty years standing over smokers and grills in Kansas City, perfecting my craft one rack of ribs at a time. But here’s the thing — not every Tuesday night calls for firing up the smoker. Sometimes it’s raining sideways. Sometimes you just got home from work and the kids are already asking what’s for dinner. Sometimes your grill is buried under two feet of snow.
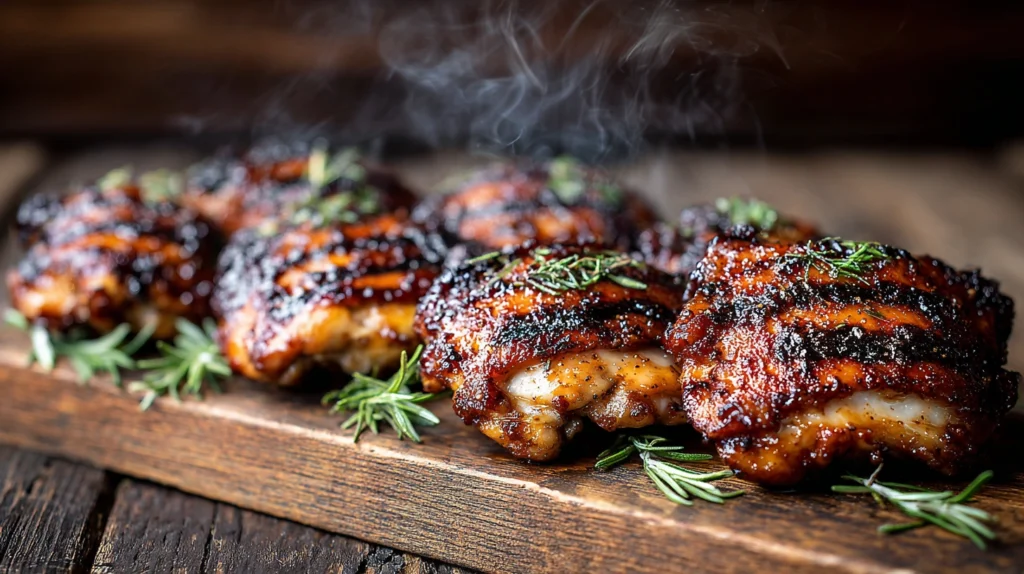
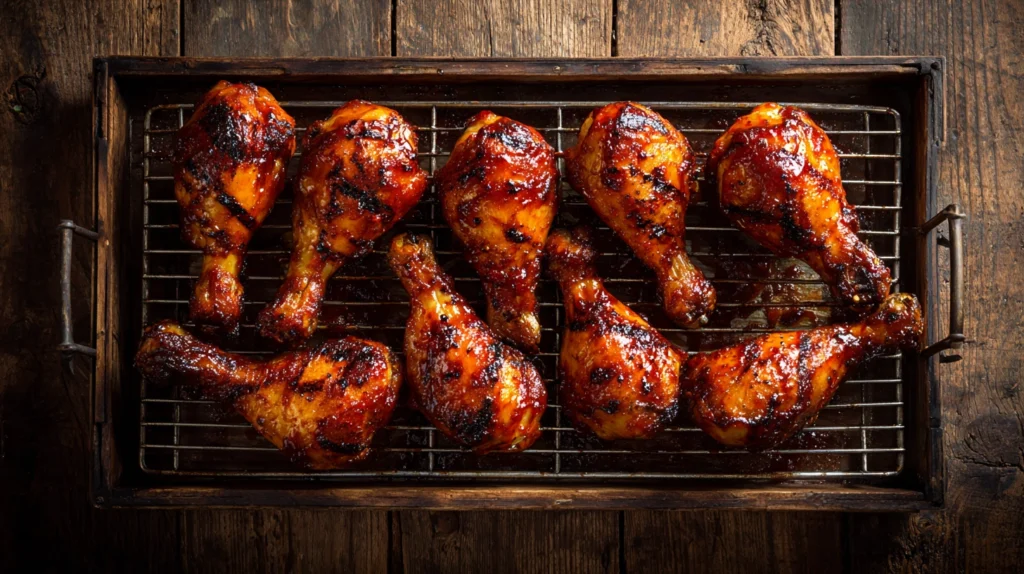
That’s when the oven becomes your best friend. And I’m not talking about some sad, rubbery, flavorless baked chicken situation. I’m talking about juicy, fall-off-the-bone BBQ chicken drumsticks with a sticky, caramelized sauce that’ll make your family think you slaved over a pit all afternoon. The secret? It’s all in the technique, and I’m going to walk you through every single step.
I remember the first time I made these for my wife, Lisa. She took one bite and said, “This tastes like it came off the smoker.” I’m not gonna lie — that might be the best compliment I’ve ever received. So trust me on this one. Let’s get into it.
At a Glance: Recipe Quick Info
| Detail | Info |
| Prep Time | 10 minutes |
| Cook Time | 45–50 minutes |
| Total Time | About 1 hour |
| Servings | 4–6 (about 12 drumsticks) |
| Difficulty | Easy — perfect for beginners |
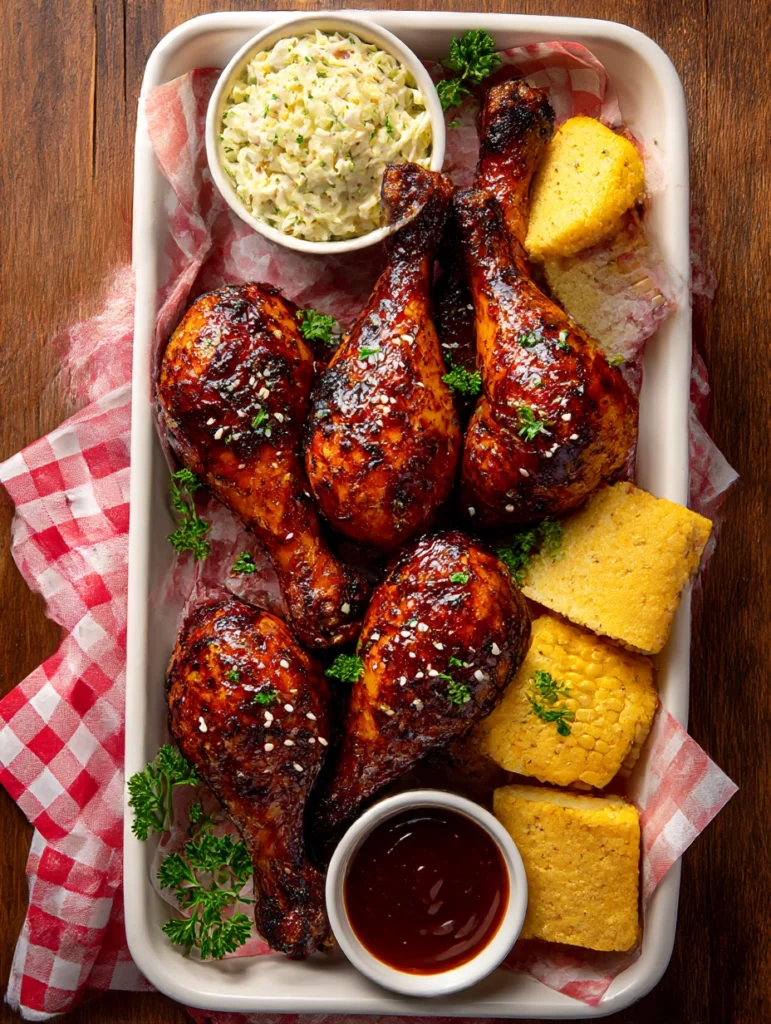
| Best Paired With | Coleslaw, cornbread, baked beans |
Why Cook BBQ Chicken Drumsticks in the Oven?
Now, before my fellow pit masters come after me with their tongs, let me make my case. The oven is seriously underrated for BBQ chicken, and here’s why:
Consistency. Your oven holds a steady temperature without hot spots (well, most ovens — if yours has a personality, you probably already know about it). That means even cooking, every single time. No flare-ups, no charred spots next to raw spots.
Convenience. You set it and practically forget it. No babysitting the grill, no adjusting vents, no panicking when the wind picks up. Pop those drumsticks in, set a timer, and go help your kid with homework.
Year-round cooking. Rain, snow, hail, or hundred-degree heat — your oven doesn’t care. BBQ chicken drumsticks in the oven means you can have that smoky-sweet flavor any day of the year.
Crispy caramelized skin. Here’s a secret: the oven is actually better than the grill for getting that perfectly sticky, lacquered BBQ sauce coating. The dry heat creates a beautiful caramelization that’s hard to replicate over direct flame without burning.
Choosing the Right Drumsticks
This might seem basic, but it matters more than you think. Not all drumsticks are created equal, and the quality of your chicken is going to directly impact the final result. Here are my thoughts:
Size Matters
Go for medium-sized drumsticks if you can. The giant ones take forever to cook through, and the tiny ones dry out before the sauce has time to caramelize. You want drumsticks that are roughly the same size so they cook at the same rate. I can’t tell you how many times I’ve seen people throw a mixed bag of different-sized drumsticks on a sheet pan and wonder why some are perfect and others are dried out. Sort them, people!
Fresh vs. Frozen
Fresh is always my preference, but I’m not gonna be a snob about it. If you’re using frozen drumsticks, just make sure they’re completely thawed before cooking. And I mean completely. Thaw them in the fridge overnight — not on the counter, not in warm water, not with a hair dryer (yes, I’ve seen someone try this). A partially frozen drumstick will cook unevenly and you’ll end up with rubbery skin and undercooked meat near the bone.
Skin On or Skin Off?
Skin on, always. I will die on this hill. The skin protects the meat during cooking, keeps everything moist, and gives you something for that BBQ sauce to cling to. Plus, when it renders and crisps up under the broiler at the end? Chef’s kiss. If you’re watching calories, I get it, but at least cook them with the skin on and remove it after if you must.
Ingredients You’ll Need
For the Chicken
| Ingredient | Amount | Notes |
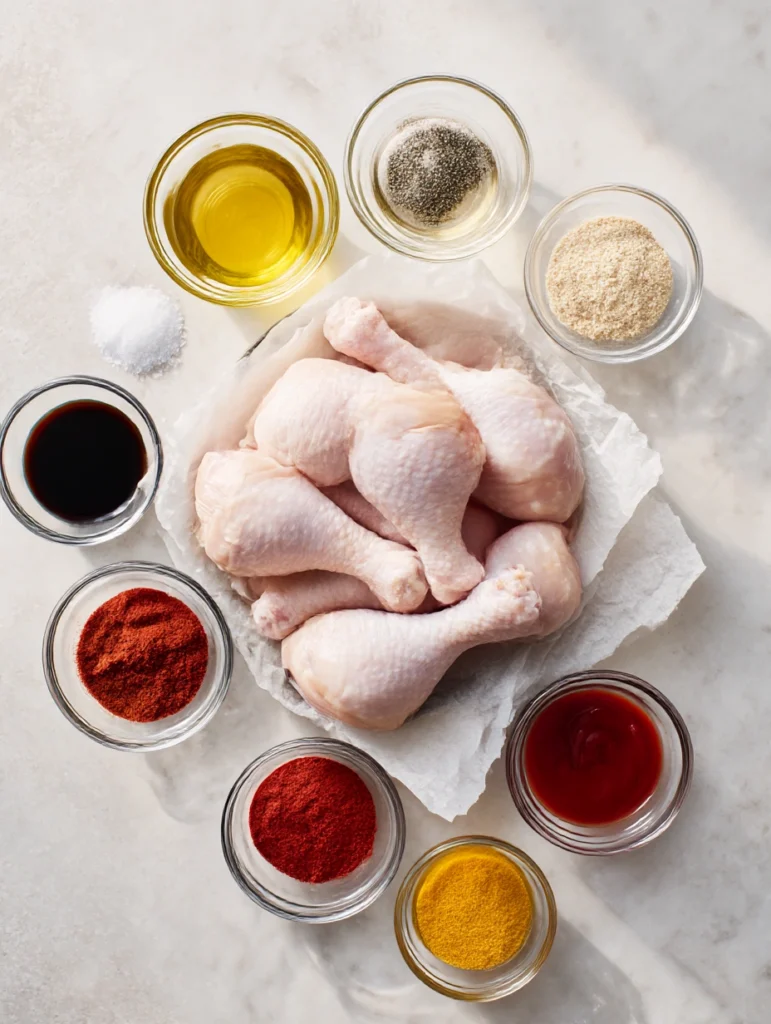
| Chicken drumsticks | 12 pieces (about 3 lbs) | Pat dry with paper towels |
| Olive oil | 2 tablespoons | Helps seasoning stick and promotes browning |
| Salt | 1½ teaspoons | Kosher salt preferred |
| Black pepper | 1 teaspoon | Freshly cracked is best |
| Garlic powder | ¾ teaspoon | Not garlic salt — big difference! |
| Onion powder | ½ teaspoon | Adds depth |
| Smoked paprika | 1 teaspoon | The secret weapon for oven BBQ |
| Cayenne pepper | ¼ teaspoon (optional) | For a little kick |
For the BBQ Sauce Glaze
| Ingredient | Amount | Notes |
| Your favorite BBQ sauce | 1½ cups | Store-bought is totally fine |
| Apple cider vinegar | 1 tablespoon | Cuts the sweetness, adds tang |
| Honey | 2 tablespoons | Helps with caramelization |
| Worcestershire sauce | 1 teaspoon | Umami bomb |
| Hot sauce | 1 teaspoon (optional) | I use Frank’s RedHot |
A note on BBQ sauce: I know this is where people get real passionate. Use whatever BBQ sauce makes you happy. Kansas City style, Memphis style, Carolina vinegar — they all work. I personally use a thick, tomato-based KC-style sauce because, well, I’m from Kansas City and I’m biased. If you want to make your own, I’ve got a killer recipe on my blog, but honestly, a good store-bought sauce dressed up with the ingredients above will taste fantastic.
Equipment You’ll Need
Nothing fancy here. One of the things I love about this recipe is that you don’t need any special gear. Just the basics:
- A large rimmed baking sheet (half sheet pan is ideal)
- Aluminum foil or parchment paper for easy cleanup
- A wire cooling rack that fits inside your sheet pan (game changer — more on this in a second)
- A basting brush for the sauce
- An instant-read meat thermometer (non-negotiable)
- A small saucepan for warming the glaze
About that wire rack — if you take one tip from this entire article, let it be this: always elevate your drumsticks on a wire rack set inside your sheet pan. This lets hot air circulate underneath, so you get crispy skin all the way around instead of a soggy bottom. Trust me, it makes all the difference. I learned this the hard way after years of flipping drumsticks halfway through cooking like some kind of chicken acrobat.
Step-by-Step Instructions: How to Cook BBQ Chicken Drumsticks in the Oven
Step 1: Prep Your Workspace (5 Minutes)
Preheat your oven to 400°F (200°C). I know some recipes call for lower temperatures, but after testing this recipe about a thousand times (okay, maybe a hundred), 400°F is the sweet spot. High enough to render the fat and crisp the skin, low enough that the meat stays juicy.
Line your baking sheet with foil, set the wire rack on top, and give the rack a quick spray with cooking spray. Future you will thank present you when cleanup takes about thirty seconds.
Step 2: Season the Drumsticks (5 Minutes)
Pat your drumsticks completely dry with paper towels. And I mean really dry. Dab, press, squeeze — get all that surface moisture off. Dry skin equals crispy skin. Wet skin equals sad, flabby skin. Nobody wants that.
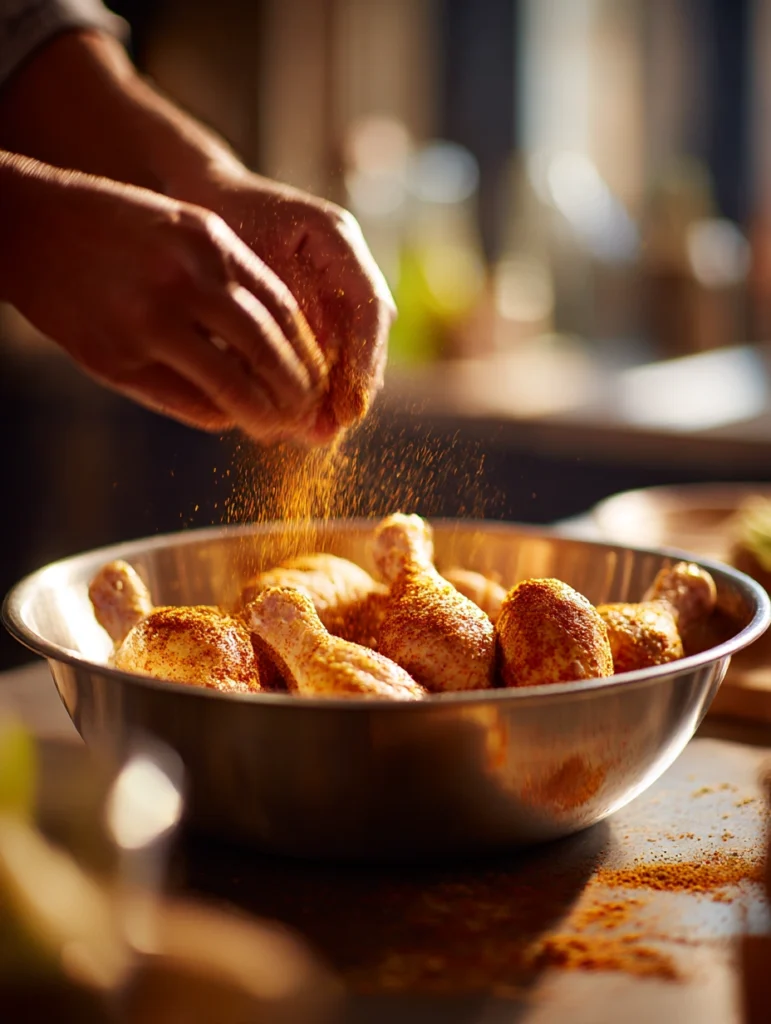
Toss the drumsticks in a large bowl with the olive oil, then sprinkle on all your dry seasonings: salt, pepper, garlic powder, onion powder, smoked paprika, and cayenne if you’re using it. Use your hands to really massage that seasoning into every nook and cranny. Get under the skin if you can — just gently lift it and rub some seasoning right onto the meat. This is where the flavor lives, folks.
Step 3: Arrange and Bake (25 Minutes)
Place the seasoned drumsticks on the wire rack, spacing them about an inch apart. Don’t crowd them. I know it’s tempting to squeeze one more on there, but overcrowding means steam instead of roasting, and steam is the enemy of crispy skin.
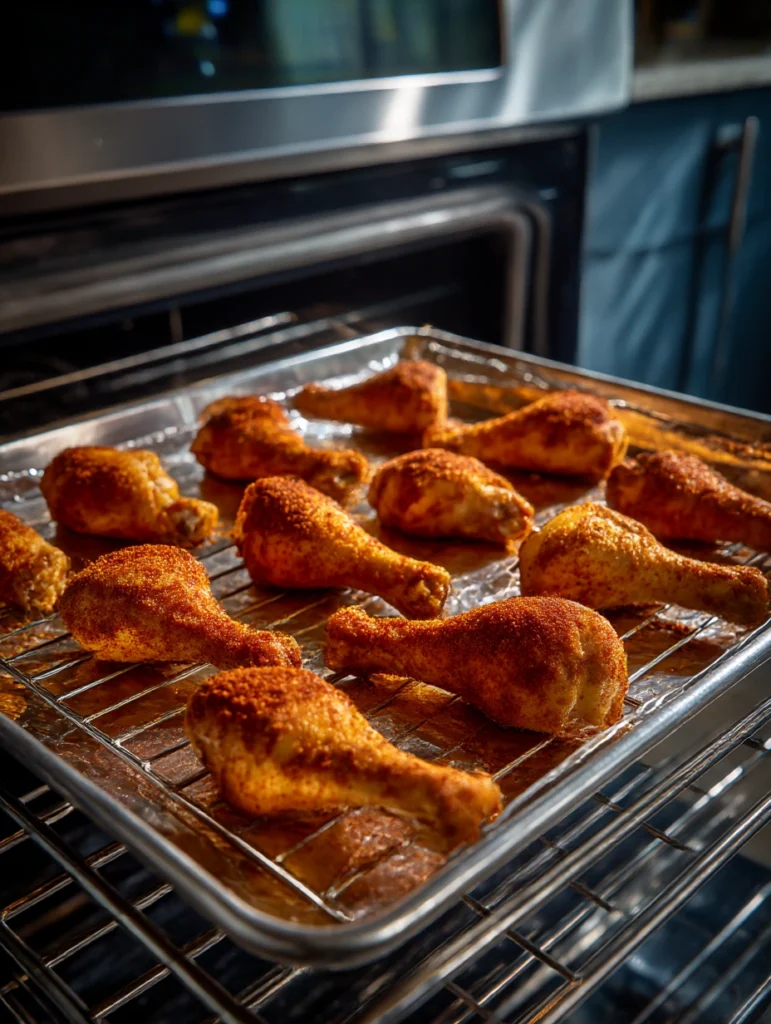
Slide the pan into the middle rack of your oven and bake for 25 minutes. No peeking! Every time you open that oven door, you lose heat and extend the cooking time. Go fold some laundry or something.
Step 4: Prepare the BBQ Sauce Glaze (While the Chicken Bakes)
While the chicken is doing its thing, combine the BBQ sauce, apple cider vinegar, honey, Worcestershire sauce, and hot sauce in a small saucepan. Warm it over low heat, stirring occasionally, until everything is well combined and slightly thinned out. You want it warm and pourable, not thick and cold. A warm sauce coats better and caramelizes more evenly.
Set aside about ½ cup of the sauce for serving. This is important! Don’t use sauce that’s touched raw chicken for your table sauce. I shouldn’t have to say this, but you’d be surprised.
Step 5: The First Glaze (5 Minutes)
After 25 minutes, pull the pan out (carefully — it’s hot, obviously) and brush the drumsticks generously with the BBQ sauce glaze. Get all sides. This first coat is the foundation layer — it’s going to set and create a sticky base for the next coat to cling to.

Pop them back in the oven for 10 minutes.
Step 6: The Second Glaze and Finish (10–15 Minutes)
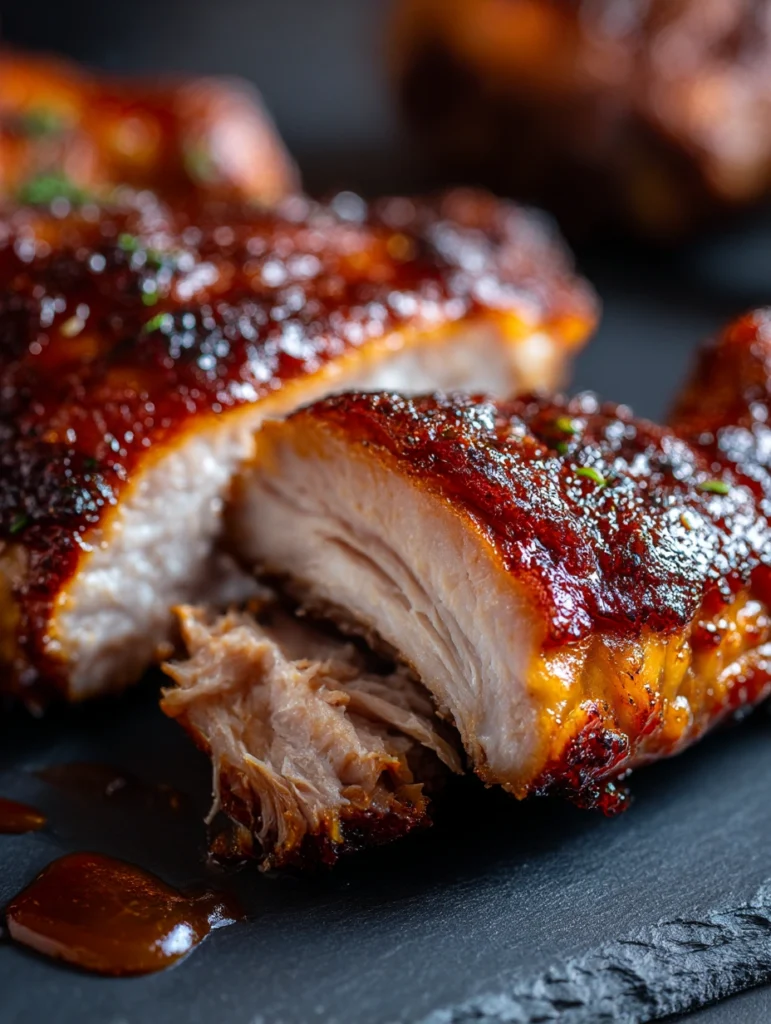
Pull them out again and apply a second, generous coat of sauce. This is where that beautiful, lacquered look starts to develop. Return to the oven for another 10–15 minutes, or until the internal temperature reaches 185°F (85°C).
“Wait, Gus, isn’t chicken done at 165°F?” Yes, technically. But drumsticks have a lot of connective tissue and collagen, and that stuff doesn’t break down until you hit 180–190°F. That’s what gives you that fall-off-the-bone, pull-apart texture. At 165°F, the meat is safe to eat but it’ll be chewy and tough. At 185°F, it’s tender, juicy perfection. This is one of those things that took me years to figure out, and it completely changed my drumstick game.
Step 7: The Broiler Finish (Optional but Highly Recommended) (2–3 Minutes)
If you want that extra bit of char and caramelization — and you absolutely should — switch your oven to broil and move the pan to the top rack. Watch it like a hawk. I mean it. Don’t walk away, don’t check your phone, don’t even blink. The broiler can go from perfectly caramelized to burnt offering in about 30 seconds. You want the sauce to bubble and develop some dark spots, but not turn black. Two to three minutes max.
Step 8: Rest and Serve
Let the drumsticks rest on the rack for about 5 minutes. I know, I know — they smell incredible and you want to dive in. But resting lets the juices redistribute so they don’t all run out the second you bite in. Patience, grasshopper.
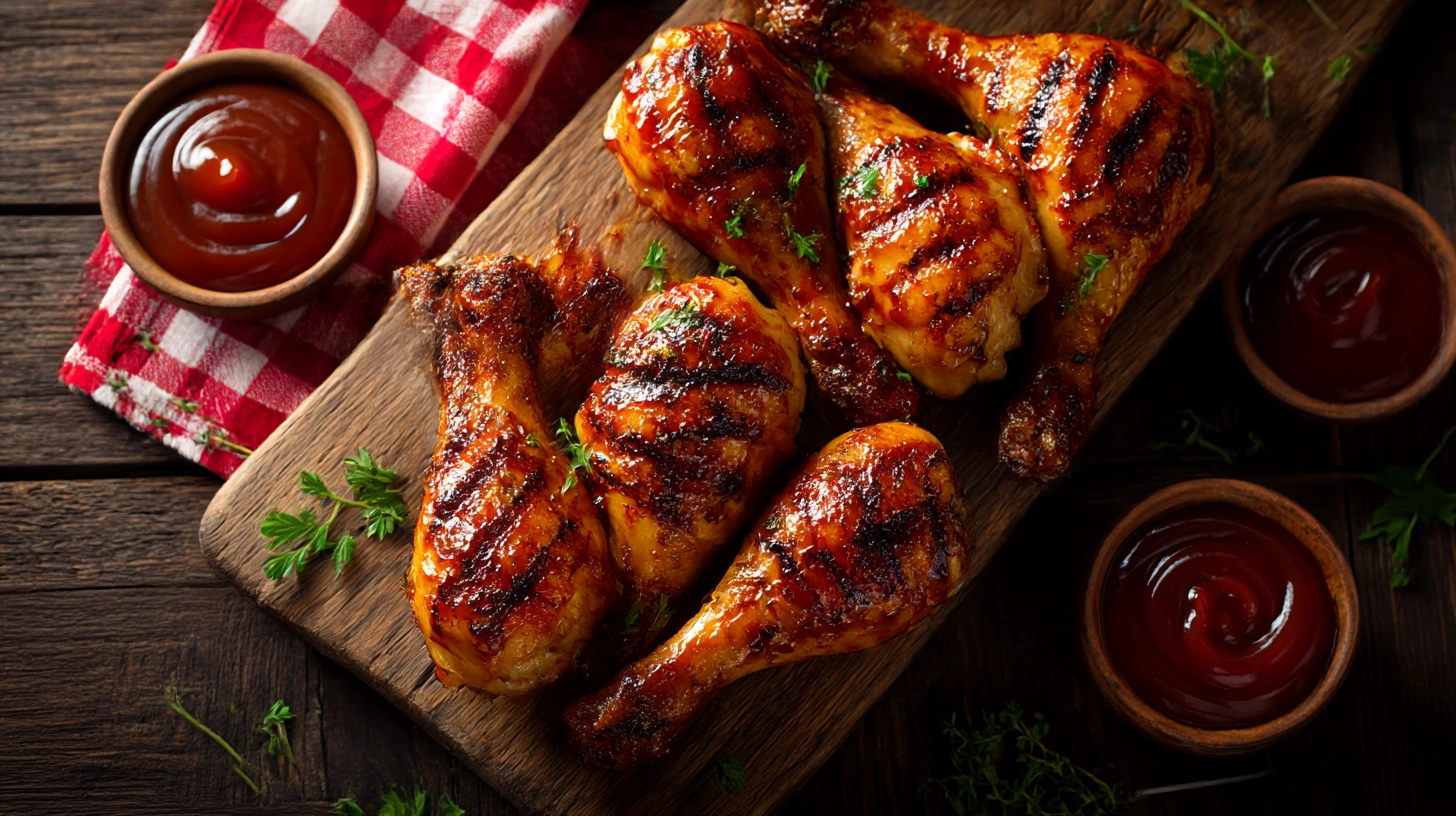
Serve with the reserved BBQ sauce on the side for dipping, and prepare to accept compliments.
Internal Temperature Guide for Chicken Drumsticks
| Temperature | Doneness | Texture |
| 165°F (74°C) | Safe minimum | Firm, can be chewy near bone |
| 175°F (80°C) | Good | More tender, some collagen breakdown |
| 185°F (85°C) | Sweet spot (recommended) | Fall-off-the-bone, juicy, tender |
| 195°F (90°C) | Maximum | Very soft, meat separates easily |
Gus’s Pro Tips for Perfect Oven BBQ Drumsticks
The Overnight Dry Brine
If you’ve got time, season your drumsticks the night before and leave them uncovered on a plate in the fridge overnight. The salt draws out moisture, then the chicken reabsorbs it along with the seasonings, and the surface dries out. The result? Incredibly flavorful meat and the crispiest skin you’ve ever had from an oven. This is the single biggest upgrade you can make to this recipe.
Don’t Sauce Too Early
Most BBQ sauces are loaded with sugar, and sugar burns. If you put the sauce on from the start, you’ll end up with charred, bitter chicken. Always bake the chicken naked first, then add sauce in the final 20 minutes. This gives you flavor without the burn.
Score the Meat
Before seasoning, make two or three shallow cuts across each drumstick, down to the bone. This helps the seasoning penetrate deeper and allows the heat to cook the meat more evenly. It’s a small step that makes a noticeable difference.
Use a Thermometer. Seriously.
I can’t stress this enough. Don’t guess. Don’t cut into the meat to check (you lose all those precious juices). Invest fifteen bucks in an instant-read thermometer and take the guesswork out of it. Insert it into the thickest part of the meat without touching the bone. The bone conducts heat differently and will give you a false reading.
Flavor Variations to Keep Things Interesting
One of the beautiful things about this recipe is how versatile it is. Once you’ve nailed the basic technique, you can switch up the flavors to keep your family guessing. Here are some of my favorites:
| Variation | Seasoning Swap | Sauce Swap |
| Smoky Chipotle | Add 1 tsp chipotle powder to the rub | Mix in 2 tbsp adobo sauce to your BBQ glaze |
| Honey Mustard BBQ | Add 1 tsp dried mustard powder | Blend ½ cup honey mustard with ½ cup BBQ sauce |
| Asian-Inspired | Use ginger, garlic, and five-spice | Teriyaki or hoisin glaze instead of BBQ |
| Carolina Gold | Add 1 tsp yellow mustard powder | Carolina mustard BBQ sauce |
| Spicy Nashville Hot | Double the cayenne, add 1 tsp brown sugar | Mix BBQ sauce with hot sauce at a 2:1 ratio |
What to Serve with BBQ Chicken Drumsticks
Sides are important, people. They’re not just supporting actors — they’re co-stars. Here are my go-to pairings that round out the meal perfectly:
Classic BBQ Sides
Creamy coleslaw is my number one pick — the cool, tangy crunch balances out the sweet, sticky drumsticks perfectly. Cornbread is a close second (especially with honey butter — don’t get me started). Baked beans, mac and cheese, and potato salad are all rock-solid choices too. You really can’t go wrong with the classics.
Lighter Options
If you’re keeping things on the lighter side, a crisp green salad with a tangy vinaigrette works beautifully. Grilled corn on the cob (or oven-roasted if you’re staying indoors), roasted sweet potatoes, or a simple cucumber-tomato salad all complement the richness of the drumsticks without weighing you down.
Storage and Reheating
| Method | Duration | Instructions |
| Refrigerator | Up to 4 days | Store in airtight container, reheat at 350°F for 15–20 min |
| Freezer | Up to 3 months | Wrap individually in foil, then freezer bag. Thaw overnight in fridge. |
| Reheating (oven) | 15–20 minutes at 350°F | Brush with extra sauce before reheating for moisture |
| Reheating (air fryer) | 5–8 minutes at 375°F | Best method for restoring crispy skin |
Honestly, leftover BBQ drumsticks are one of life’s great pleasures. Cold, straight from the fridge, standing in front of the refrigerator at midnight — don’t pretend you haven’t done it. No judgment from this pit master.
Troubleshooting Common Problems
Rubbery Skin
This almost always comes from moisture. Make sure you’re patting those drumsticks bone dry before seasoning, and use the wire rack so air circulates underneath. The overnight dry brine in the fridge is also a game changer for crispy skin.
Burnt Sauce but Undercooked Meat
You sauced too early. Remember: bake naked first, sauce in the last 20 minutes. If this happens, scrape off the burnt sauce, cover with foil, and continue baking until the internal temp hits 185°F.
Dry Meat
You probably overcooked them, or your oven runs hot. Get an oven thermometer (they’re like five bucks) and verify your temperature. Also, dark meat is pretty forgiving, but anything over 200°F internal will start drying out even drumsticks.
Sauce Won’t Stick
Two likely culprits: the sauce is too cold (warm it up first) or the chicken surface is too wet. That initial 25 minutes of naked baking creates a dry, slightly tacky surface that sauce absolutely loves to cling to.
Frequently Asked Questions
Can I use boneless, skinless chicken thighs instead?
You can, but the cooking time will be shorter (about 25–30 minutes total) and you won’t get that beautiful crispy skin. Drumsticks are really the star of this particular recipe because the bone helps keep the meat moist and the skin gets incredibly crispy.
Do I need to flip the drumsticks during cooking?
Nope! That’s the beauty of the wire rack. Hot air circulates all around, so every side gets even heat. No flipping, no fussing, no rotating the pan. Just set it and let the oven do its job.
Can I make this recipe with chicken wings instead?
Absolutely. Wings will cook faster — about 35–40 minutes total. Apply the sauce at the 20-minute mark and keep an eye on them since they can go from done to overdone quickly due to their smaller size.
Is this recipe kid-friendly?
One hundred percent. My kids devour these. Just skip the cayenne and hot sauce if your little ones are sensitive to heat. The smoky-sweet flavor is a guaranteed kid-pleaser. And drumsticks are basically nature’s handle — perfect for little hands.
Get Out There and Cook
So there you have it — everything I know about how to cook BBQ chicken drumsticks in the oven, distilled from twenty years of barbecue obsession. This is one of those recipes that’s simple enough for a weeknight dinner but impressive enough for a backyard party. It’s the kind of dish that brings people to the kitchen, drawn in by the smell, asking “What are you making?” before you’re even done.
Here’s what I want you to take away from this: you don’t need a $2,000 smoker to make incredible BBQ. You don’t need decades of experience. You just need good ingredients, a solid technique, and the willingness to put in a little love. That’s it. That’s the whole secret.
So this week, grab a pack of drumsticks, fire up that oven, and give this a try. Send me a picture of how they turned out — I love seeing what you guys are cooking. And remember, whether you’re cooking over a $10,000 offset smoker or a beat-up old kitchen oven, the best BBQ is the BBQ you make with your own hands for the people you love.
Now go make something delicious. I believe in you.