How Long to BBQ Chicken Thighs Times Temps for Perfect Results
Look, I’m gonna be honest with you. If you’d asked me twenty years ago what the most underrated cut on the grill was, I probably would’ve said something like tri-tip or pork belly. But after spending the better part of two decades standing over fire and smoke at my restaurant here in Kansas City—and grilling through more weekends than I can count—I’ll tell you this without hesitation: chicken thighs are the unsung hero of the barbecue world.
And yet, every single summer, I get the same question from folks at competitions, on my blog, and even from my own family: “How long do you BBQ chicken thighs?” It seems simple, right? Throw ’em on, flip ’em, take ’em off. But here’s the thing—there’s a surprising amount of nuance to getting chicken thighs absolutely perfect on the grill. The kind of perfect where the skin crackles, the meat is fall-apart tender, and every bite is dripping with smoky, juicy flavor.
So today, I’m laying it all out for you. Everything I’ve learned from culinary school, from running a professional pit, and from the dozens of barbecue competitions I’ve entered (won a few too, if I’m being humble about it). Whether you’re working with bone-in, boneless, or skin-on chicken thighs, I’ve got your times, your temps, and all the little tricks that separate rubbery chicken from restaurant-quality barbecue.
Why Chicken Thighs Are the King of the Grill
Before we dive into the specifics, let me make a quick case for why you should be grilling thighs instead of breasts. I know, I know—chicken breasts are the “healthy” option and everyone’s go-to. But from a grilling perspective? They’re kind of a nightmare. Breasts dry out fast, they’re unforgiving if you overshoot your temperature by even a few degrees, and they just don’t have the same depth of flavor.
Chicken thighs, on the other hand, have a higher fat content, which means more moisture, more flavor, and a much wider margin for error. They’re practically designed for the grill. The connective tissue in thighs breaks down beautifully over heat, giving you that tender, almost silky texture that you just cannot get from a breast. And the skin? When you get it crispy over direct heat, it’s like barbecue candy. There’s really no other way to describe it.
Plus—and this matters if you’re feeding a crowd—thighs are significantly cheaper than breasts. You’re getting a better product for less money. That’s what I call a win-win, folks.
Quick Reference: BBQ Chicken Thigh Times & Temperatures
I know some of you just want the numbers. I respect that. Here’s your cheat sheet—print it out, tape it to your grill if you have to. We’ll dig into the details after.
| Thigh Type | Grill Temp | Cook Time | Internal Temp | Method |
| Bone-In, Skin-On | 375–400°F | 35–45 min | 185–190°F | Indirect + Direct |
| Bone-In, Skinless | 375–400°F | 30–40 min | 185–190°F | Indirect |
| Boneless, Skin-On | 400–425°F | 20–28 min | 175–180°F | Indirect + Direct |
| Boneless, Skinless | 400–425°F | 15–25 min | 175–180°F | Direct |
Important Note: I know the USDA says 165°F for chicken, and they’re right—that’s the safe minimum. But with thighs, you actually want to go higher. The extra fat and connective tissue need those higher temperatures to fully render and break down. A thigh pulled at 165°F is safe to eat, sure, but it’ll have a rubbery, gelatinous texture that’s honestly not great. Trust me on this one—push it to 185°F or above for bone-in, and at least 175°F for boneless, and you’ll thank me later.
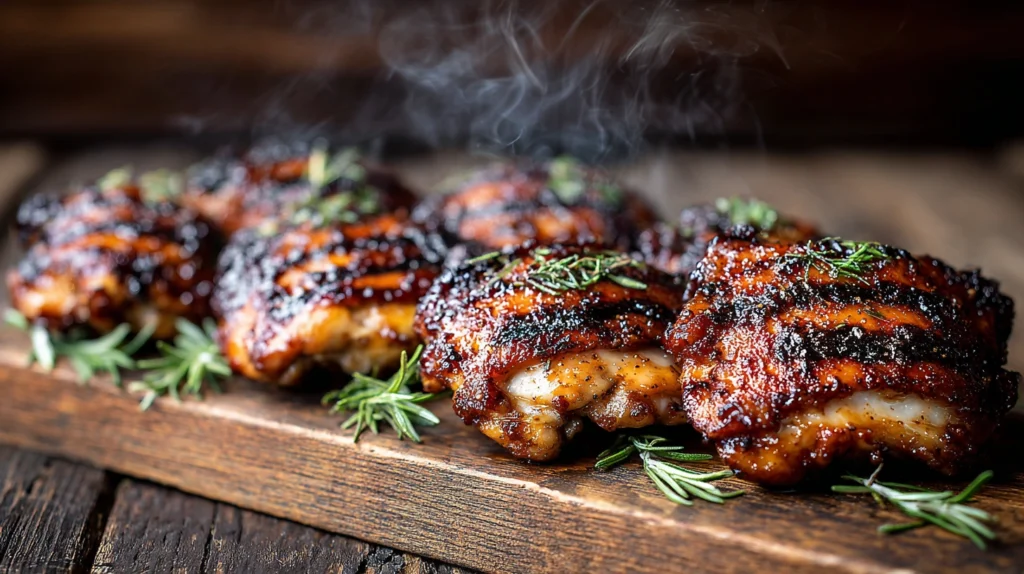
Bone-In, Skin-On Chicken Thighs: The Gold Standard

This is it, folks. The crown jewel. If you’re only going to master one type of chicken thigh on the grill, make it this one. The bone keeps the meat moist and adds flavor as it cooks, while the skin provides a natural protective layer and—when done right—becomes the best part of the whole meal.
The Two-Zone Setup
Here’s the method I’ve been using for years, and it’s the same approach I teach at the restaurant. You need a two-zone fire. That means one side of your grill is hot (direct heat) and the other side has no coals or burners underneath (indirect heat). On a charcoal grill, just push all your coals to one side. On gas, light one set of burners and leave the other off.
Why two zones? Because chicken thighs need time to cook through without burning the skin. If you throw them directly over high heat the entire time, the outside will char before the inside is done. The indirect zone lets you cook the meat gently, and then you move them over to the direct side at the end to crisp the skin. It’s a game changer.
Step-by-Step Instructions
- Pull your thighs out of the fridge 30 minutes before grilling. Cold meat on a hot grill is a recipe for uneven cooking. Pat them dry with paper towels—this is critical for skin crispness.
- Season generously. I use a simple rub of kosher salt, coarse black pepper, garlic powder, smoked paprika, and a touch of brown sugar. Don’t overthink this—the grill and the smoke will do most of the heavy lifting.
- Place the thighs on the indirect side of the grill, skin side up. Close the lid and maintain your grill temperature at 375–400°F. Cook for about 25–30 minutes.
- Once the internal temperature hits around 170°F, move them over to the direct heat side, skin side down. This is where the magic happens. Let the skin crisp for 5–8 minutes, watching closely to avoid burning.
- If you’re adding sauce (and why wouldn’t you?), brush it on during the last 5 minutes of cooking. This lets the sugars caramelize without scorching.
- Pull the thighs when the internal temp reads 185–190°F. Let them rest for 5 minutes before serving. Resting is non-negotiable—it lets the juices redistribute.
Funny story—I once had a buddy at a competition who swore by cooking skin-side down the entire time. His thighs looked like charcoal briquettes, and I’m not talking about the good kind. He switched to my two-zone method the next year and took third place. You’re welcome, Dave.
Boneless, Skinless Chicken Thighs: Quick and Easy
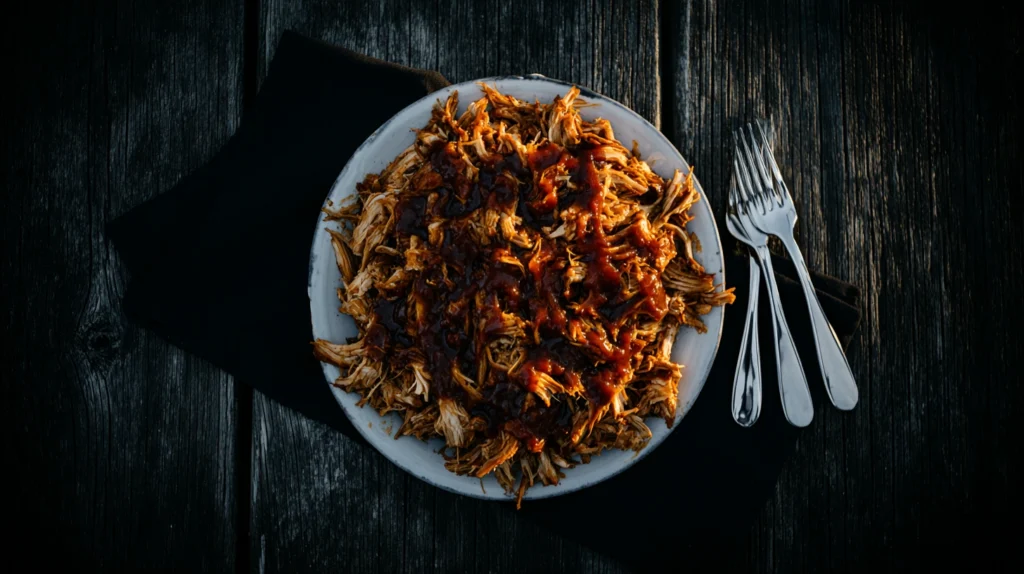
Not everyone wants to deal with bones, and I get that. Boneless, skinless thighs are the weeknight warrior of the grilling world. They cook faster, they’re easier to eat, and they’re perfect for everything from tacos to salads to sandwiches.
The trade-off is that without the bone and skin, you lose some built-in moisture protection. So you need to be a little more attentive to avoid drying them out. But honestly, because thighs have so much more fat than breasts, they’re still pretty forgiving.
Grilling Method
For boneless, skinless thighs, you can go with direct heat the entire time. Set your grill to medium-high, around 400–425°F. Place the thighs directly over the heat and cook for about 6–8 minutes per side, depending on thickness. You’re looking for an internal temperature of at least 175°F. That’s it. Simple.
One trick I use at the restaurant: I butterfly any thighs that are noticeably thicker than the others. Just open them up so they’re a more even thickness across the board. This way everything cooks at the same rate and you’re not pulling some off the grill while others still need time. Consistency is king.
Pro Tip: The Marinade Factor
Boneless, skinless thighs absolutely sing when you marinate them. My go-to is a mix of olive oil, soy sauce, lime juice, garlic, and a little honey. Toss them in there for at least 2 hours, ideally overnight. The marinade not only adds flavor but creates a protective layer that helps keep the surface from drying out over direct heat. I’ve been doing this for so long that my family calls it “Dad’s secret sauce” even though the recipe is literally on my blog for the entire world to see.
Boneless, Skin-On Thighs: The Best of Both Worlds
This is my personal favorite—and I know that’s a bold statement coming from a guy who also just called bone-in the “gold standard.” But hear me out. Boneless, skin-on gives you the faster cooking time of boneless with the crispy skin experience that makes grilled chicken thighs so special. You can usually find these at a good butcher, or you can debone them yourself if you’re handy with a knife.
Use the same two-zone approach as bone-in, but reduce your indirect time since there’s no bone to slow things down. About 15–20 minutes on the indirect side, then move to direct heat for 5–8 minutes to crisp the skin. Target 175–180°F internal. Honestly, these are the ones I cook most often at home for my family. Quick, delicious, and that crispy skin makes the kids actually excited about eating chicken. That’s a parenting win right there.
Charcoal vs. Gas vs. Pellet: Does It Matter?
Oh boy, here we go. This is the question that starts arguments at every barbecue event I attend. And here’s my honest answer: they’re all good, and anyone who tells you otherwise is probably trying to sell you a grill.
Charcoal
Charcoal gives you the most flavor, period. The smoke from the coals adds a depth that gas just can’t replicate. I use lump hardwood charcoal—none of that lighter-fluid-soaked briquette stuff. If you want the most authentic barbecue experience, charcoal is the way to go. The trade-off is temperature control; it takes practice to manage your vents and maintain a steady 375–400°F.
Gas
Gas is convenient, consistent, and perfectly fine for chicken thighs. You can hit your temperatures precisely and hold them there without babysitting. What you lose in smoke flavor, you can partially make up for by adding a smoker box with wood chips. Honestly, for a busy weeknight dinner? Fire up the gas grill. No shame in it.
Pellet Grills
Pellet grills are kind of the best of both worlds. They give you real wood smoke flavor with the set-it-and-forget-it convenience of gas. If you’ve got one, chicken thighs at 375°F on a pellet grill with hickory or applewood pellets are absolutely phenomenal. This is actually how I cook thighs when I’m doing competition prep—low and slow with consistent smoke.
Common Mistakes That Ruin BBQ Chicken Thighs
I’ve seen it all over the years, and I’ve made most of these mistakes myself when I was starting out. Here’s what to avoid:
- Pulling too early. This is the number one mistake. If your thighs are at 165°F and you take them off, they’ll be safe but chewy. Let the connective tissue do its thing and push to 185°F for bone-in.
- Saucing too early. BBQ sauce has sugar. Sugar burns. If you put sauce on at the beginning, you’ll end up with a blackened, bitter mess. Wait until the last 5 minutes.
- Flipping too often. Put them down and leave them alone. Every time you open the lid and flip, you lose heat and extend your cooking time. Two flips maximum for bone-in, one flip for boneless.
- Not drying the skin. Wet skin will never crisp up. Pat those thighs dry before they hit the grill. This is such a small step but it makes an enormous difference.
- Skipping the rest. I know it’s tempting to dive right in, but 5 minutes of resting off the grill lets the juices settle back into the meat instead of running out onto your plate.
Gus’s Signature KC-Style BBQ Chicken Thighs
Alright, I wasn’t going to include this because it’s basically the recipe I’m planning to put in my cookbook, but you know what? Life’s too short to hoard good barbecue. Here’s my personal recipe for Kansas City-style BBQ chicken thighs—the same ones that earned me a blue ribbon at the 2019 KC Royal Invitational.
Ingredients
| Ingredient | Amount |
| Bone-in, skin-on chicken thighs | 8 pieces (about 3 lbs) |
| Kosher salt | 1 tablespoon |
| Coarse black pepper | 2 teaspoons |
| Smoked paprika | 2 teaspoons |
| Garlic powder | 1 teaspoon |
| Onion powder | 1 teaspoon |
| Brown sugar | 1 tablespoon |
| Cayenne pepper | ½ teaspoon (adjust to taste) |
| Yellow mustard (as a binder) | 2 tablespoons |
| Your favorite KC-style BBQ sauce | ¾ cup |
| Apple cider vinegar (for spritzing) | ½ cup in a spray bottle |
Instructions
- Mix the salt, pepper, paprika, garlic powder, onion powder, brown sugar, and cayenne in a bowl. This is your dry rub.
- Pat the chicken thighs dry with paper towels. Brush a thin layer of yellow mustard over each thigh—this acts as a binder for the rub and adds a subtle tang. Don’t worry, you won’t taste the mustard after cooking.
- Apply the dry rub generously to all sides. Let them sit at room temperature for 20–30 minutes while you set up your grill.
- Set up your grill for two-zone cooking. Target 375°F on the indirect side. If using charcoal, add a chunk of hickory or cherry wood for smoke.
- Place the thighs skin side up on the indirect side. Close the lid and cook for 25 minutes. Spritz with apple cider vinegar every 10 minutes or so—this adds a subtle tartness and helps build the bark.
- Once the internal temp reaches about 170°F, move the thighs to the direct heat side, skin side down. Let the skin crisp up for 5–7 minutes. Keep a close eye—the sugar in the rub can burn quickly.
- Flip the thighs and brush a generous layer of BBQ sauce on the skin side. Close the lid for 3–4 minutes to let the sauce set and get tacky.
- Pull the thighs when the internal temperature reads 185–190°F. Rest for 5 minutes, then serve with extra sauce on the side and plenty of napkins. You’re going to need them.
Best Wood Pairings for Chicken Thighs
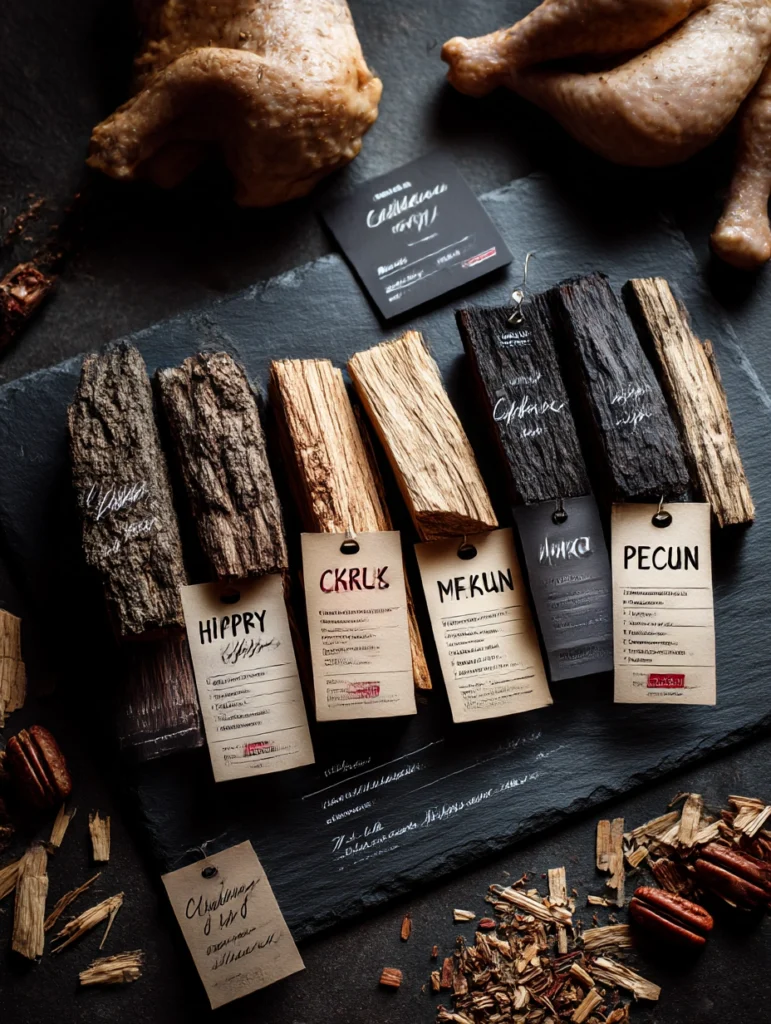
If you’re using charcoal or a pellet grill, the type of wood you use makes a real difference. Here’s what I’ve found works best after years of experimentation:
| Wood | Flavor Profile | Best For |
| Hickory | Strong, bacon-like, classic BBQ | Traditional KC-style thighs with bold rubs |
| Cherry | Mild, slightly sweet, beautiful color | Sweet or fruity sauces, lighter seasoning |
| Apple | Light, fruity, subtly sweet | Asian-inspired marinades, honey glazes |
| Pecan | Nutty, mellow, slightly sweet | All-purpose—great when you’re not sure |
| Mesquite | Very strong, earthy, intense | Use sparingly—can overpower chicken |
A word of caution on mesquite: it’s aggressive. I love it for beef brisket, but for chicken thighs, it can easily overpower the meat. If you want to try it, mix mesquite with a milder wood like apple or cherry. That way you get the smokiness without it tasting like you licked a campfire. Not that I would know anything about that. Okay, maybe I would.
Do You Really Need a Meat Thermometer?
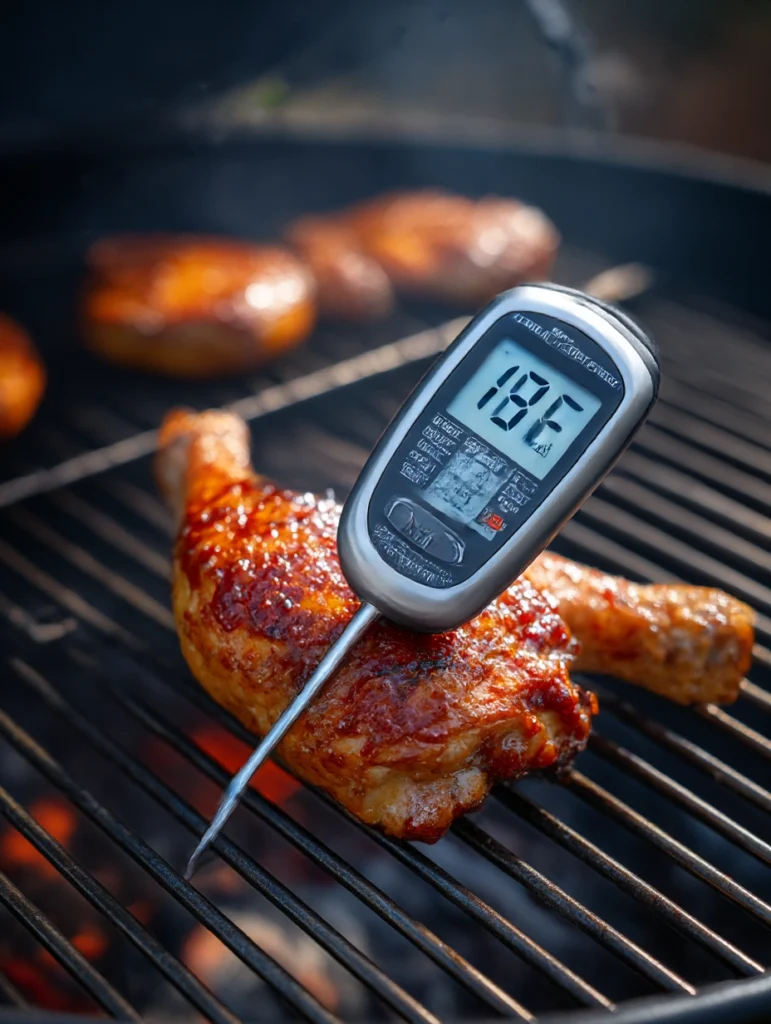
Short answer: yes. Long answer: absolutely, positively, without a doubt, yes.
I don’t care how long you’ve been grilling. I don’t care if your grandpa could tell doneness by looking at a chicken from across the yard. An instant-read meat thermometer is the single most important tool you can own as a griller. Full stop. They cost about fifteen bucks and they’ll save you from serving undercooked chicken or dry, overcooked cardboard. There is no downside.
Insert the probe into the thickest part of the thigh, avoiding the bone (if there is one). The bone conducts heat differently than the meat, so readings near it can be misleading. You want the actual meat temperature. If you’re serious about barbecue, invest in a leave-in probe thermometer so you can monitor the temp without opening the lid. That’s what I use at the restaurant and it’s been a total game changer for consistency.
Frequently Asked Questions
| Question | Answer |
| Can I BBQ frozen chicken thighs? | Technically yes, but I strongly advise against it. They cook unevenly and you’ll never get good skin. Thaw in the fridge overnight for best results. |
| How do I prevent flare-ups? | Trim excess fat before grilling. If flare-ups happen, move the thighs to the indirect side until flames die down. Keep a spray bottle of water handy. |
| Should I brine chicken thighs? | You can, but it’s not as critical as with breasts. Thighs are already so moist that a dry rub or marinade is usually sufficient. If you brine, keep it to 1–2 hours max. |
| How long to BBQ chicken thighs at 350°F? | At 350°F, bone-in thighs will take roughly 40–50 minutes. It’s a lower temp so you’re looking at a longer cook. Still works, just add more time and monitor with a thermometer. |
| What’s the best sauce for BBQ chicken thighs? | I’m biased toward Kansas City-style—thick, sweet, tomato-based with a little tang. But honestly, use whatever you love. Carolina mustard sauce, Alabama white sauce, or even a good teriyaki all work great. |
Get Out There and Grill
So there you have it—everything I know about how long to BBQ chicken thighs, distilled from twenty-plus years of standing over hot coals, competing against some of the best pitmasters in the country, and feeding my family more grilled chicken than they probably want to admit.
The beauty of chicken thighs is that they’re incredibly forgiving. You’re not going to ruin them the way you might ruin a bone-in chicken breast or a delicate piece of fish. They want to be cooked hot, they want to be cooked a little longer than you think, and they reward patience with some of the most flavorful, juicy, finger-licking barbecue you’ll ever eat.
My advice? Start with the bone-in, skin-on method I described above. Master that two-zone technique. Get comfortable with your thermometer. And once you’ve nailed it, start experimenting—try different rubs, different woods, different sauces. That’s the fun part. That’s where you stop following recipes and start developing your own style.
Because at the end of the day, barbecue isn’t just about the food. It’s about the people you share it with. It’s about your kids running around the backyard while the smoke drifts over the fence. It’s about your neighbor poking their head over and saying, “Smells amazing, what’s on the grill?” And you just smile and say, “Chicken thighs. The good kind.”
Now fire up that grill and make something great. I believe in you.