How Long to Grill Chicken Thighs — Times, Temps Tips
Look, I’m gonna be straight with you. If you asked me twenty years ago what my favorite cut of chicken was, I’d have said breast without even thinking about it. That’s what everybody said back then, right? Breast was king. Lean, clean, the “healthy” choice. But here’s the thing — after two decades of standing over hot coals for a living, I can tell you without a shred of doubt that the chicken thigh is the single greatest cut of poultry that’s ever been laid on a grill grate.
And I’m not alone in saying that. Ask any pit master worth their salt rub, and they’ll tell you the same thing. Thighs are more forgiving, more flavorful, and honestly? More fun to cook. They’ve got that beautiful fat content that keeps them juicy even if you overshoot your cook time by a few minutes. Try doing that with a chicken breast and you’ll end up with something that could double as a hockey puck.
So if you’ve been wondering how long to grill chicken thighs — whether you’re working with bone-in, boneless, skin-on, or skinless — you’re in the right place. I’ve grilled thousands of these things over the years, at the restaurant, in competition, and in my own backyard. I’ve burned ‘em, undercooked ‘em, and everything in between. And I’ve finally nailed it down to a science. Let me save you the trial and error.
Why Chicken Thighs Are the Grill’s Best Friend
Before we get into the specifics of time and temperature, let’s talk about why thighs deserve a permanent spot in your grilling rotation. I remember back when I was competing in my first barbecue competition down in Memphis — must’ve been 2006 or so — and I watched this old-timer from Alabama pull the most gorgeous, mahogany-skinned chicken thighs off his smoker. The judges practically fought over them. That was my lightbulb moment.
Higher fat content: Chicken thighs typically run around 10–15% fat, compared to breast’s measly 3%. That fat is your built-in insurance policy against dry, flavorless chicken. It bastes the meat from the inside out as it renders during cooking.
More connective tissue: Thighs have more collagen, which breaks down into gelatin during cooking. This is what gives grilled thighs that silky, almost succulent quality that breasts just can’t match.
Harder to overcook: Because of all that fat and connective tissue, thighs stay tender and juicy even when they go a few degrees past the ideal internal temperature. I’ve had thighs hit 185°F and still taste phenomenal. Good luck pulling that off with a breast.
Better flavor absorption: The darker meat in thighs has a richer, more complex flavor that stands up beautifully to bold marinades, spice rubs, and smoke. It’s got personality, if that makes any sense.
The Essential Grilling Temperatures You Need to Know
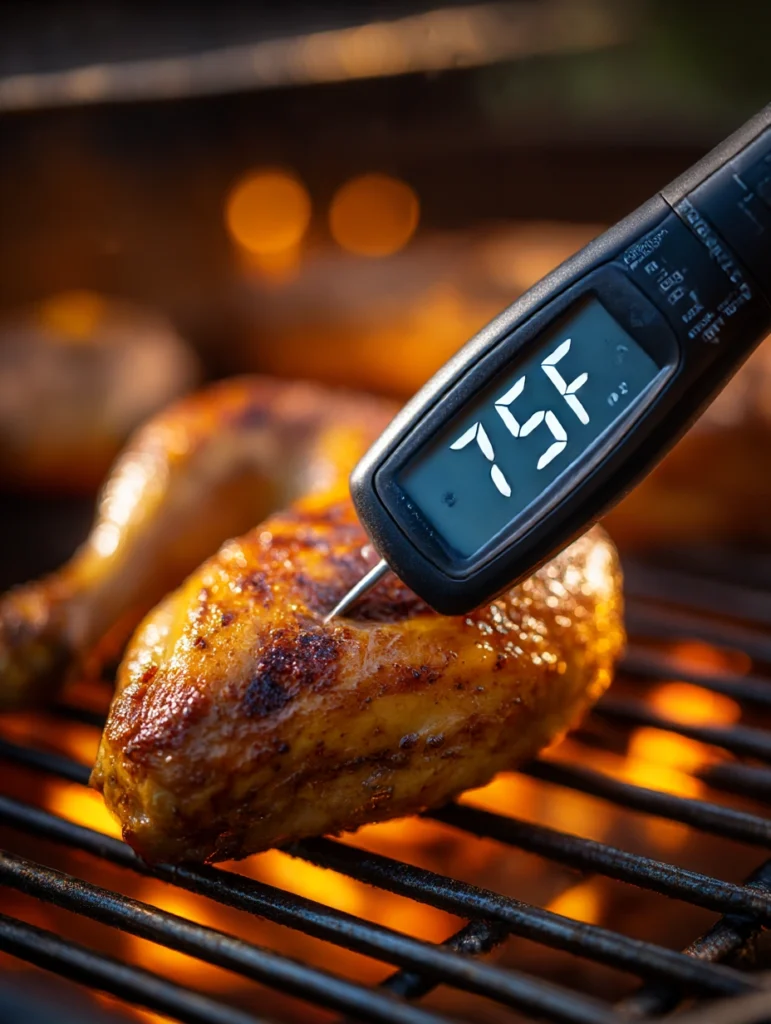
Alright, let’s talk numbers. And look, I know some of you are the “I just eyeball it” type. I respect that — I used to be that guy too. But then I invested in a decent instant-read thermometer and my grilling game went from good to great overnight. Seriously, if you don’t own one yet, stop reading this article and go buy one. I’ll wait.
The USDA says chicken is safe to eat at 165°F internal temperature. That’s non-negotiable from a food safety standpoint. But here’s where my experience as a pit master kicks in: for thighs specifically, I actually recommend pulling them at 175°F–185°F. I know, I know — sounds like overkill. But that extra temperature is what it takes to fully render the fat and break down the connective tissue. At 165°F, thighs can still have a slightly rubbery, gelatinous texture near the bone that puts people off. At 175°F+, everything melts into tender, pull-apart perfection.
| 🔥 Grill Master’s Pro Tip Always measure temperature in the thickest part of the meat, away from the bone. Bone conducts heat differently than meat, so measuring next to it will give you a false reading. I learned this the hard way at a competition in 2011 — cost me a trophy, but saved me from ever making that mistake again. |
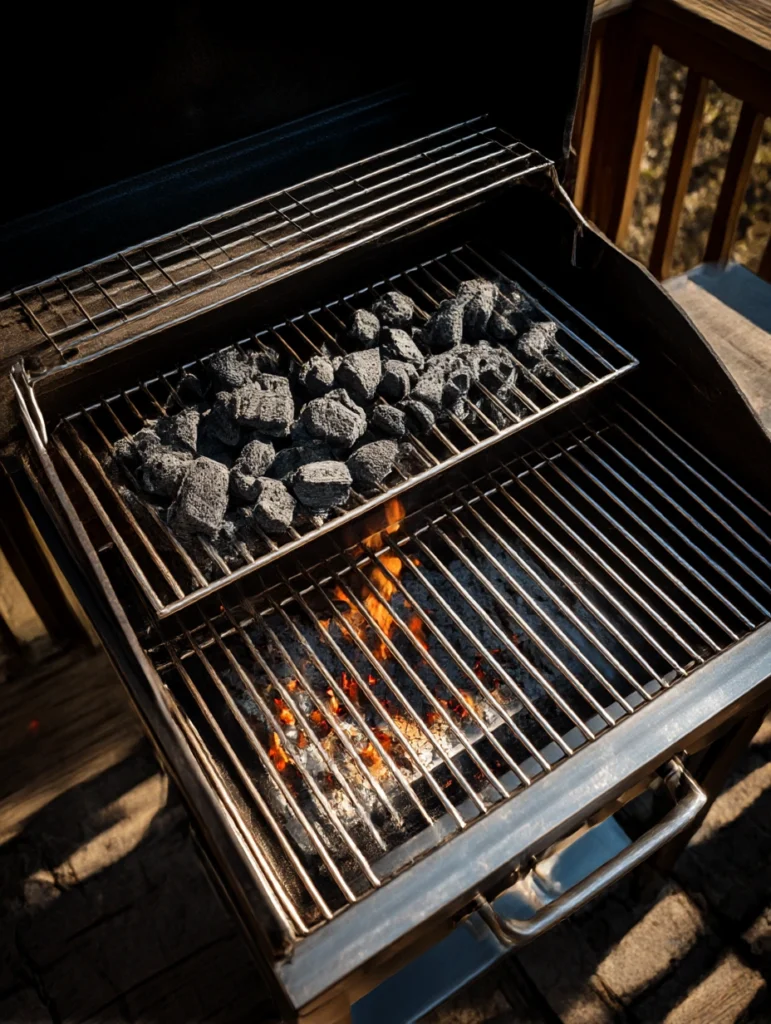
Setting Up Your Grill: Two-Zone Is the Way
Here’s where a lot of folks go wrong, and I see it every single weekend at the park near my house. They fire up every burner or spread coals edge to edge, creating one giant blast furnace. Then they slap the chicken on, walk away for a beer, and come back to thighs that are charcoal black on the outside and raw in the middle. Sound familiar? Don’t feel bad — we’ve all been there.
The solution is dead simple: two-zone cooking. One side hot, one side not. On a gas grill, crank one side to medium-high (around 400–450°F) and leave the other side on low or off. On a charcoal grill, pile your coals on one side. That’s it. You’ve just given yourself a safety net.
How Two-Zone Cooking Works
Start the thighs on the hot side to get that beautiful sear and those gorgeous grill marks. Then, once they’re nicely browned, move them to the cool side to finish cooking through with gentle, indirect heat. This way you get the best of both worlds: a crispy, caramelized exterior and a fully cooked, juicy interior. No burnt offerings to the grill gods required.
And one more thing while we’re on setup — oil your grates. I use a wad of paper towels dipped in vegetable oil, held with long tongs. Chicken skin will stick to dirty, dry grates faster than you can say “where’d my bark go?” Trust me on this one.
How Long to Grill Chicken Thighs: The Complete Breakdown
Okay, this is the section you probably scrolled down for, so let’s get right to it. Below is my master timing chart based on years of testing. Keep in mind these are guidelines — every grill is different, every thigh is a slightly different size, and weather conditions (yes, wind and ambient temperature matter) will affect your cook time. That’s why the thermometer is your best friend.
| Cut | Grill Temp | Time Per Side | Total Time | Internal Temp |
| Bone-In, Skin-On | 375–400°F | 6–8 min | 25–35 min | 175–185°F |
| Bone-In, Skinless | 375–400°F | 6–7 min | 22–30 min | 175–185°F |
| Boneless, Skin-On | 400–425°F | 5–6 min | 12–18 min | 175°F |
| Boneless, Skinless | 400–450°F | 4–5 min | 10–15 min | 165–175°F |
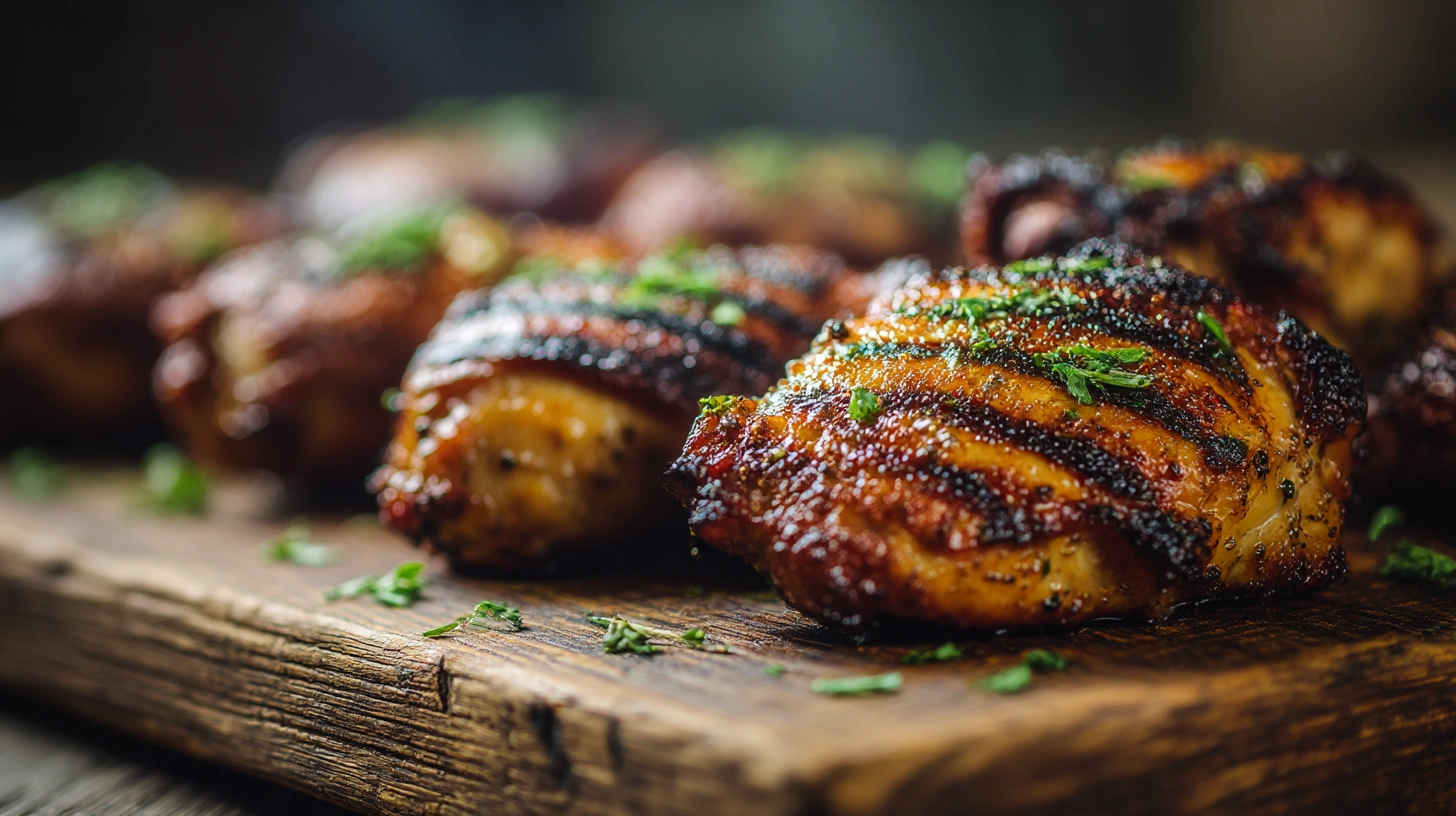
Bone-In, Skin-On Chicken Thighs (The King of the Grill)
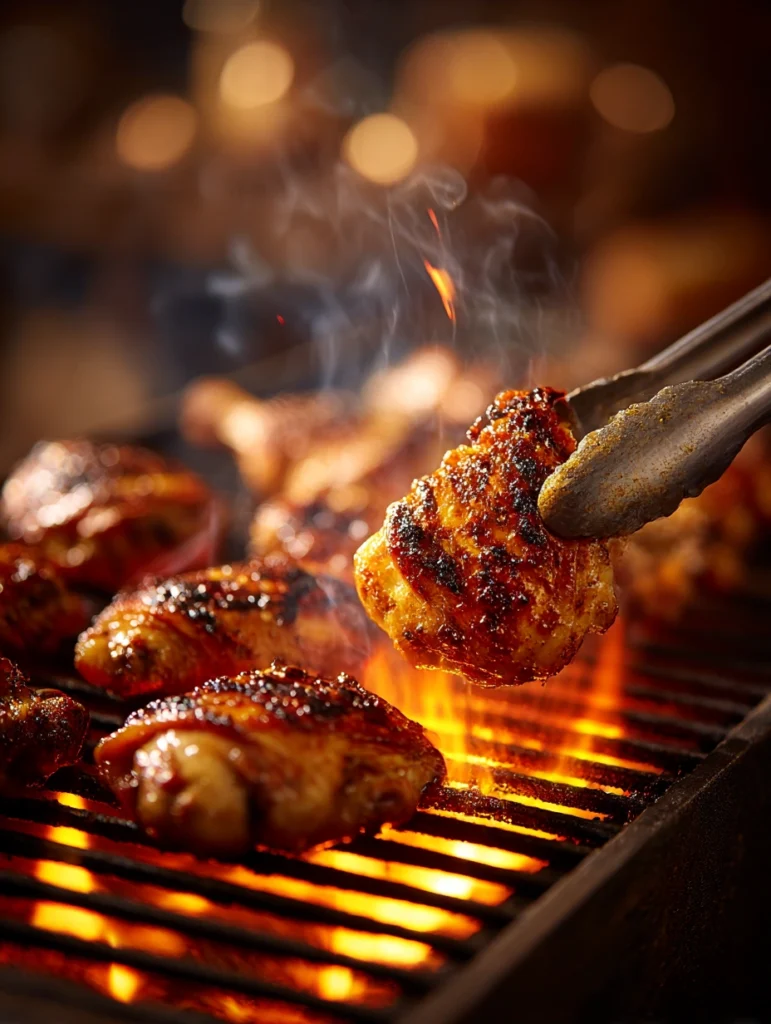
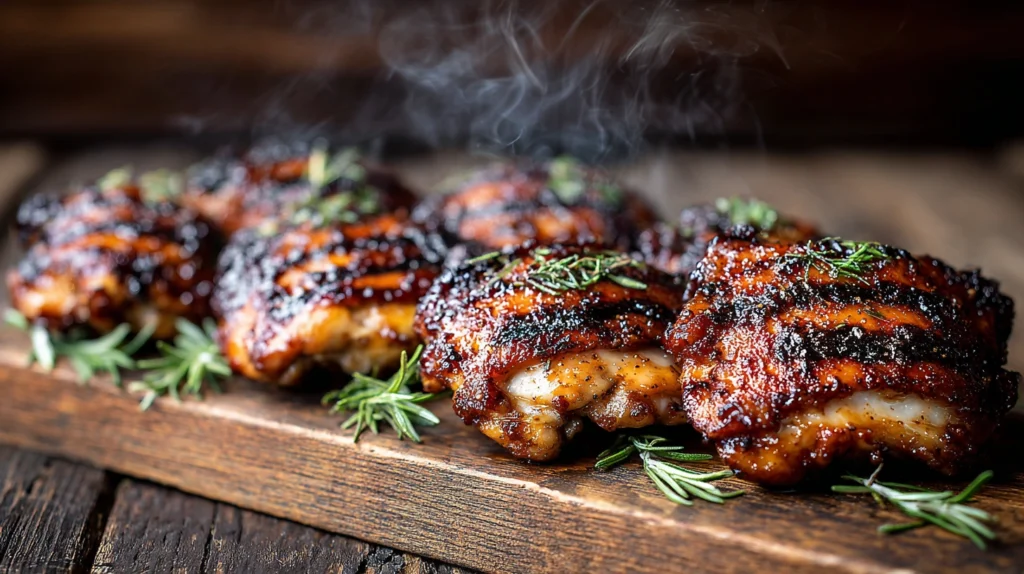
This is my desert-island cut right here. If I could only grill one thing for the rest of my life, it’d be a well-seasoned, bone-in, skin-on chicken thigh. The bone adds flavor during cooking (there’s actual science behind this — the marrow releases compounds that enhance the meat’s taste), and the skin gives you that irresistibly crispy, crackling exterior that people go absolutely wild for.
For bone-in, skin-on thighs, you want to start them skin-side down over direct heat at 375–400°F. Let them cook for about 6–8 minutes on the first side without touching them. I know it’s tempting to peek, but leave ‘em alone — the skin needs uninterrupted contact with the hot grate to render and crisp up. Once you see the edges starting to turn golden and the fat is visibly rendering, flip them over. Give the flesh side another 6–8 minutes over direct heat, then move them to the indirect zone to finish for another 10–15 minutes.
Total cook time: 25–35 minutes, depending on size. You’re looking for 175–185°F in the thickest part. And honestly, don’t panic if you hit 190°F — thighs can handle it.
Boneless, Skinless Chicken Thighs (The Weeknight Hero)
Now, I’ll admit — boneless skinless thighs aren’t as sexy as their bone-in counterparts. But man, are they convenient. These are what I throw on the grill on a Tuesday night when I want something quick, flavorful, and hassle-free. They cook fast, they’re easy to eat, and they take on marinade like nobody’s business.
Because they’re thinner and have no bone or skin to protect them, boneless skinless thighs cook much faster. You can get away with slightly higher heat here — 400–450°F. Grill them for 4–5 minutes per side over direct heat, and they’re done. Total cook time: 10–15 minutes. Pull them at 165–175°F internal.
The biggest mistake I see people make with boneless skinless thighs is overcrowding the grill. These things tend to curl up when they hit the heat (it’s the muscle fibers contracting), and if they’re packed in too tight, you won’t get good contact with the grate. Give them some breathing room — at least an inch between each piece.
| 🔥 Quick Tip: Flatten Before Grilling For even cooking with boneless skinless thighs, open them up and pound them to an even thickness — about ¾ inch is the sweet spot. This prevents thin edges from drying out while the thick center is still catching up. I keep a meat mallet right next to my grill tongs for exactly this reason. |
Marinades, Rubs & Seasoning: Making Your Thighs Sing
So in my experience, the best grilled chicken thighs start long before the grill is even lit. Seasoning is where the magic happens, folks. And I’m not talking about a sad little shake of salt and pepper five minutes before cooking (though honestly, even that is better than nothing).
My Go-To Kansas City Dry Rub
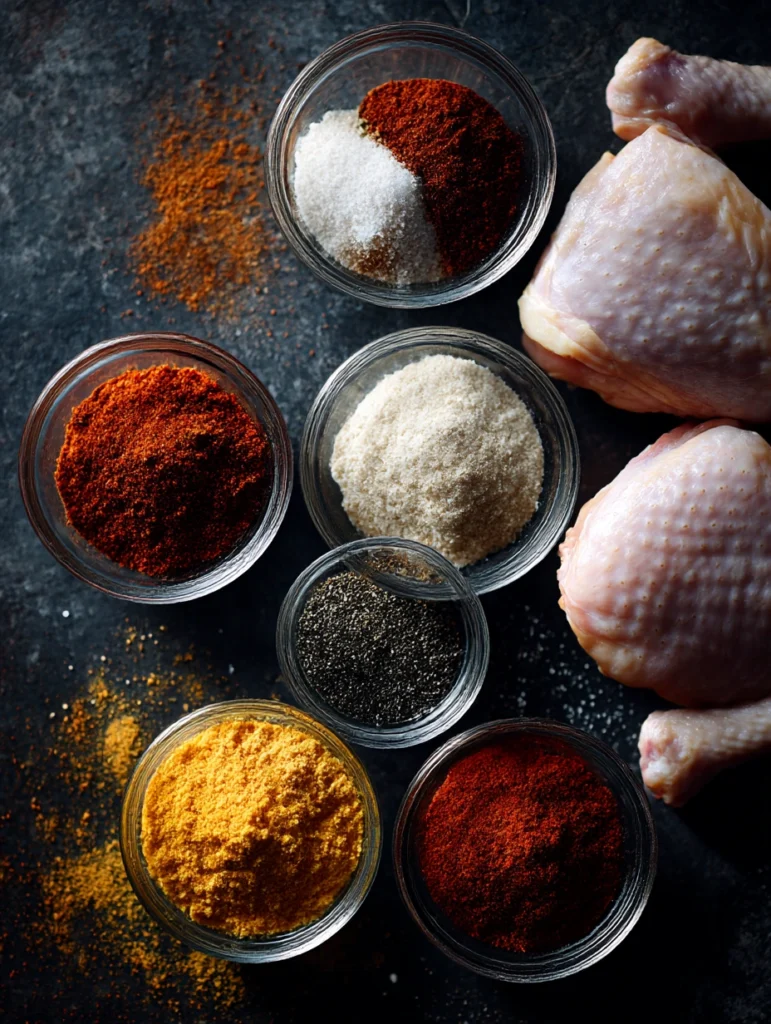
This is the rub I use at the restaurant, and I’m sharing it here because I genuinely want you to experience what properly seasoned chicken tastes like. Mix these together and store in an airtight jar:
| Ingredient | Amount |
| Brown sugar | 2 tablespoons |
| Smoked paprika | 1 tablespoon |
| Garlic powder | 1 teaspoon |
| Onion powder | 1 teaspoon |
| Chili powder | 1 teaspoon |
| Kosher salt | 1 teaspoon |
| Black pepper | 1/2 teaspoon |
| Cayenne pepper | 1/4 teaspoon (more if you like heat) |
Apply the rub generously, get it under the skin if you’re working with skin-on thighs, and let them sit in the fridge for at least 2 hours. Overnight is even better. The salt in the rub will draw moisture to the surface, which then gets reabsorbed along with all those beautiful spices. It’s basically a dry brine and seasoning in one step. Efficiency, baby.
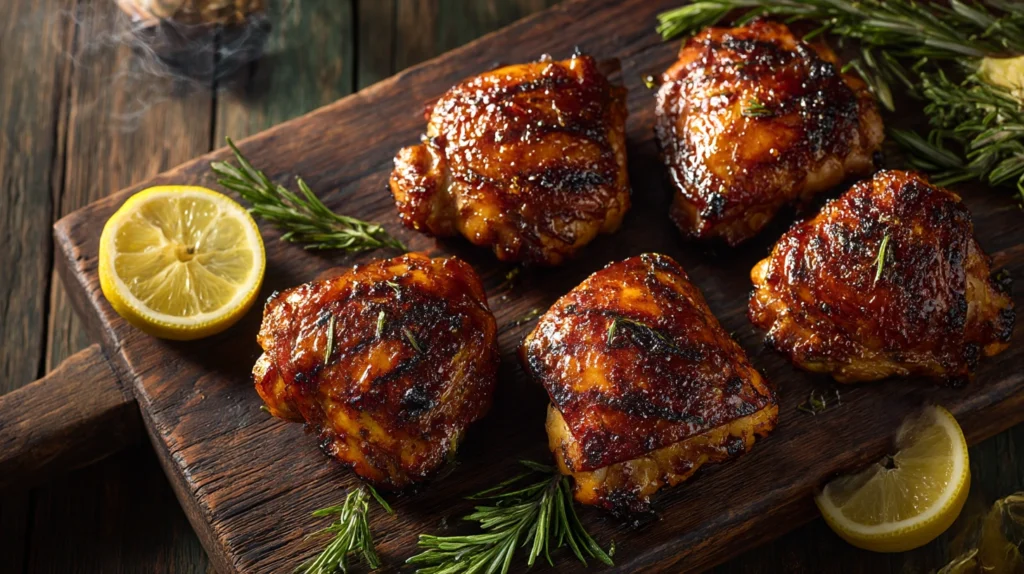
A Quick Word on Marinades
Marinades are fantastic for boneless skinless thighs. My favorites include a simple combo of olive oil, lemon juice, garlic, and herbs — Mediterranean vibes all day. Or go Asian-inspired with soy sauce, sesame oil, ginger, and a touch of honey. Marinate for 2–4 hours max. Any longer and the acid starts breaking down the surface of the meat, making it mushy. Nobody wants mushy chicken. Nobody.
The 5 Biggest Mistakes People Make When Grilling Chicken Thighs
Anyway, I feel like I should address some of the most common blunders I see. And look, I’m not judging — I’ve made every single one of these mistakes myself at some point. That’s how you learn. But if I can help you skip the learning curve, why wouldn’t I?
1. Cooking straight from the fridge. Cold chicken on a hot grill is a recipe for uneven cooking. The outside chars before the inside even starts warming up. Pull your thighs out of the fridge 20–30 minutes before grilling to take the chill off. This one change will make a noticeable difference, I promise.
2. Flare-ups and not managing them. Chicken thighs are fatty, and fat drips onto hot coals or burner guards, causing flare-ups. This is where your two-zone setup saves the day — when flames erupt, just slide the chicken to the cool side until things calm down. Don’t squirt water from a spray bottle onto charcoal; it kicks up ash that sticks to your food. Just move the meat.
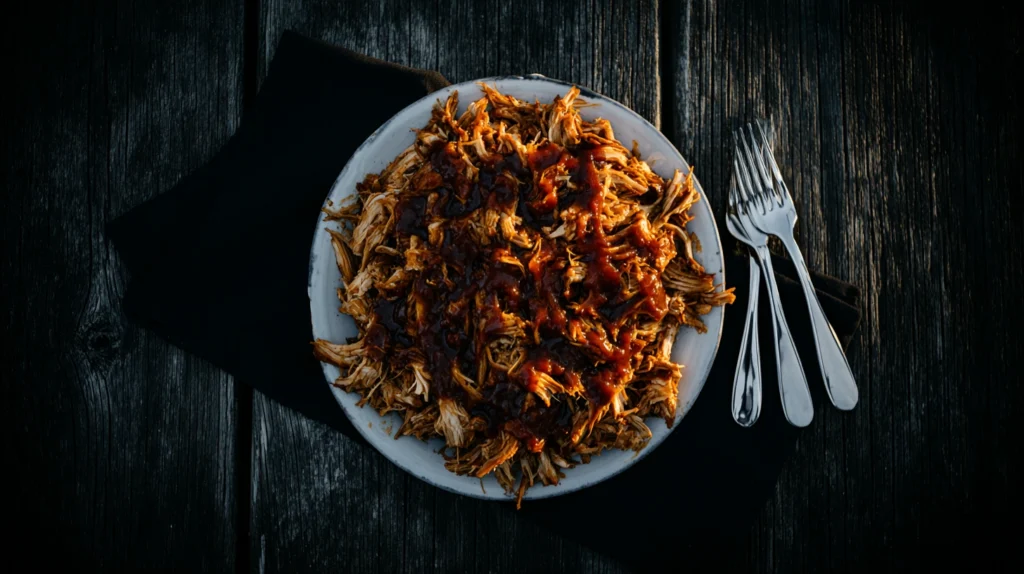
3. Adding sauce too early. If you’re using a barbecue sauce (and why wouldn’t you?), wait until the last 5–10 minutes of cooking. Sugar-based sauces will burn in a heartbeat over direct heat. Brush it on during the final stretch on the indirect side, let it set and caramelize just a little, and you’ll have a gorgeous, glossy finish instead of a blackened sugar crust.
4. Not letting them rest. I know, I know — the aroma coming off those thighs when they come off the grill is absolutely intoxicating. But give them 5 minutes on a cutting board before cutting into them. This lets the juices redistribute throughout the meat so they end up on your plate and in your mouth, not all over your cutting board.
5. Using a fork to flip. Every time you stab a piece of chicken with a fork, you’re creating an exit wound for precious juices. Use tongs. Always tongs. I have about fourteen pairs of tongs at this point and I regret nothing.
Gas vs. Charcoal: Does It Really Matter?
Oh boy, here we go. This is the question that’s started more arguments at barbecue competitions than whether brisket should be sliced or chopped. And my honest answer? Both are great, and both will produce fantastic chicken thighs. The differences are more about convenience and flavor nuance than anything fundamental.
| Factor | Gas Grill | Charcoal Grill |
| Heat Control | Precise, dial-adjustable | Takes practice, vent-based |
| Preheat Time | 10–15 minutes | 20–30 minutes |
| Flavor | Clean, neutral heat | Smoky, complex char flavor |
| Flare-Up Risk | Moderate (drip guards) | Higher (direct fat drip) |
| Best For | Weeknight convenience | Weekend flavor chasers |
| Cleanup | Easy — burn off & brush | Ash disposal needed |
If you want my personal preference? I reach for charcoal when I’m doing bone-in, skin-on thighs because I love that subtle smokiness it adds. For quick boneless thighs on a weeknight, gas wins on pure convenience. But honestly, the technique matters ten times more than the fuel source. A skilled griller with a cheap gas grill will outperform a beginner with a $2,000 kamado every single time.
Adding Smoke Flavor: A Game Changer
Want to take your grilled chicken thighs to the next level? Add some wood chips or chunks to your grill. For chicken, I love fruitwoods — apple and cherry are my favorites. They give a mild, slightly sweet smoke that complements poultry without overpowering it. Hickory works too if you want something more assertive, but go easy. Too much hickory and your chicken will taste like it was grilled inside a campfire.
For gas grills, soak your chips in water for about 30 minutes, wrap them in a foil packet with holes poked in the top, and set the packet directly on the burner. For charcoal, just toss a couple of dry chunks right onto the coals. Easy as pie. Well, easier than pie actually — pie is genuinely difficult to make.
How to Tell When Chicken Thighs Are Done (Beyond the Thermometer)
Your instant-read thermometer should be your primary tool for checking doneness, full stop. But there are some visual and tactile cues that can help you know when you’re getting close:
The juices run clear. When you poke the thickest part of the thigh, the liquid that comes out should be clear or very faintly yellow, not pink or red. This isn’t 100% reliable on its own (some fully cooked chicken can have pinkish juices due to myoglobin), but it’s a useful secondary indicator.
The meat pulls away from the bone. On bone-in thighs, when the meat starts shrinking away from the end of the bone, you’re in the zone. Give it another couple of minutes and check with your thermometer.
The skin is deeply golden and crispy. Properly rendered skin should look like burnished copper — deep golden brown, maybe with a few dark spots from the grill marks. If it’s still pale and flabby, you need more time over direct heat.
The “feel” test. Press the top of the thigh with your tong tips. Well-done chicken should feel firm but still have a bit of give, like pressing the base of your thumb when you touch your pinky to your thumb. I know that sounds weird, but try it — it’s a surprisingly useful trick.
Quick-Reference Cheat Sheet
I know that was a lot of information, so let me boil it all down to the essentials. Print this out, laminate it, and tape it to the inside of your grill lid if you have to. No judgment from me — I had a cheat sheet taped to mine for years.
| Step | Details |
| Preheat grill | Medium-high heat, 375–450°F, two-zone setup |
| Prep the chicken | Room temp, 20–30 min out of fridge; season generously |
| Oil the grates | Paper towel + vegetable oil, held with tongs |
| Sear (direct heat) | Skin/presentation side down first, 4–8 min per side |
| Finish (indirect heat) | Move to cool side, 10–15 min (bone-in) or until done |
| Check temp | 175–185°F bone-in; 165–175°F boneless |
| Sauce (optional) | Last 5–10 min only, indirect side |
| Rest | 5 minutes off the grill before serving |
Serving Ideas That’ll Make You the Neighborhood Legend
Great grilled chicken thighs can stand on their own with nothing but a napkin and a cold drink. But if you want to impress — and I mean really impress — here are a few of my favorite ways to serve them:
Slice boneless thighs and pile them into warm tortillas with pickled red onion, avocado, and a drizzle of crema for incredible street-style tacos. Or go classic backyard cookout — serve bone-in thighs alongside coleslaw, baked beans, and cornbread. My wife’s cornbread recipe alone is worth the price of admission. You can also chop grilled thighs and toss them into a big salad with romaine, cherry tomatoes, corn, and a smoky ranch dressing. That’s my go-to lunch when I’m trying to pretend I eat healthy.
Now Get Out There and Grill
Listen, I’ve given you everything I’ve got. The temperatures, the times, the techniques, and even my secret rub recipe that I normally charge people to learn in my workshops. All that’s left is for you to fire up that grill and put it into practice.
Will your first attempt be perfect? Maybe, maybe not. But that’s the beauty of chicken thighs — they’re forgiving. Even a slightly imperfect grilled thigh is still a delicious grilled thigh. And every time you cook them, you’ll get a little better, a little more confident, and a little more attuned to your own grill’s personality. Because yeah, every grill has its quirks, and learning them is half the fun.
So go ahead. Season those thighs, preheat that grill, and show your neighbors what a real pit master in training smells like. I’m rooting for you.