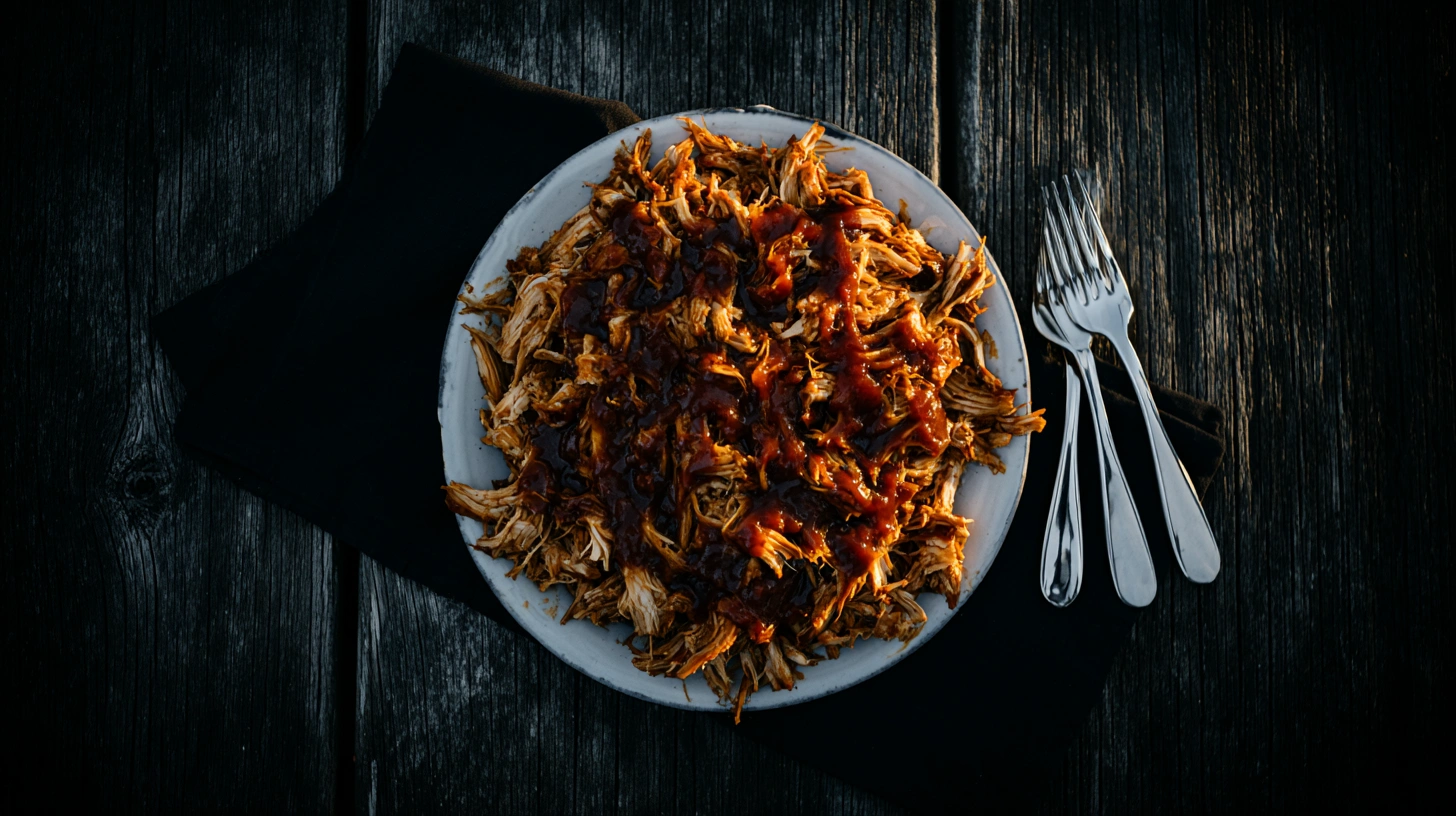
How to Make Pulled Chicken in the Oven | Tender, Juicy & Foolproof
Alright, let me be honest with you. If somebody had told me ten years ago that I’d be writing a recipe for oven-made pulled chicken, I probably would’ve laughed them right off my patio. I mean, I’m a guy who has spent the better part of two decades tending smokers in the Kansas City heat, nursing briskets through the night, and competing in barbecue competitions where “letting it rest” means catching a 20-minute nap in a lawn chair.
But here’s the thing — not everyone has a smoker. Not everyone has the time (or the patience, let’s be real) to babysit a fire for eight hours on a Tuesday. And you know what? That’s perfectly okay. Because learning how to make pulled chicken in the oven is one of the smartest moves a home cook can make. It’s fast, it’s forgiving, and when you do it right, the results are absolutely jaw-dropping.
I started making this recipe for my wife on weeknights when I was too wiped from the restaurant to fire up the smoker. Now it’s become one of the most-requested dishes in my house — and honestly, on my blog too. So let me walk you through the whole thing, pit-master style. No fluff, just real talk and real flavor.
Recipe at a Glance
| Prep Time | 15 minutes |
| Cook Time | 2.5 – 3 hours (low and slow) |
| Total Time | Approximately 3 hours |
| Servings | 6 – 8 servings |
| Difficulty | Easy — seriously, anyone can do this |
| Best For | Sandwiches, tacos, nachos, salads, meal prep |
Why the Oven Method Works (A Pit Master’s Honest Take)
So in my experience, people overthink pulled chicken. They think you need a $2,000 smoker, a PhD in fire management, and a weekend with nothing else going on. Nope. Your oven is basically a giant, perfectly controlled smoker — minus the smoke, obviously. But we’re going to fix that with some clever seasoning.
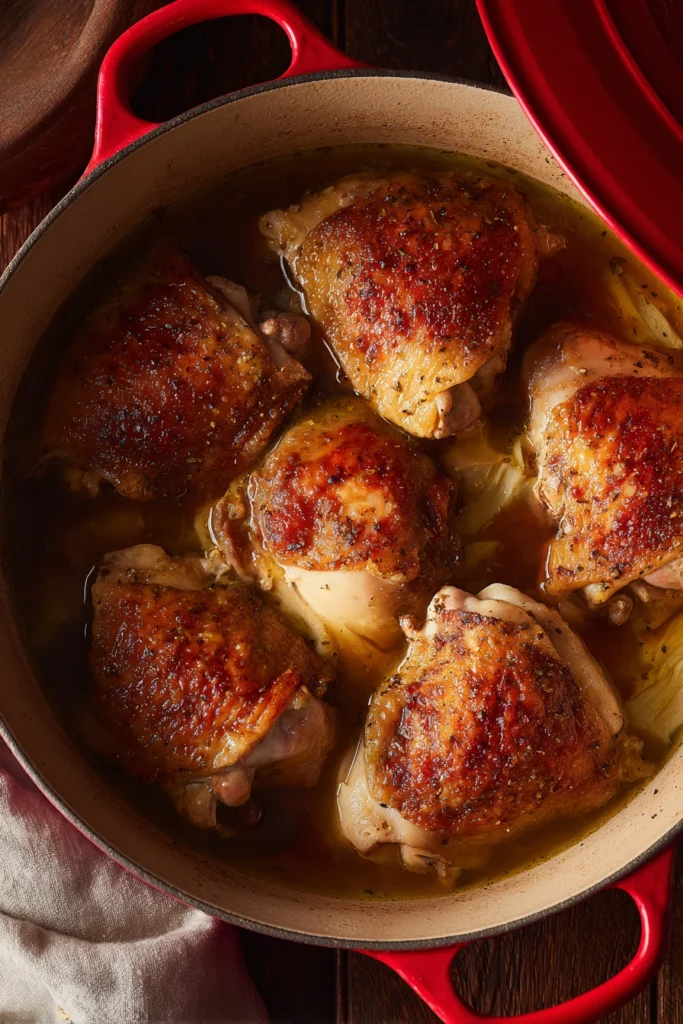
The beauty of the oven is consistency. You set it, you forget it (well, mostly), and two and a half hours later you’ve got chicken that shreds with two forks like it’s auditioning for a cooking show. The low-and-slow approach at 300°F breaks down the connective tissue in the thighs, which is exactly what gives you that melt-in-your-mouth texture.
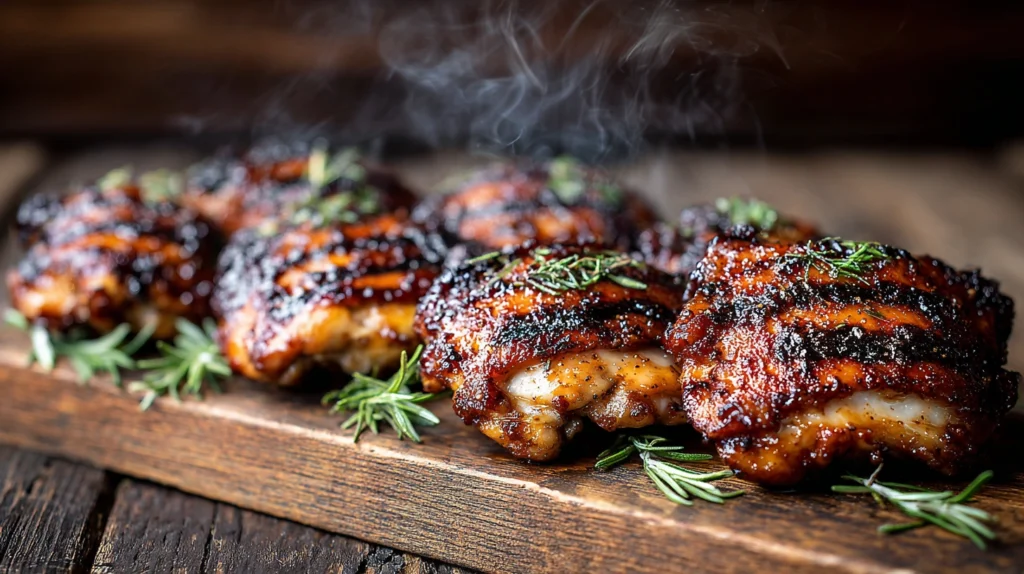
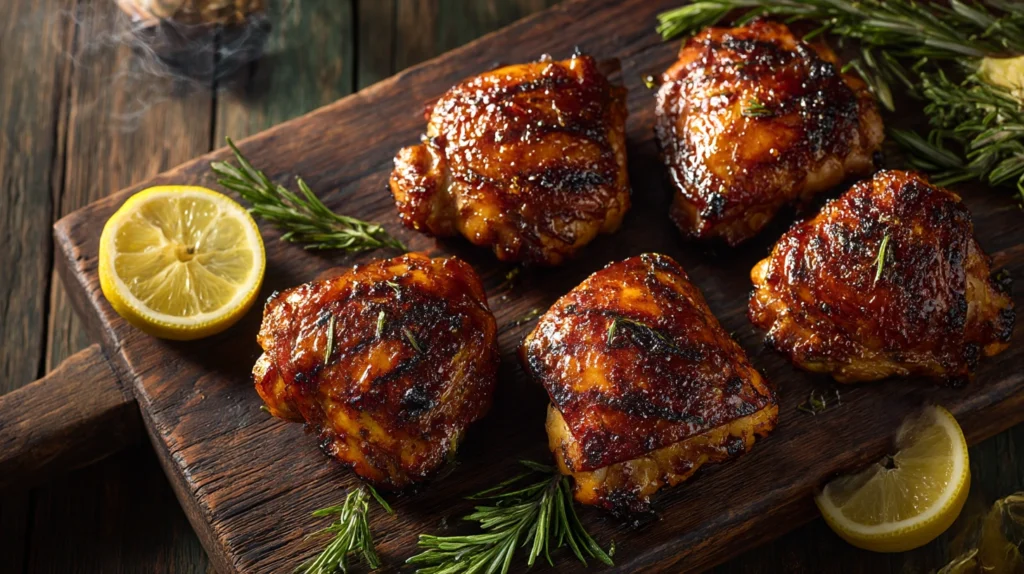
And here’s my little secret: bone-in, skin-on chicken thighs are non-negotiable. I know some folks reach for chicken breast because they think it’s “healthier” or whatever, but breast meat dries out faster than a Kansas City summer. Thighs have more fat, more collagen, and more flavor. Trust the pit master on this one.
Choosing Your Chicken
This might sound like a small detail, but it matters more than you’d think. Here’s what I look for when I’m at the store:
| Factor | What to Look For |
| Cut | Bone-in, skin-on chicken thighs (3–4 lbs total) |
| Quality | Look for pinkish color, no off smells, and firm flesh |
| Size | Aim for similarly sized thighs so they cook evenly |
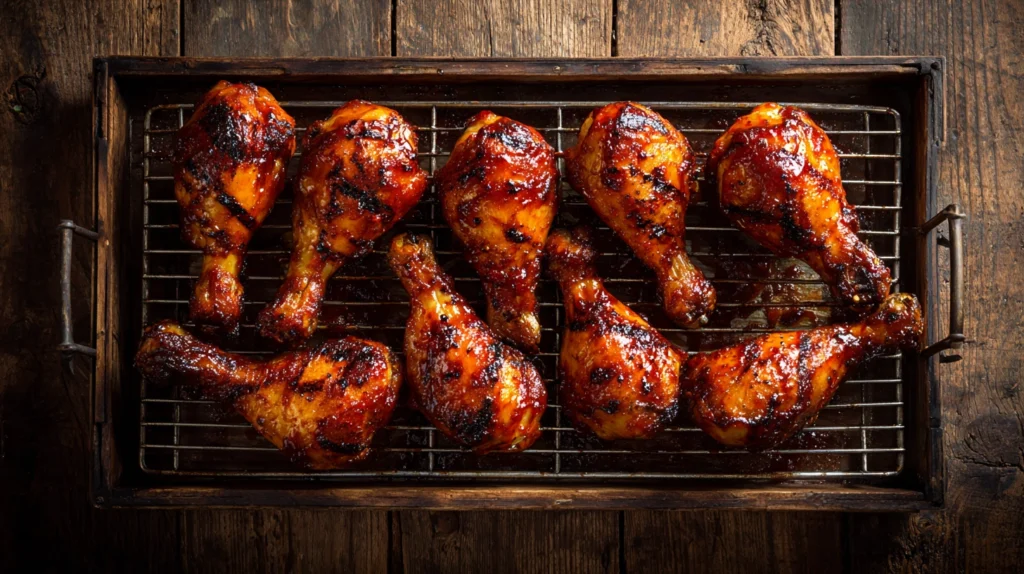
| Alternative | Bone-in chicken legs work too, just add 15–20 min cook time |
Ingredients
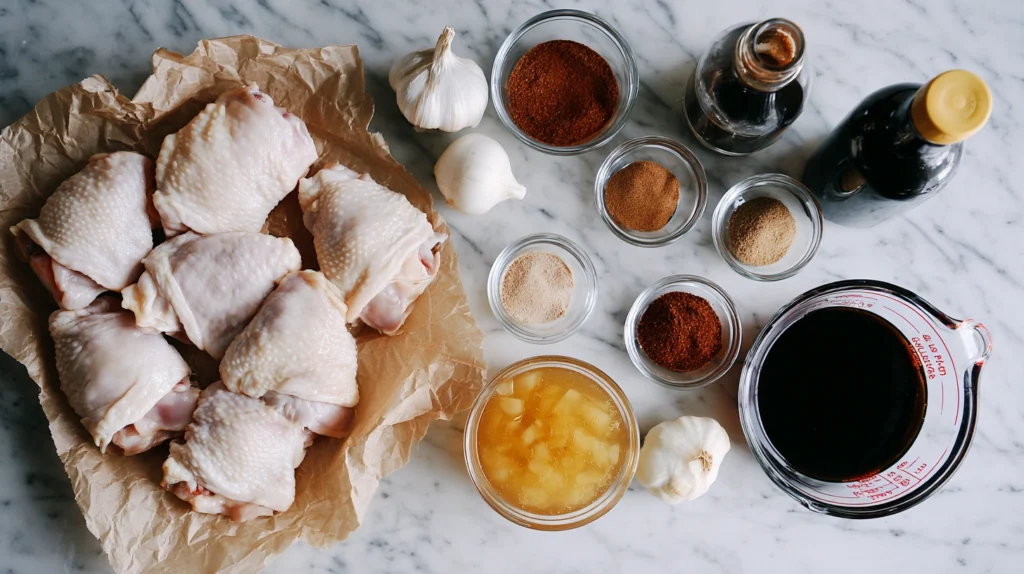
For the Chicken
- 3–4 pounds bone-in, skin-on chicken thighs (about 6–8 thighs)
- 2 tablespoons olive oil
- 1 tablespoon smoked paprika
- 1 teaspoon garlic powder
- 1 teaspoon onion powder
- 1 teaspoon chili powder (ancho if you can find it)
- ½ teaspoon cumin
- ½ teaspoon freshly ground black pepper
- 1 teaspoon kosher salt (I like Diamond Crystal)
- ½ teaspoon cayenne pepper (optional, for a little kick)
- 1 teaspoon brown sugar
For the Braising Liquid
- 1 cup chicken broth (low-sodium, please — you can always add salt, can’t take it away)
- ½ cup apple cider vinegar
- 2 tablespoons Worcestershire sauce
- 2 tablespoons tomato paste
- 1 tablespoon honey
- 3 cloves garlic, smashed
- 1 medium onion, roughly chopped
For the Homemade BBQ Sauce (Optional but Highly Recommended)
- 1 cup ketchup
- ¼ cup apple cider vinegar
- 2 tablespoons brown sugar
- 1 tablespoon Worcestershire sauce
- 1 tablespoon yellow mustard
- 1 teaspoon smoked paprika
- ½ teaspoon garlic powder
- ½ teaspoon onion powder
- Pinch of cayenne
- Salt and pepper to taste
Anyway, I always tell folks: read through the full ingredient list before you start. Nothing worse than getting halfway through a recipe and realizing you’re out of Worcestershire sauce. Ask me how I know.
Equipment You’ll Need
Nothing fancy here. This is an oven recipe, not a NASA mission. You’ll need:
- A large oven-safe Dutch oven or deep baking dish with a tight-fitting lid (if you don’t have a lid, heavy-duty aluminum foil works great)
- Two forks for shredding (or bear claws if you’re feeling fancy — I have a pair and I’m not ashamed)
- A meat thermometer (digital instant-read is my go-to)
- A medium saucepan if you’re making the BBQ sauce
- Tongs
Step-by-Step Instructions
Step 1: Preheat and Season (15 minutes)
Preheat your oven to 300°F (150°C). Yeah, I know that sounds low. That’s the whole point. Low and slow is the name of the game, whether you’re working with a smoker or an oven.
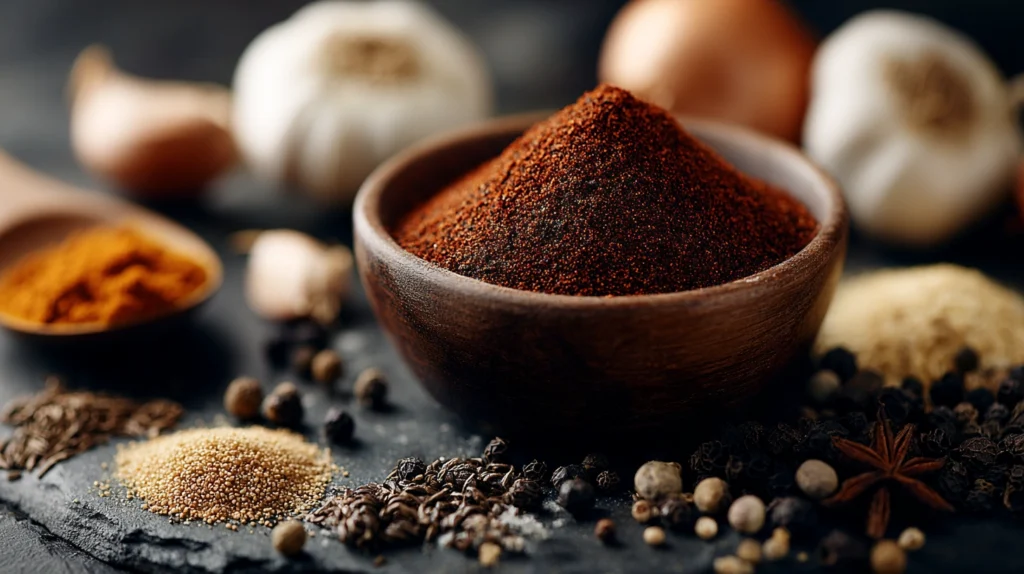
While the oven is heating up, mix together all your dry spices in a small bowl — the smoked paprika, garlic powder, onion powder, chili powder, cumin, black pepper, salt, cayenne, and brown sugar. This is basically your dry rub, and let me tell you, it’s a game-changer. The smoked paprika does a lot of the heavy lifting here, giving you that smoky depth you’d normally get from wood chips.
Pat your chicken thighs dry with paper towels (this is important — moisture is the enemy of a good sear), drizzle them with olive oil, and then massage that spice rub all over every piece. Get in there. Under the skin if you can. Don’t be shy. The more contact between the spices and the meat, the more flavor you’re going to get.

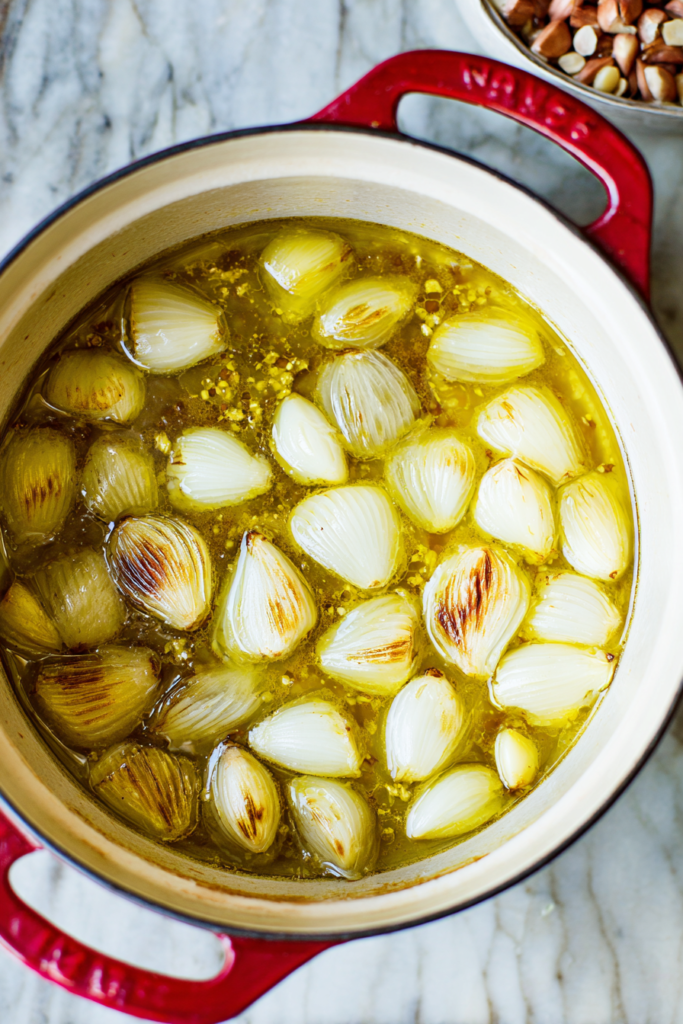
Step 2: Build the Braising Liquid (5 minutes)
In your Dutch oven, combine the chicken broth, apple cider vinegar, Worcestershire sauce, tomato paste, honey, smashed garlic, and chopped onion. Give it a good stir. This liquid is going to create a steamy, flavorful environment that keeps the chicken insanely moist while it cooks.
Quick tangent: that apple cider vinegar is doing more than you think. It’s not just for flavor — the acid actually helps break down the muscle fibers, making the chicken even more tender. I learned this from an old-timer at a competition in Memphis years ago, and it changed my whole approach.
Step 3: Nestle and Cover (2 minutes)
Place your seasoned chicken thighs skin-side up into the braising liquid. You want the liquid to come about halfway up the thighs — not fully submerged. We’re braising here, not boiling. Big difference.
Cover the Dutch oven with its lid (or seal it tightly with foil) and slide it into the oven.
Step 4: The Low-and-Slow Cook (2.5 – 3 hours)
Now here’s where the magic happens — and honestly, where you do absolutely nothing. Just let the oven do its thing. Go watch a movie. Take the dog for a walk. Call your mom. Whatever. The chicken is handling itself.
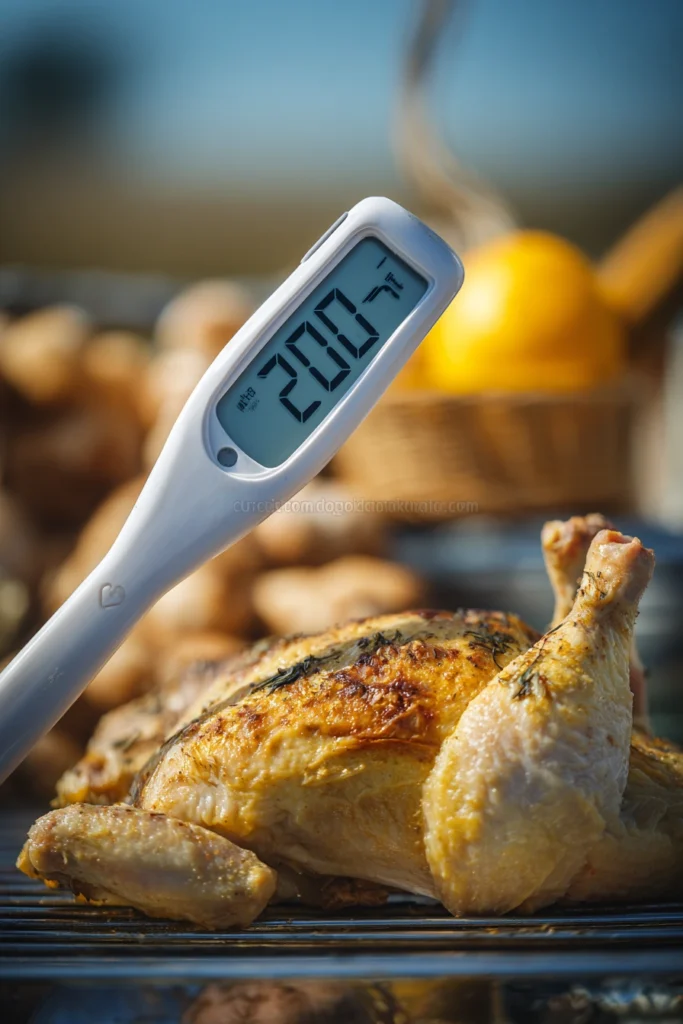
After about 2 hours, check on it. The internal temperature should be climbing toward 195°F–205°F. Yes, I know the “safe” temp for chicken is 165°F, but we’re going well past that on purpose. At 195°F+, the collagen in the thighs has fully broken down, and that’s what gives you the pull-apart texture. At 165°F it’s safe to eat but it won’t shred. Big difference.
Internal Temperature Guide
| Temperature | Status | What It Means |
| 165°F | Safe to eat | Cooked through but won’t shred — still firm |
| 180°F | Getting tender | Starting to break down, but not quite there yet |
| 195°F–205°F | Perfect for pulling | Collagen fully rendered — falls apart with a fork |
| 210°F+ | Overdone | Can get mushy and dry — pull it before this point |
Step 5: Shred It Up (10 minutes)
Once the chicken hits that sweet spot (195°F–205°F), pull it out of the oven and transfer the thighs to a cutting board or large bowl. Let them cool for about five minutes — just enough so you don’t burn your fingers off.
Remove and discard the skin and bones. Then grab two forks and go to town. The meat should practically fall apart on its own. If it’s resisting, it probably needed a bit more time in the oven. No judgment — just pop it back in for another 15–20 minutes.
Here’s a pro tip most people don’t know: strain the braising liquid and pour some of it back over the shredded chicken. This is the secret to keeping pulled chicken moist for days. Without this step, it’ll dry out in the fridge faster than you can say “leftovers.”
Step 6: Sauce It Up (Optional)
If you’re making the homemade BBQ sauce, combine all the sauce ingredients in a medium saucepan over medium heat. Bring it to a gentle simmer, stir it well, and let it cook for about 10–15 minutes until it thickens slightly. Taste and adjust. More sugar if you like it sweet. More vinegar if you like it tangy. More cayenne if you like living on the edge.

Toss the shredded chicken with as much or as little sauce as you like. Personally, I go heavy. But you do you.
Serving Ideas (Because Versatility is the Name of the Game)
This is where things get really fun. Pulled chicken is one of the most versatile proteins on the planet. Here are some of my favorite ways to serve it:
| Serving Style | How to Do It |
| Classic Sandwich | Pile it high on a toasted brioche bun with coleslaw and pickles. This is my go-to. |
| Tacos | Corn tortillas, a quick pickled onion, some cilantro, and a squeeze of lime. Beautiful. |
| Loaded Nachos | Scatter over tortilla chips with cheese, jalapeños, black beans, and sour cream. |
| Power Bowl | Brown rice, black beans, corn, avocado, and pulled chicken. Meal prep gold. |
| Stuffed Sweet Potato | Split a baked sweet potato and load it up. Sweet meets savory meets heaven. |
| Pizza Topping | Spread on some BBQ sauce as the base, add chicken, red onion, and mozzarella. You’re welcome. |
| Mac & Cheese | Stir it into your favorite mac and cheese recipe. Kids go absolutely wild for this one. |
Storage & Meal Prep Tips
One of the reasons I love this recipe so much is how well it holds up. Here’s what you need to know:
- Refrigerator: Stored in an airtight container with some of the braising liquid, pulled chicken will keep for 4–5 days in the fridge.
- Freezer: Portion it into zip-lock bags, press out the air, and freeze for up to 3 months. Thaw overnight in the fridge.
- Reheating: Low and slow is your friend again. Warm it in a covered pan over medium-low heat with a splash of broth or braising liquid. Microwaving works in a pinch, but add a tablespoon of water and cover it to prevent drying out.
- Meal Prep: I often make a double batch on Sunday and use it throughout the week in different ways — sandwiches Monday, tacos Wednesday, nachos Friday. Keeps things interesting.
Pro Tips from the Pit Master
After making this recipe probably a hundred times (no exaggeration), here are the little details that separate good pulled chicken from great pulled chicken:
- Don’t skip the paper towel step. Patting the chicken dry before seasoning ensures the rub sticks properly and you get better flavor penetration.
- Use Diamond Crystal kosher salt if you can find it. It’s less salty by volume than Morton’s, which means it’s harder to over-season. If you’re using Morton’s or table salt, cut the amount in half.
- Add a tablespoon of liquid smoke to the braising liquid if you really want that outdoor-cooked flavor. Just one tablespoon though — a little goes a long way. Too much and it tastes like you licked an ashtray.
- Let the chicken rest for a full 5 minutes before shredding. I know you’re excited. I know it smells amazing. But patience pays off in tenderness.
- Save every drop of that braising liquid. Strain it, skim the fat if you want, and use it as a sauce base, a soup starter, or just pour it right back over the chicken. Liquid gold, I tell you.
Common Mistakes to Avoid
Look, I’ve made all of these mistakes at some point. Barbecue is a journey, not a destination. But if I can save you some headaches:
| Mistake | Why It Matters (and What to Do Instead) |
| Using chicken breast | It will dry out. Thighs have the fat and connective tissue needed for pulled texture. If you absolutely must use breast, reduce cook time significantly and add extra liquid. |
| Cooking too hot | Cranking the oven to 400°F will cook it faster but you’ll lose that tender, shreddable texture. 300°F is the sweet spot. |
| Not enough liquid | If the braising liquid evaporates, your chicken will dry out. Check halfway through and add more broth if needed. |
| Shredding too early | If the chicken isn’t falling apart easily, it’s not done. Give it more time. Rushing this step gives you chunky, tough pieces instead of silky pulled meat. |
| Skipping the rest | Cutting or shredding immediately out of the oven releases all the juices. Five minutes of resting = dramatically juicier results. |
Frequently Asked Questions
Can I use boneless, skinless thighs?
You can, but the cook time will be shorter (about 1.5–2 hours) and you’ll get slightly less flavor. The bones and skin contribute a lot to the richness of the braising liquid. If boneless skinless is all you’ve got, go for it — just watch the temperature closely.
Can I make this in a slow cooker?
Absolutely. Same ingredients, same spice rub. Cook on low for 6–8 hours or high for 3–4 hours. The oven gives you a bit more control and slightly better texture, in my opinion, but the slow cooker is a perfectly valid option.
How do I know when it’s done?
Internal temperature of 195°F–205°F, and the meat should easily pull away from the bone when you tug it with tongs. If it resists, give it more time.
Can I make this ahead of time?
Yes! In fact, it often tastes even better the next day after the flavors have had time to meld. Reheat gently with a splash of broth.
What if I don’t have smoked paprika?
Regular paprika works, but you’ll lose that smoky element. Consider adding a tiny bit of liquid smoke (half a teaspoon) to compensate.
Approximate Nutritional Information (Per Serving)
Keep in mind these are estimates and will vary based on the specific chicken you use, how much sauce you add, and whether you eat the skin (no judgment either way).
| Nutrient | Amount (approx.) |
| Calories | 280–320 kcal |
| Protein | 32–36 g |
| Total Fat | 12–16 g |
| Carbohydrates | 8–12 g (mostly from sauce) |
| Fiber | 1 g |
| Sodium | 480–600 mg |
Go Make Some Chicken. Seriously.
Listen, if you’ve read this far, you’re clearly serious about making great food at home. And that makes me happy. Because at the end of the day, that’s what this is all about — not having the fanciest equipment or the most Instagram-worthy plating. It’s about feeding the people you love something that makes them close their eyes and go “oh wow.”
This pulled chicken recipe is one of the simplest, most satisfying things you can make in your kitchen. It’s forgiving enough for beginners and flavorful enough to impress anyone. I’ve served it to competition judges, to my kids, to my mother-in-law (who is, let’s just say, a tough critic), and they all came back for seconds.
So fire up that oven, trust the process, and remember what I always say: barbecue isn’t about the equipment. It’s about the heart you put into it.
Now get out there and make some pulled chicken that’ll make your whole neighborhood jealous. You’ve got this.